Set the First Row of Bricks
Start at the most visible point
Begin where people will notice the border most, like the front corner near a walkway or driveway. That way, your best alignment is front and center.
I do this every time now. It’s a tiny strategy that makes the whole project look more polished.
Place each brick level and snug
Set each brick into the base and press it into place. The bricks should sit snugly, with minimal wobble and consistent spacing.
For a cleaner look, keep the face line steady even if the back side varies a bit. That’s a very real pro trick.
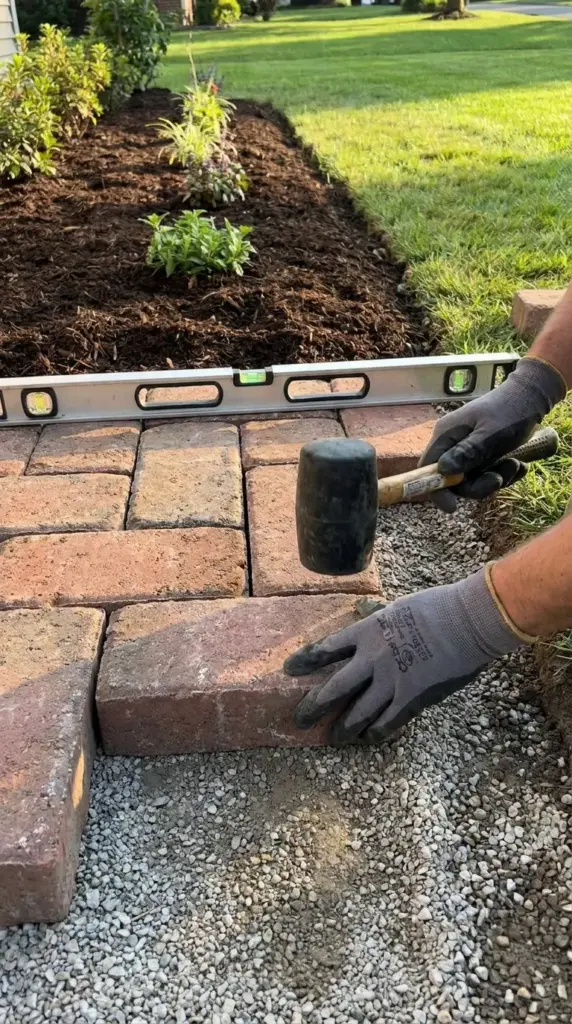
Use a mallet and level
Tap each brick with a rubber mallet until it sits level with the next one. Check often with a short level so small errors don’t snowball.
This is not the time to rush. One crooked starter brick can bully the whole row into bad behavior.
Keep spacing consistent
Tiny joints are fine, especially for a dry stack border look. Just keep them visually even so the edging feels intentional instead of sloppy.
Once that first row is in, the project suddenly looks real. Hit the next button below, because curves, corners, and slopes are where DIY confidence gets tested a little.


GIPHY App Key not set. Please check settings