Gather the Tools and Base Materials
Must-have tools
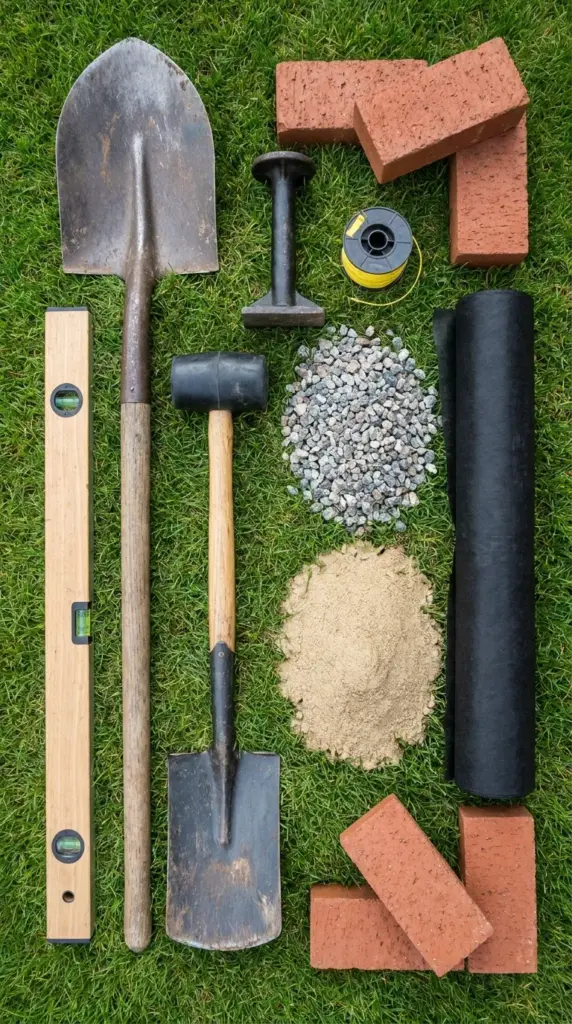
You’ll want a shovel, trenching spade, tape measure, stakes, string line, level, rubber mallet, and hand tamper. If you’re doing a long run, a plate compactor can save your back.
I’ve done short borders with just a hand tamper, and yes, it works. Your shoulders may complain a little the next morning, though.
Choose the right base
A crushed stone base or compacted gravel is the real hero here. It creates a firm, draining foundation that helps keep the bricks from sinking or shifting.
For many projects, I use 2 to 4 inches of compacted gravel under the bricks. A little leveling sand on top can help fine-tune the surface.
Optional helpers
Landscape fabric can help with weed control in some situations, though I use it sparingly because poor-quality fabric can become a mess later. Edging restraints are optional if the area gets a lot of foot traffic.
You can also use stone dust between gaps if you want a firmer lock without using mortar or a polymeric sand alternative.
Budget-friendly swaps
If you’re trying to save money, rent a compactor instead of buying one. You can also reuse leftover gravel from another yard DIY project, as long as it compacts well and drains.
Spend money on the base before the extras. Hit the next button below, because layout is where a professional-looking edge really begins.

GIPHY App Key not set. Please check settings