The Shadowbox Pattern: How to Space and Alternate Boards
Install the first side evenly
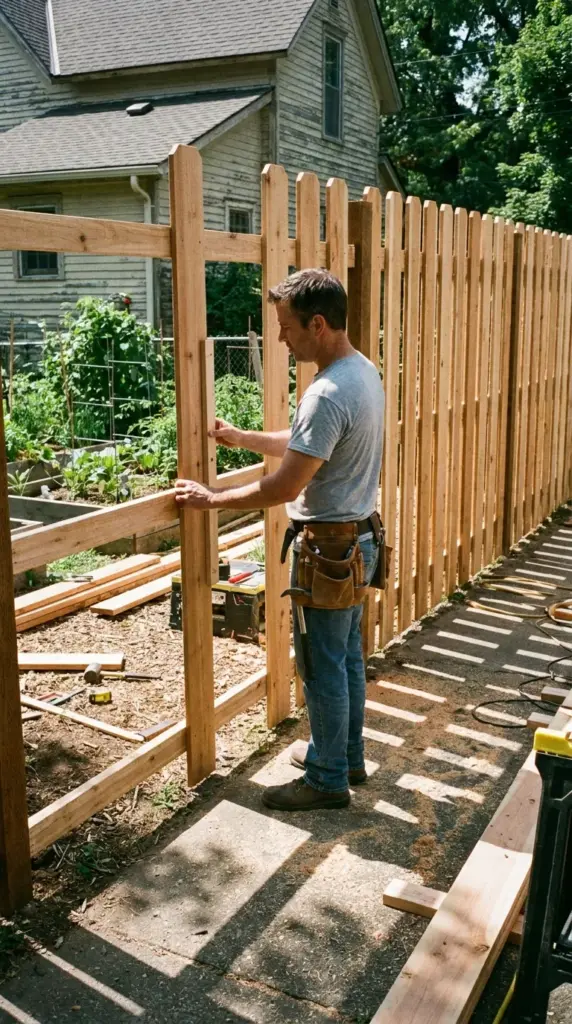
Start by attaching the first row of pickets on one side of the rails. Use a spacer jig so the gaps stay consistent from section to section.
This is where the fence starts looking real, which is always my favorite moment. It finally stops feeling like math and starts feeling like progress.
Offset the second side for privacy
On the opposite side, place boards so they cover the gaps from the first side. That offset creates the signature shadowbox fence effect.
You still have airflow, but the direct line of sight is broken. That’s exactly what makes it such a smart breezy fence design.
Keep the reveal consistent
Check the fence from multiple angles as you work. Tiny spacing changes are easy to miss up close but obvious when you step back.
I literally walk away every few boards and squint at it like a dramatic art teacher. It helps.
Adjust for more privacy or more breeze
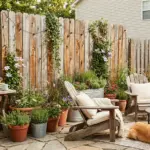
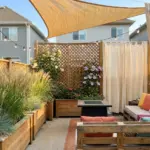
If you want more screening, tighten the spacing and use wider boards. If you want a lighter, more open look, give the boards a little more breathing room.
The pattern is flexible, which is one reason shadowbox fence ideas fit so many homes. Next, let’s talk about the part that causes the most DIY heartbreak if you get it wrong: the gate.
GIPHY App Key not set. Please check settings