Building a Strong Base Without Overdoing It
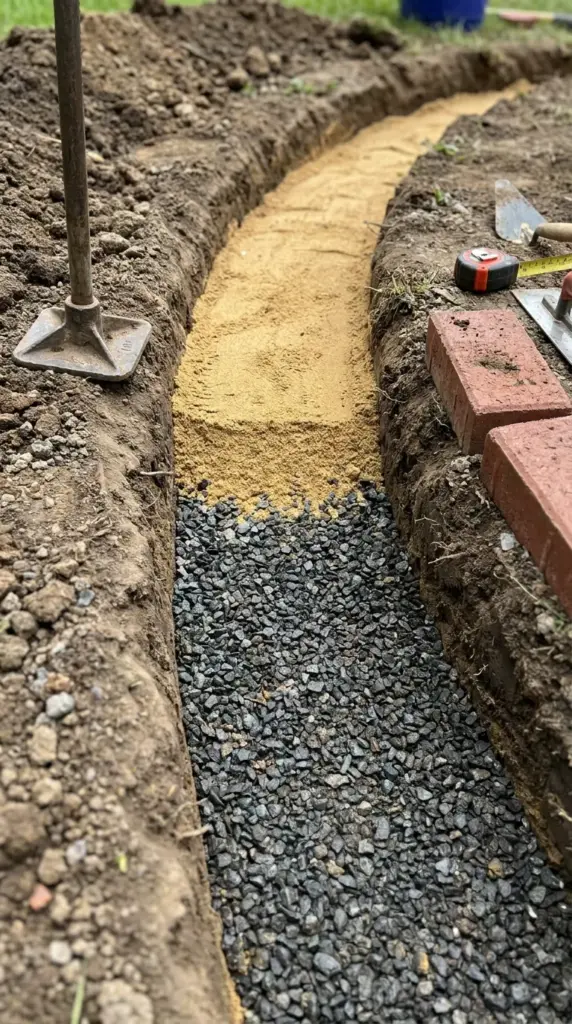
Gravel, sand, or native soil
For a longer-lasting border, start with a thin layer of gravel and top it with sand. That combo gives you both support and adjustability.
If the edging is light-duty and your soil is stable, native soil may be enough. But for low-maintenance landscaping, I still prefer a proper base.
When to compact by hand
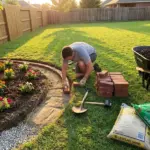
For short borders, tamping by hand works fine. You just want the base firm enough that your bricks don’t settle unevenly after rain.
No need to go wild here. I’ve definitely over-tamped before and made placement harder than it needed to be.
Base depth affects durability
A deeper base helps if your soil is loose, your climate freezes, or the edging will border a walkway. More stress on the border means more need for support.
This is especially true for frost heave prevention in colder regions. A little extra prep now saves a lot of muttering later.
Keep bricks from sinking or shifting
Consistent trench depth is the big one. After that, firm base material and tight backfill do most of the work.
Think simple and steady, not complicated. In the next section, I’ll show you exactly how to lay bricks in a curve without cutting them, so hit the next button below.

GIPHY App Key not set. Please check settings