Getting the Spacing, Height, and Alignment Just Right
Keep the top line even
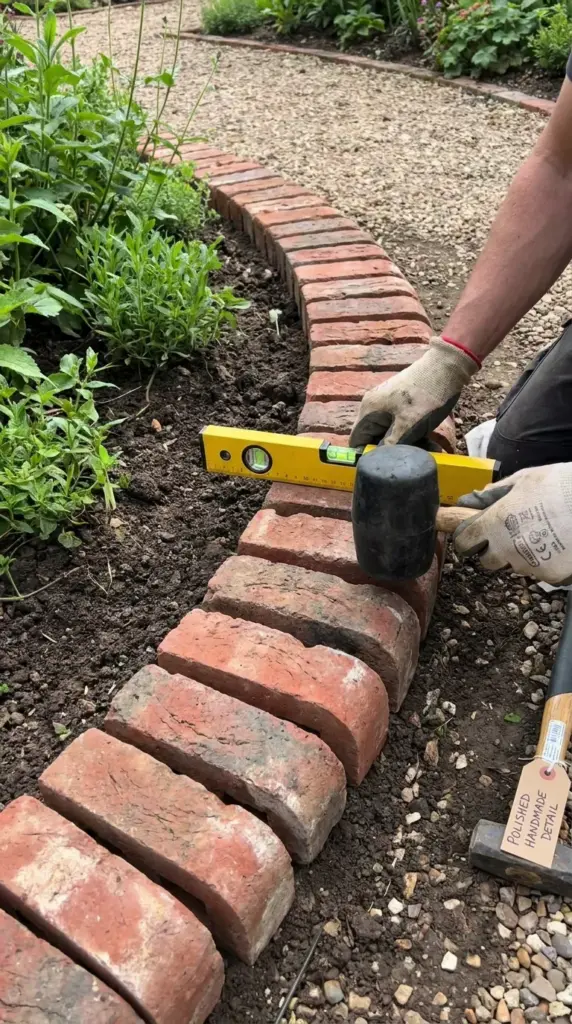
Step back often and check the top edge visually. A border can survive tiny spacing changes, but uneven height jumps out fast.
I tap bricks down with a rubber mallet install method and check with a short level every few bricks. Simple, effective, done.
Check spacing without obsessing
You don’t need every joint identical. You just want the rhythm to look consistent along the full line.
This is where people freeze up. If the brick spacing tips feel overwhelming, take a breath and focus on the overall shape first.
Fix wobble, tilt, and uneven joints
If a brick rocks, pull it up and adjust the base underneath. If it leans, correct it now before you lock everything in place.
Tiny fixes are easy early on and annoying later. Ask me how I know.
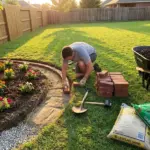
Make handmade curves look intentional
Consistency matters more than perfection. If the curve flows and the top line stays clean, it will read as polished.
That’s the secret sauce right there. In the next section, I’ll show you how to lock everything in place and finish the edge so it actually stays looking good, so hit the next button below.

GIPHY App Key not set. Please check settings