Locking Everything in Place and Finishing the Edge
Backfill soil around the bricks
Once the bricks are where you want them, backfill both sides as needed. Firm the soil gently so the border feels secure.
This step matters a lot for soil retention border performance. Loose backfill lets the bricks wiggle over time.
Use sand or soil to stabilize joints
For a decorative garden edge, plain sand or soil often works fine in the joints. You don’t always need a polymeric sand alternative or specialty filler.
I keep it simple unless the edging borders a heavily used path. More product isn’t always more helpful.
Blend the edge into mulch, lawn, or gravel
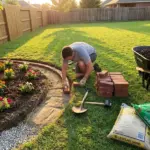
This is where the project suddenly looks finished. Rake mulch smooth, trim the lawn edge, or top up gravel so the bricks feel integrated.
A good raised bed border or perennial bed edging detail should look like it belongs there, not like it was dropped in yesterday.
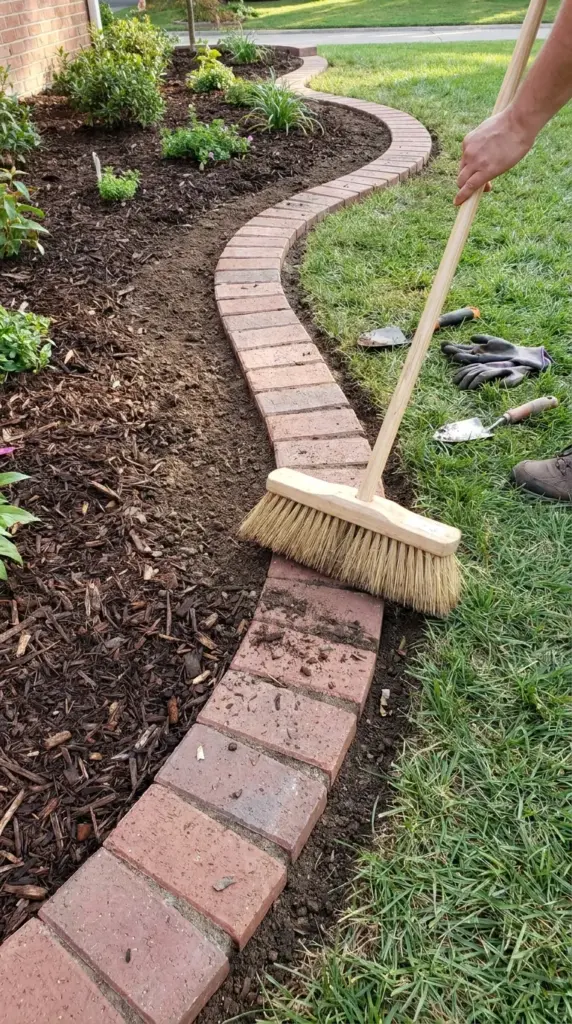
Do a final cleanup
Brush dirt off the brick faces and make any last alignment tweaks. Those little finishing moves make the whole project feel more professional.
Seriously, don’t skip the cleanup pass. Next, I’ll go over the biggest mistakes people make, plus seasonal care to keep your border looking sharp, so hit the next button below.

GIPHY App Key not set. Please check settings