My Basic Installation Process
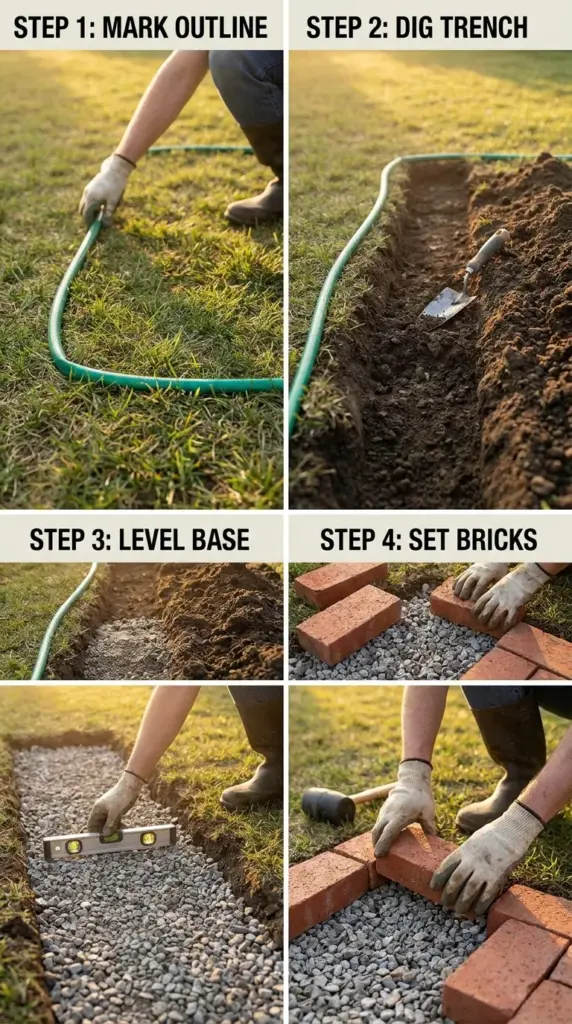
I mapped the line first
Before digging anything, I laid out the bed shape with a hose and marking paint.
That helped me see the curve from the street, porch, and driveway.
For a clean DIY brick border, the shape matters just as much as the material.
A graceful curve can make an average bed feel custom.
I prepped the base
This is the part people skip, and it’s the part I beg you not to skip.
I dug a trench, checked depth, and made sure the bottom was level and stable.
Depending on the site, I used compacted base material or coarse sand over firm soil.
Good prep improves brick border drainage and reduces shifting.
I set the bricks carefully
I placed each brick with alignment and mower clearance in mind.
Then I backfilled and checked the line again because once your eye catches a wobble, you’ll never unsee it.
This matters even more in freeze-thaw climates.
If you’re in places like Chicago, Minneapolis-St. Paul, Detroit, or Philly, seasonal movement is no joke.
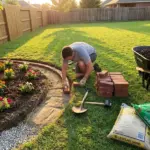
And yep, I still made mistakes. Hit the next button below, because if I ever redo a section, there are a few things I’d absolutely change.

GIPHY App Key not set. Please check settings