Measuring and Planning So You Don’t Waste Money
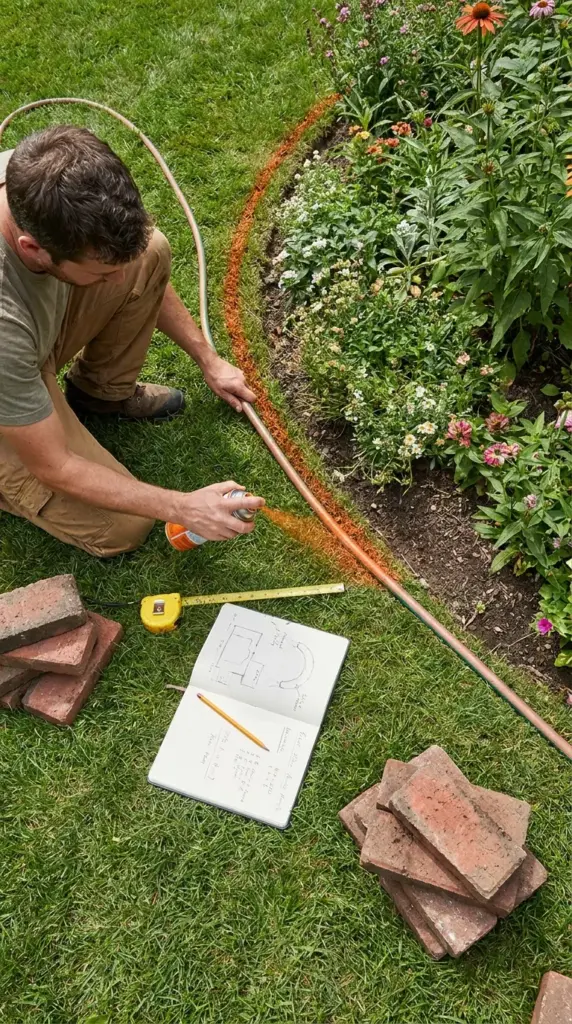
Mock the shape before you commit
I like using a garden hose, rope, or spray paint to sketch the border first.
This is the easiest way to test whether your landscape edging line feels natural or weirdly wobbly. Tiny layout changes here can save hours later.
Count materials with waste in mind
A lot of people only count the visible run and forget cuts, breakage, and pattern adjustments.
For most DIY brick border jobs, I’d buy about 10 percent extra bricks. If you’re using reclaimed material or adding curves, I’d bump that closer to 15 percent.
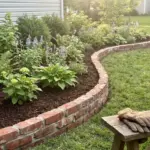
Curves always use more time than you expect
A brick paver edging layout with curves looks soft and beautiful, but it requires more tweaking.
You’ll spend more time spacing, rotating, and possibly cutting pieces so the line feels intentional instead of jagged.
Mark heights, not just shape
It’s not enough to know where the border goes. You also need to know how high it should sit above grade.
That little decision affects mowing, lawn separation border function, drainage, and whether the finished edge looks crisp or clunky. And speaking of clunky, the ground underneath is where most projects start going sideways, so hit the next button below.

GIPHY App Key not set. Please check settings