A Simple Hydrangea Drainage Checklist for Beginners
Before You Plant
Pick a site with good light for your variety, solid airflow, and no standing water after rain. Test drainage before planting, not after the hydrangea starts looking pathetic.
If the hole drains slowly, use the raised-mound method or change locations. Seriously, that one choice saves headaches.
During Planting
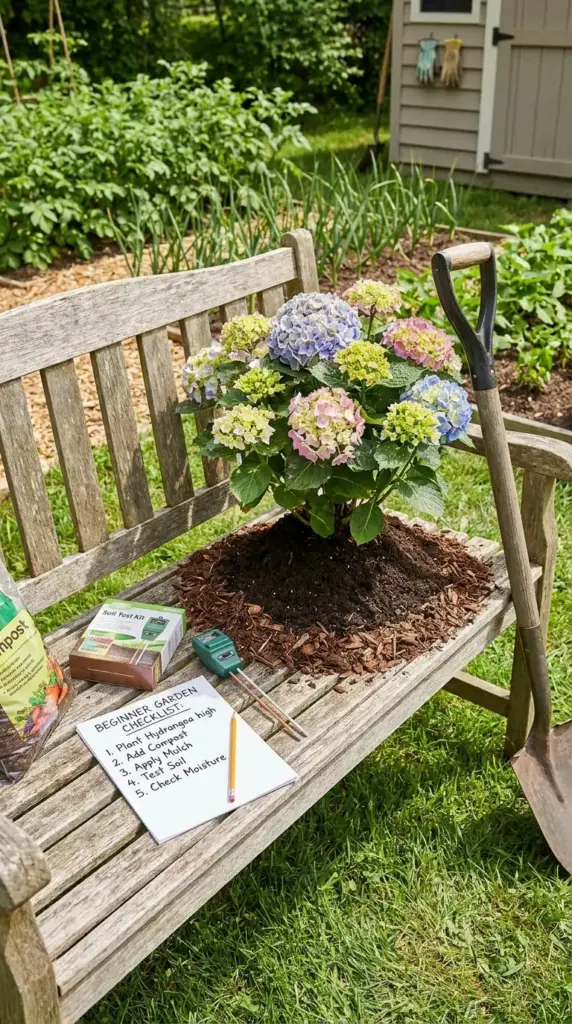
Set the root ball 1 to 2 inches above grade. Loosen circling roots, backfill with mostly native soil, and create a wide mulch ring.
Do not bury the crown. Do not add gravel at the bottom. Do not create a moat around the plant.
After Planting
Water deeply, then check moisture before watering again. Watch for yellow leaves, limp growth, or persistent wet soil that points to ongoing drainage trouble.
A simple watering schedule should always bend to real weather and real soil conditions. That’s the grown-up gardening answer, even if it’s less cute than a hack.
Quick Confidence Boost
If you remember just one thing, remember this: plant hydrangeas a little high, not low. That’s the real upside down trick.
I’ve seen this fix drainage issues instantly in the sense that it changes how water moves from the very first watering.

GIPHY App Key not set. Please check settings