How I Built My Living Wall Step by Step
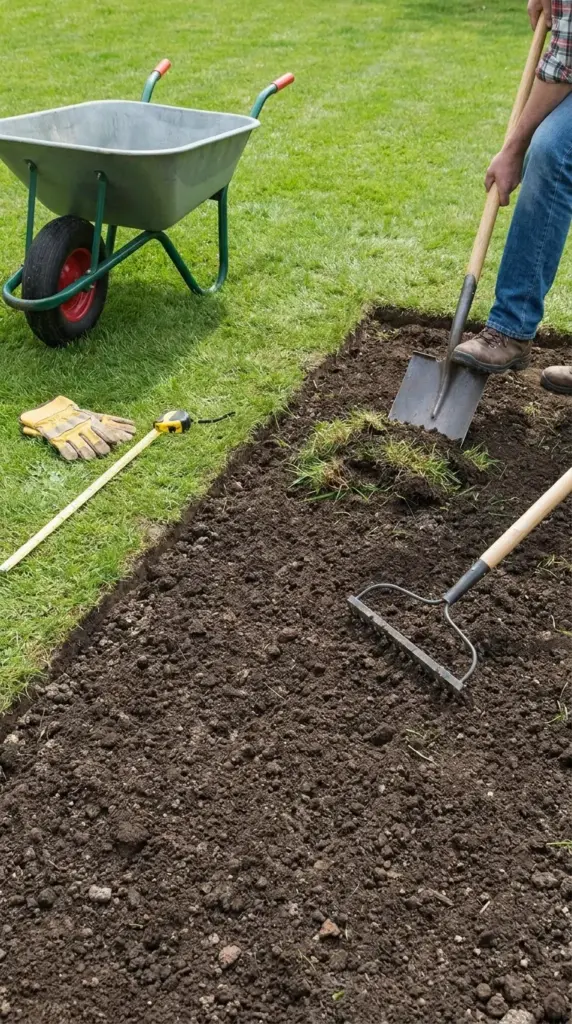
I started with prep and layout
First, I cleared the area, leveled the ground, and marked my post locations. I also checked that the wall wouldn’t interfere with drainage or splash water back toward the house.
This part felt slow, but it mattered. A crooked layout will haunt you every time you look outside.
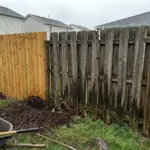
Then I installed the support system
I anchored the frame first, then added horizontal and vertical supports for the vines. If you’re using outdoor wall planters or a self-watering planter wall, check weight before final installation.
Wet soil is heavy. Like, surprisingly rude heavy.
Soil and spacing mattered more than I expected
For containers, I used a high-quality potting mix with compost and drainage support. I gave plants more root room than I first planned, because cramped roots mean faster stress and more watering drama.
Spacing was another lesson. It’s tempting to plant tightly for instant fullness, but healthy spacing usually wins.
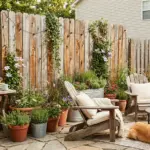
Planting day was all about training
I placed the strongest growers where I needed the fastest screening. Then I gently tied vines to the supports and directed new growth where I wanted coverage.
The first few weeks were mostly about guidance, not force. And once it was planted, the real secret became keeping it alive well, so hit the next button below.
GIPHY App Key not set. Please check settings