Building a Base That Actually Holds Bricks in Place
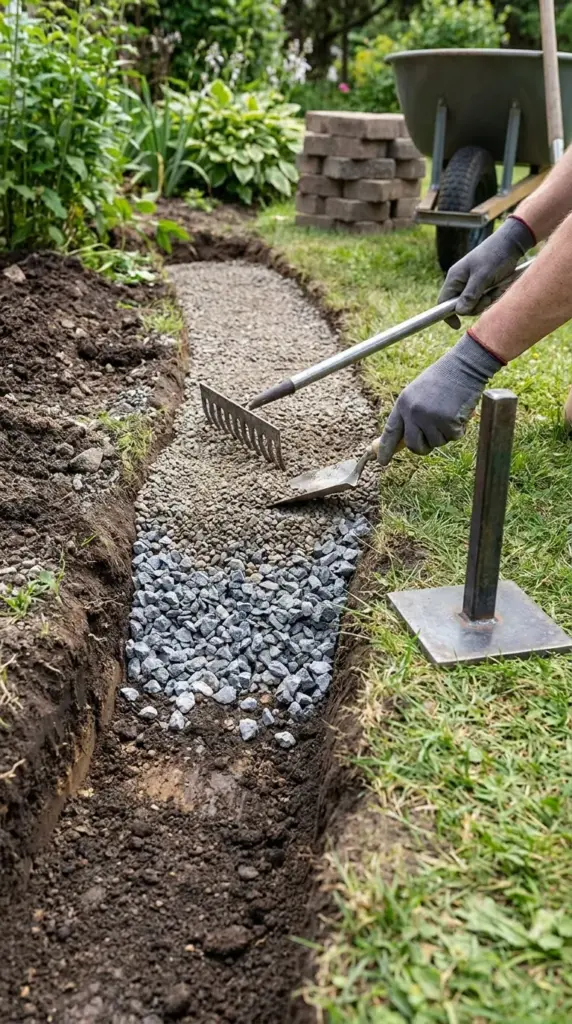
Start with crushed stone or paver base
This is your workhorse layer. A 2- to 3-inch compacted crushed stone base is common for many edging installs.
That base spreads weight, improves drainage, and reduces movement. Without it, the trench is just a hole with hopes and dreams.
Compact in lifts
Don’t dump the whole base in and tamp once. Add it in thinner layers and compact as you go.
This step is boring, sweaty, and absolutely worth it. Proper compaction is the difference between “installed” and “stable.”
Add a leveling layer
On top of the base, use a thin layer of stone dust or coarse sand to help fine-tune the brick height.
Some gardeners also use a Portland cement mix or sand-cement blend for a more fixed edge. That can work, but I prefer dry-laid setups for most DIY lawn borders because repairs are easier.
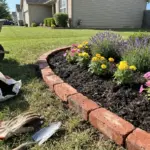
Check your height constantly
Dry-fit a brick early and often. You want the top to land flush-to-grade, not floating too high or disappearing too low.
I always keep one brick nearby just for testing depth. Next, let’s get into actually setting the bricks level and mower-friendly, because this is where the install starts looking real, so hit the next button below.
GIPHY App Key not set. Please check settings