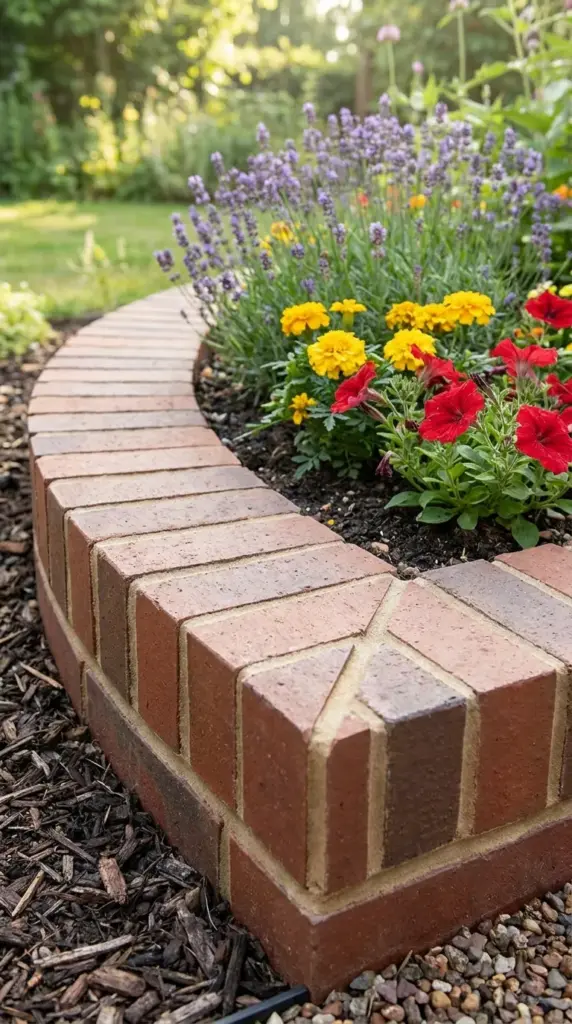
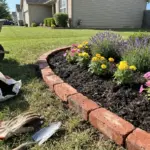
Curves, Corners, and Tight Spots Without a Messy Finish
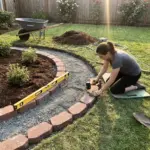
Gentle curves can be fanned naturally
On broad curves, you can usually fan the bricks a little. Tiny spacing changes often disappear visually once the joints are filled.
This is one of those spots where less perfection actually looks better. A slightly relaxed curve often feels more natural in the garden.
Tight curves need planned cuts
For tighter bends, you may need keystone brick cuts so the inside and outside edges both sit cleanly.
A diamond blade saw makes this much easier. If you try to force square bricks into a tight curve without planning, the gaps get weird fast.
Plan corners before the full run
Corners and endpoints deserve extra thought. If you leave them for last, you often end up with little slivers of brick that scream DIY in the wrong way.
I like to dry-lay a few pieces in those tricky spots first. It saves a lot of frustration later.
Safety and dust control matter
If you’re cutting brick, use eye protection and keep dust down. Wet cutting can help, but always follow tool guidance and basic safety rules.
No border is worth a rushed mistake. In the next section, I’ll cover how to finish the edge so it locks together and actually stays put, so hit the next button below.
GIPHY App Key not set. Please check settings