Did you know that ZZ plants can survive up to 4 months without water, yet many plant parents still struggle to propagate them successfully? If you’re tired of watching your beautiful Zamioculcas zamiifolia sit there looking gorgeous but never multiplying, you’re in the right place!
I’ve been there too – staring at my single ZZ plant, dreaming of filling every corner of my apartment with these stunning, low-maintenance beauties. The good news?
Propagating ZZ plants is actually easier than you think once you know the right techniques. Whether you’re decorating your first apartment in Brooklyn or adding greenery to your suburban home office, these 7 proven methods will help you create the plant-filled sanctuary you’ve been dreaming of.
Let’s turn that one lonely ZZ into a thriving collection that’ll make your friends green with envy!
1. Water Propagation Method
Okay, let me tell you about my absolute favorite way to propagate ZZ plants – water propagation. I stumbled onto this method completely by accident when I knocked over my ZZ plant three years ago and broke off a huge stem.
Instead of throwing it away (thank goodness!), I stuck it in a mason jar with some water. Best mistake I ever made.
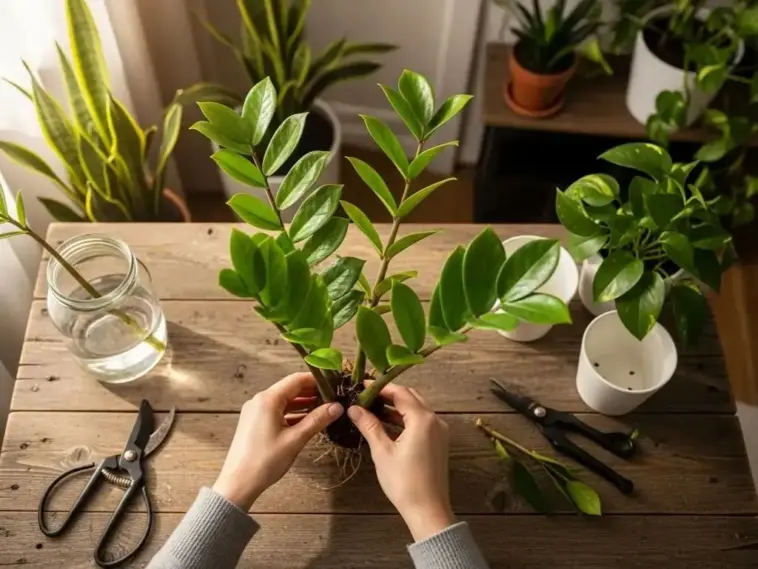
Getting Your Cuttings Ready
First things first – you need a healthy ZZ plant cutting that’s at least 4-6 inches long. I learned this the hard way after trying to propagate tiny 2-inch pieces that just rotted.
Use clean, sharp scissors or pruning shears. Trust me on this one – dirty tools are like inviting bacteria to the party, and nobody wants that drama.
Cut just below a node (that little bump on the stem). The nodes are where your new roots will emerge from.
Choosing the Right Container and Water
Here’s where I made my biggest rookie mistake. I used a narrow-necked vase thinking it looked prettier on my windowsill.
Wrong move. The cutting got stuck and I nearly broke it trying to get it out for a water change.
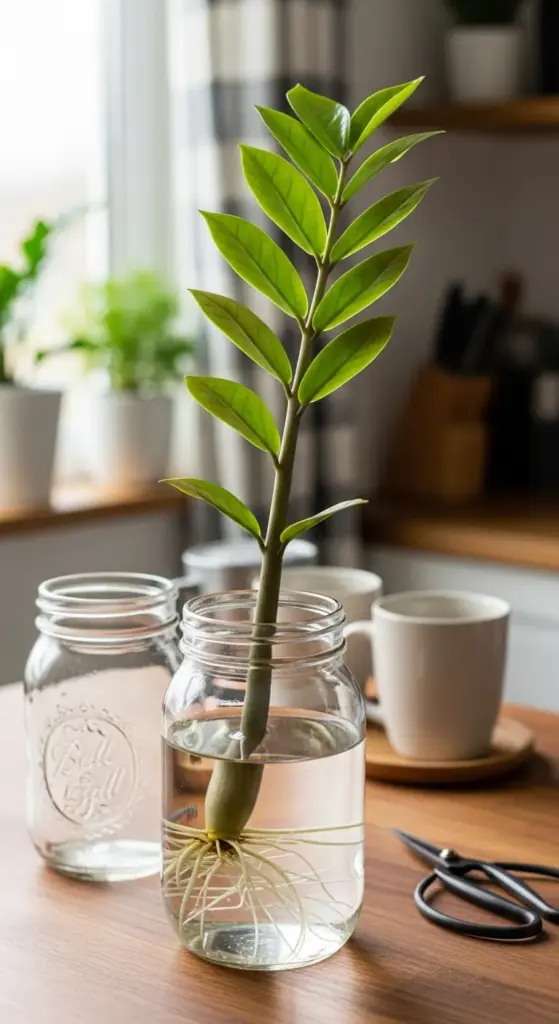
Go with a clear glass jar or container that’s wide enough for easy access. Mason jars work perfectly, or even a clean yogurt container if you’re not worried about aesthetics.
For water, I always use filtered or distilled water. Tap water has chlorine and other chemicals that can slow down root development. If you only have tap water, let it sit out for 24 hours so the chlorine evaporates.
The Waiting Game (And What to Expect)
This is where patience becomes your best friend. ZZ plant water propagation typically takes 4-8 weeks to show significant root growth.
Week 1-2: Nothing visible happens (don’t panic!) Week 3-4: Tiny white root nubs start appearing Week 6-8: Proper roots develop that are 1-2 inches long
I check on mine every few days, mainly because I’m impatient and love seeing progress. It’s like watching paint dry, but way more exciting.
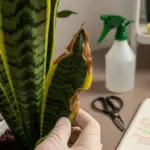
Troubleshooting Common Issues
Mushy, black stems? That’s rot, and it happened to me more times than I care to admit. Usually means the water wasn’t clean enough or the cutting was damaged.
No roots after 8 weeks? Sometimes ZZ plants are just slow starters. I’ve had cuttings take 12 weeks before showing any action.
Cloudy water? Change it immediately. I refresh the water every 5-7 days to keep things clean and oxygenated.
Making the Big Move to Soil
Once your roots are 2-3 inches long, it’s time for the transition. This part stressed me out initially because I was worried about shocking the plant.
Use a well-draining potting mix – I mix regular potting soil with perlite for extra drainage. Plant the cutting so the roots are covered but the stem base is just at soil level.
Water sparingly at first. The roots are used to constant moisture, so you need to gradually reduce watering frequency over 2-3 weeks.
Ready to learn about an even easier method that doesn’t require any water changes? Click “next” below to discover how soil propagation can give you faster results with less maintenance – plus I’ll share the one mistake that killed half my cuttings!

GIPHY App Key not set. Please check settings