Lay the Bricks: Easy Patterns for Beginners
Start with beginner-friendly layouts
A brick soldier course stands bricks upright for a classic look. A brick sailor course lays them flat with the long face visible, which is easier and more stable for many beginners.
Angled edging also works well for flower beds and gives a more decorative finish. It can stretch materials visually without needing a complex layout.
Keep spacing even without obsessing
Dry-fit the bricks first and adjust spacing before setting them in place. Tiny gaps are fine, but aim for consistency so the border reads as one clean line.
I don’t chase perfection here. I chase “looks good from normal human standing distance,” and honestly, that is enough.
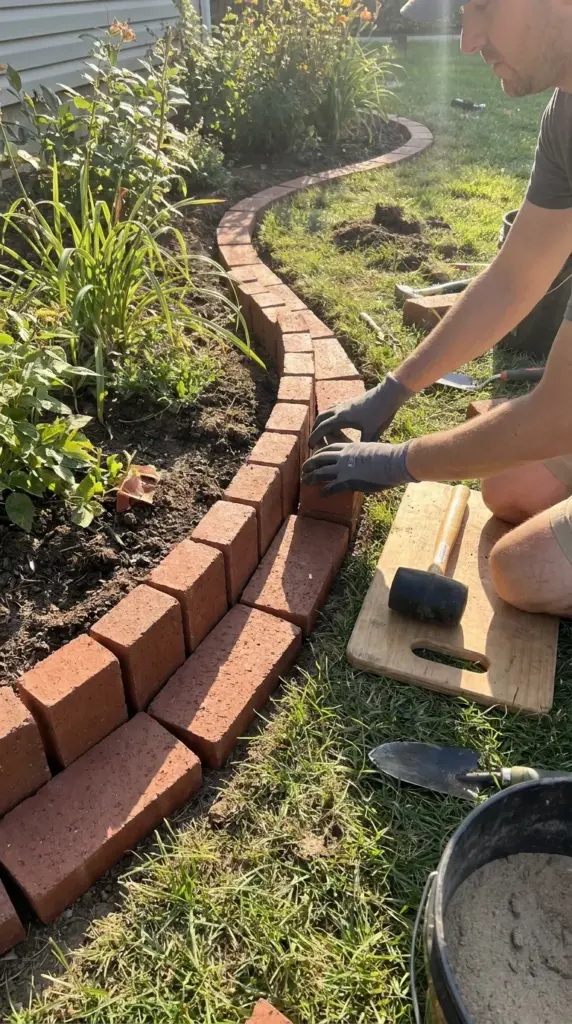
Handle curves and corners simply
For curves, fan the bricks slightly and keep the widest gaps to the back side where they’re less visible. For sharp corners, square them carefully or use shorter pieces if you already have them.
This is where curved brick border planning pays off. A gentle curve is way more forgiving than a tight swirl.
Dry-fit before the final set
Lay everything out before tapping it in. That gives you a chance to fix spacing, swap chipped pieces, and check if the pattern works with the bed shape.
Once you’re happy, tap each brick down into place with the mallet. Hit the next button below, because finishing details are what make the border look clean, secure, and surprisingly pro-level.


GIPHY App Key not set. Please check settings