Step-by-Step Soil Rehabilitation to Save Your Plants
I remember the first time I tried to rescue a soggy plant. I panicked, ripped it out of the pot, and instantly snapped the main taproot right in half.
Total disaster, but it taught me that patience is everything when performing succulent surgery.
The Emergency Bare-Root Protocol
First, you need to gently unpot your struggling plant and carefully brush away every single bit of that old, wet muck. I like to use an old toothbrush to gently tease the compacted dirt away from the fragile root system.
Inspect the roots closely for any mushy, black sections. Take a pair of sterilized scissors and snip those rotting parts away immediately to prevent the fungus from spreading.
This specific root rot treatment is critical for saving the plant’s life.
The Air-Drying Protocol and Repotting
Once your plant is clean, don’t put it right back into the dirt! Lay the bare-root succulent on a dry paper towel in a shaded spot for two to three days to let the cuts callouse over.
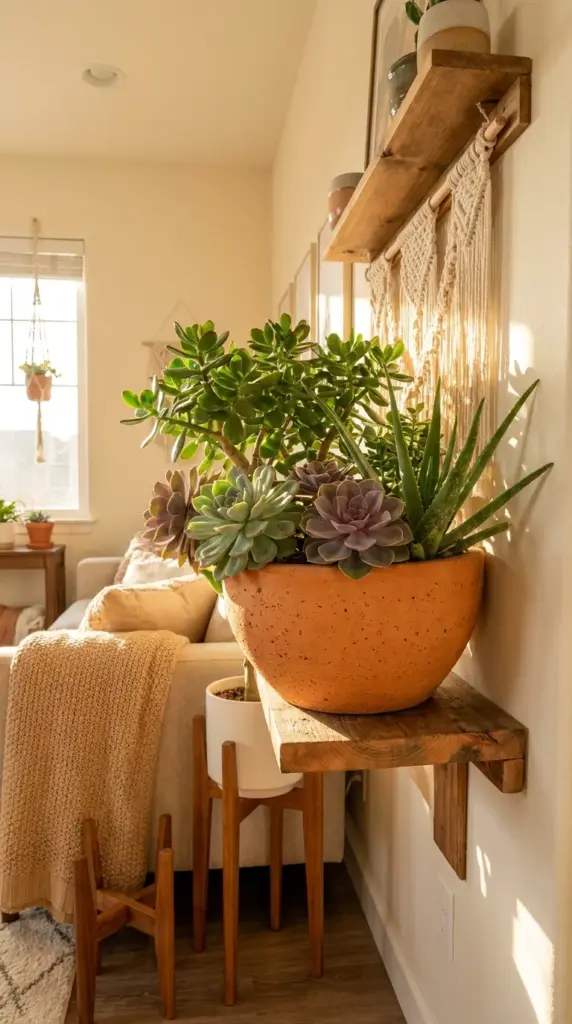
When you’re ready for repotting succulents, choose a highly breathable porous container. I always lean toward traditional terra cotta pots because the clay naturally wicks excess water away from the healthy roots.
Now that your plant is safe and drying out, we need to talk about how this whole experience changes the way you approach your layouts forever, so go ahead and click that next button because I’m wrapping things up with my ultimate design secrets.

GIPHY App Key not set. Please check settings