My Step-by-Step Planting Process
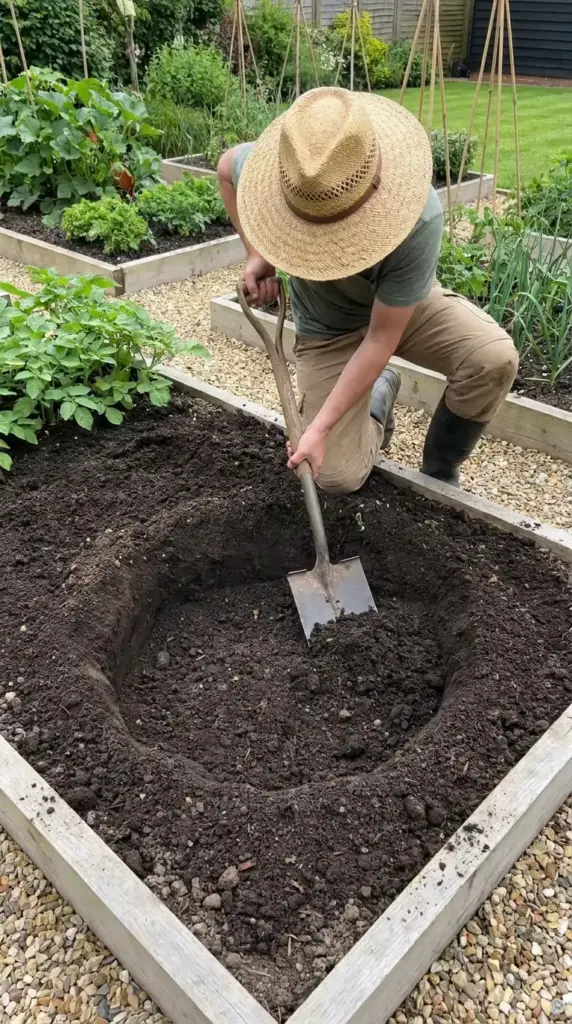
Step 1: Prep the site
I start by checking drainage and improving the soil with compost if needed. Good soil for hydrangeas should hold moisture but not stay swampy.
I also clear out roots, old landscape fabric, and junky compacted mulch. That stuff causes more trouble than people realize.
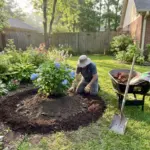
Step 2: Set plants out before digging
I always place every shrub in its pot first. Then I walk back, view it from the street, the porch, and even from inside the house.
This step saves me from dumb mistakes. I’ve moved potted shrubs around for 20 minutes before digging, and it was still faster than replanting later.
Step 3: Plant at the right depth
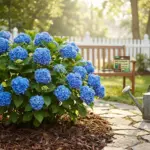
I plant so the root flare sits at or slightly above the surrounding soil. Then I water deeply and add a 2 to 3 inch mulch layer, keeping mulch off the stems.
That mulch helps with moisture, weeds, and root temperature. It’s one of my favorite low-maintenance hydrangea garden tricks.
Step 4: Baby them the first few weeks
For the first stretch, I stick to a steady hydrangea watering schedule based on weather, heat, and soil moisture. New shrubs need consistency more than heroics.
I’d rather water deeply and thoughtfully than sprinkle every day. And yes, I’ve messed that up before too. Hit the next button below, because the mistakes I made switching from rows to clusters might save you a whole season.
GIPHY App Key not set. Please check settings