

 The Home Growns
The Step-by-Step Digging and Cleaning Process
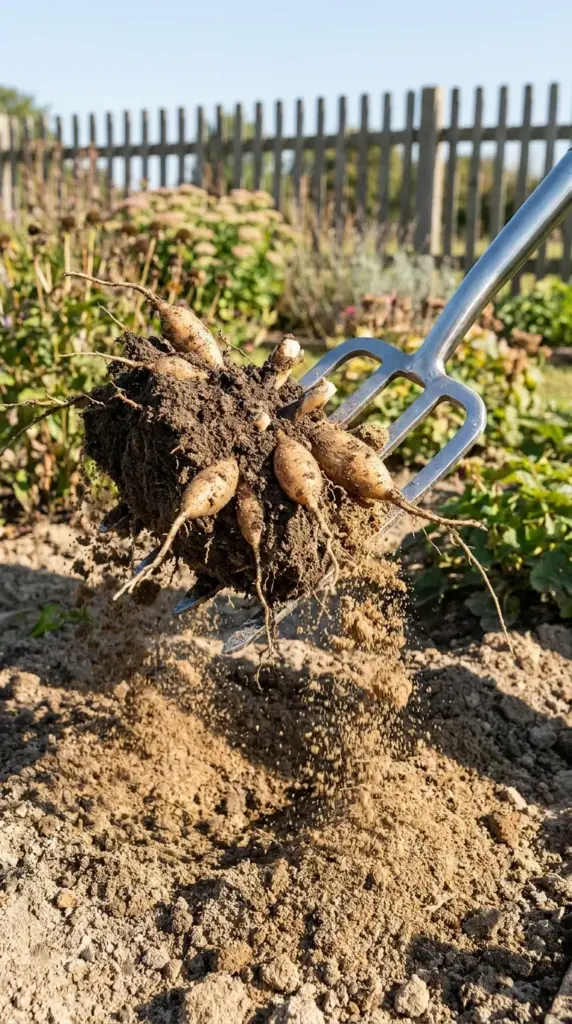
I once got way too aggressive with a sharp spade and sliced my absolute favorite prize dahlia clump clean in half. It honestly felt like a total garden crime scene, and that wounded tuber rotted into a smelly mess within a single week.
Loosening the Soil Without Damage
To keep your tubers safe, you don’t need any fancy tools—just a regular old garden fork or a wide shovel will do the trick perfectly. The key here is to step back at least one full foot away from the main stalk before you even think about pushing your tool into the ground.
Gently pry upwards on all four sides of the plant to slowly loosen the heavy soil. This clever trick prevents you from puncturing the delicate skin of your precious dahlia clumps as they lift up.
Washing and Inspecting Your Clumps
Once the clump is out, grab your regular backyard garden hose and blast away the remaining dirt so you can actually see what you’re working with. Cleaning dahlia roots thoroughly makes it incredibly easy to spot any hidden hitchhikers like slugs or nasty soil pests.
Take a close look at each piece and squeeze them gently; you want everything to feel nice and firm like a fresh baking potato. If you find anything mushy, snip it off immediately to ensure total root rot prevention before they head to bed.
Now that you have got a pile of beautifully clean, healthy roots, we need to pack them away safely without spending twenty bucks on specialized store-bought bins. Hit that next button below because I am breaking down my absolute favorite upcycled container hacks that cost literally zero dollars.

GIPHY App Key not set. Please check settings