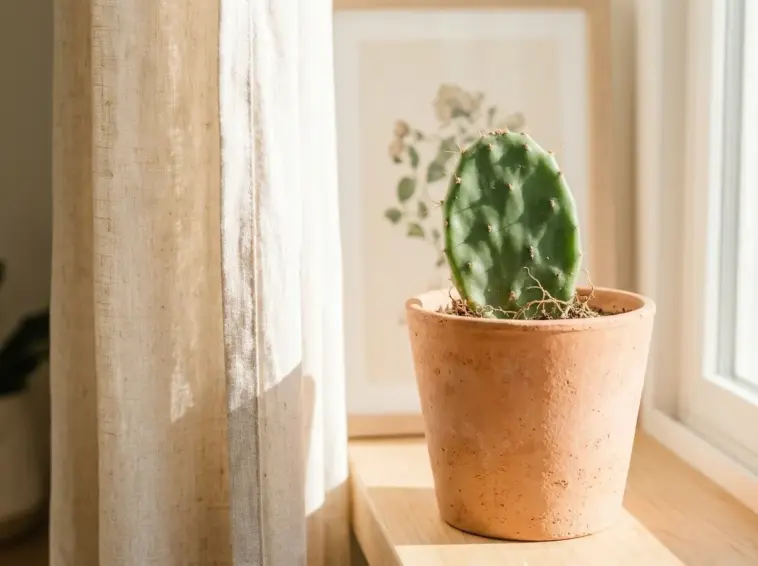
Oh, the absolute heartbreak of watching a prized cactus pad turn into a pile of black, slimy goo. I’ve been teaching plant workshops for over a decade now, and trust me, almost every single one of my students has been there at least once.
It feels like a total betrayal because cacti are supposed to be completely indestructible, right?
But when it comes to learning how to grow a prickly pear cactus from cuttings, the rules of normal gardening completely fly out the kitchen window.
In fact, the biggest secret to success is something that feels entirely wrong to our nurturing instincts: absolute, cold-hearted neglect.
Water is usually a beautiful symbol of life, but during the first few weeks of cactus propagation, moisture is actually your ultimate enemy.
Today, I’m going to walk you through the foolproof “callus rule” that changed everything for my own indoor jungle.
We are going to make sure your beautiful Opuntia pad sprouts thick, healthy roots instead of rotting away into a sad, squishy mess.
Grab a cup of coffee, and let’s get you ready to turn a single cutting into a thriving, gorgeous statement piece for your home.
Why Prickly Pear Cuttings Rot (and How to Avoid It)
I remember my very first prickly pear propagation attempt years ago when I was just starting to teach plant care. I was so eager to see it grow that I stuck a freshly cut, dripping pad straight into wet potting soil.
Within four days, that beautiful green pad looked like a deflated, black water balloon, and the smell was… memorable, to say the least.
The Open Wound and the Power of the Callus
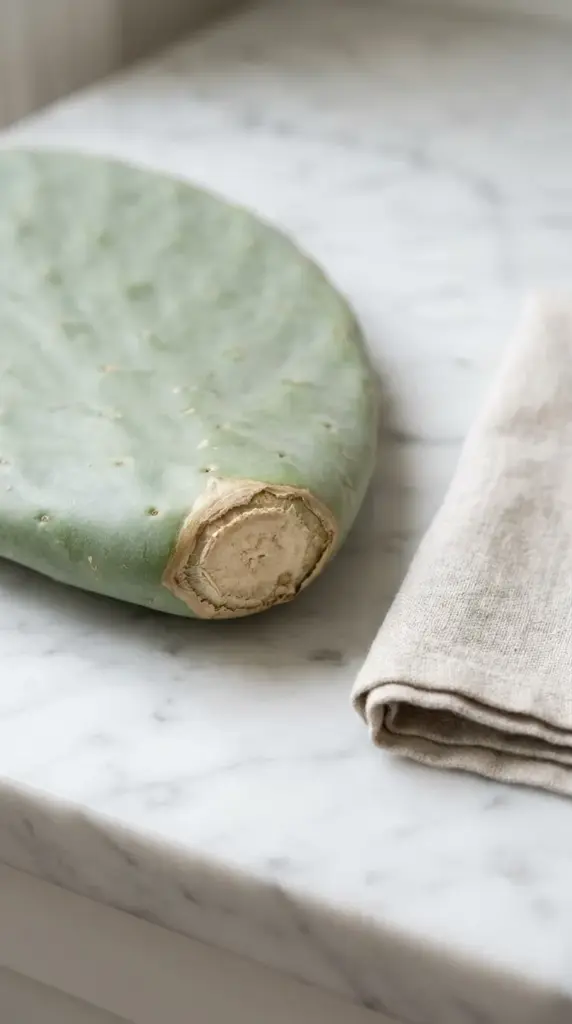
When you slice a pad off a prickly pear cactus, you are leaving a raw, open wound completely exposed to the elements. In the desert, a plant needs time to form a tough, dry layer of tissue called a callus, which acts exactly like a protective scab on a skinned knee.
Without this crucial barrier, microscopic fungi and bacteria in the environment will immediately invade the vulnerable, sugary moisture inside the pad. Root rot prevention starts right here; letting that wet edge dry out completely is what seals the door shut against deadly soil pathogens.
Spotting the Signs: Callus vs. Rot
So, how do you know if your cutting is curing beautifully or quietly dying on your counter? A healthy callusing cactus cutting will look dry, corky, and turn a pale tan or whitish color at the base, remaining completely firm to the touch.
On the flip side, if you see overwatered cactus signs like yellowing skin, a softening base, or dark, water-soaked patches, rot has officially won that round. If it gets mushy, your best bet is to slice off the bad part with a sterile blade, clean up the wound, and start the dry curing process all over again.
Honestly, getting past this raw stage is the hardest psychological hurdle for most plant parents, so hit that next button below because I’m diving right into the exact safety tools and soil hacks you need to keep your hands and your plant completely safe.


GIPHY App Key not set. Please check settings