How I Built It Step by Step
I started with layout and prep
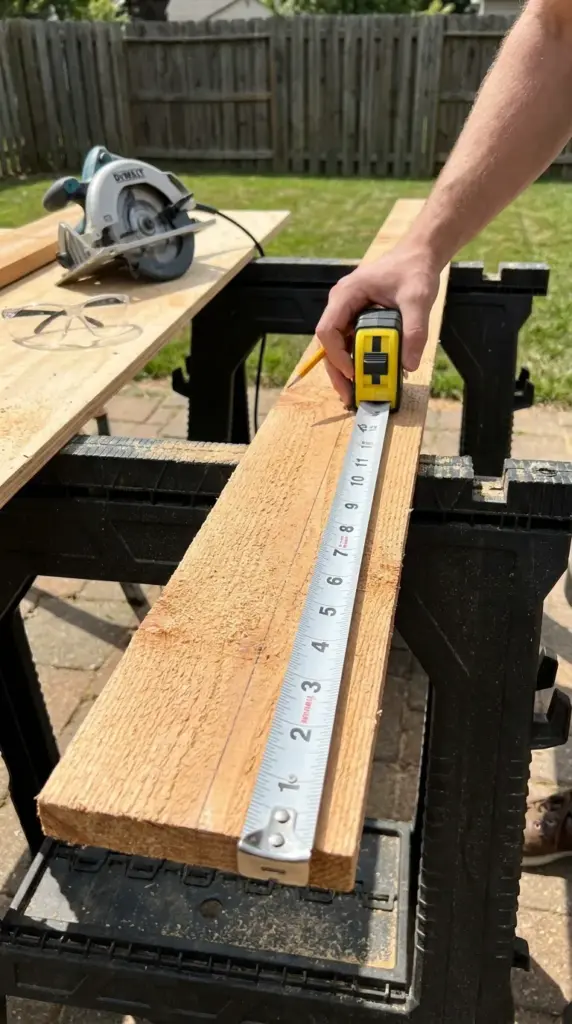
First, I measured the space twice and marked the footprint. Then I dry-laid the boards to check spacing, because thin pickets can throw off alignment faster than you’d think.
I also sanded the rough spots before assembly. That step was boring, but it made the final finish look way less cheap.
Cutting and assembly
I trimmed the pickets to fit my design and attached them to horizontal supports. Keeping the spacing even was trickier than the internet made it look.
A spacer block helped a lot. Without it, my lines started wandering, and I got irrationally annoyed by a gap that was off by like an eighth of an inch.
The details that made it look polished
I stained everything before final install, especially the cut ends. That’s one of the best things I did for sealed wood outdoors.
I also made sure the boards weren’t sitting directly in wet soil. That tiny design choice matters a ton for wood rot prevention.
What I’d do differently today
I would pre-sort all boards by straightness and color before starting. I’d also leave a little more room for expansion, because wood likes to humble you.
Even so, once it was up, it completely changed the space. Hit the next button below, because my biggest mistakes taught me more than the smooth parts ever did.


GIPHY App Key not set. Please check settings