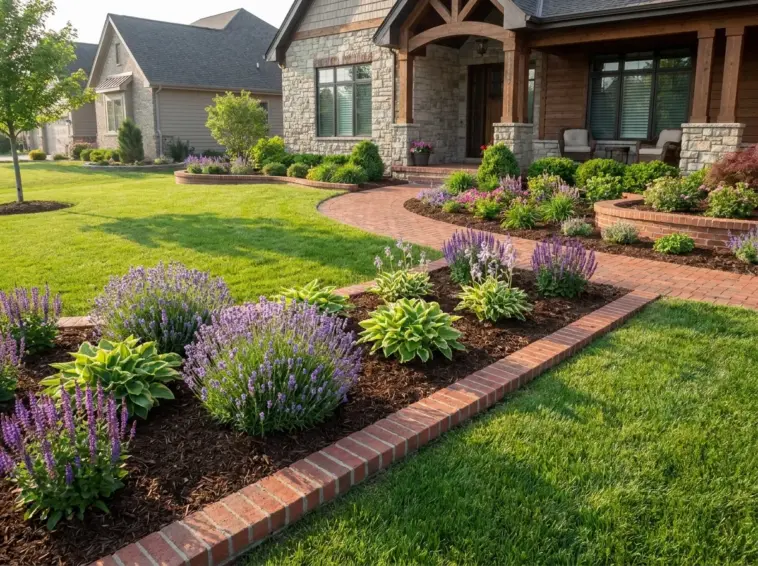
If you’ve ever cleaned up a flower bed, stepped back, and then noticed grass sneaking right back in, yep, same. I love a pretty garden edge, but I love less trimming and less weeding even more.
Brick borders are one of my favorite fixes because they look polished, last for years, and can actually slow grass runners when they’re installed the right way. Not every layout works for every yard, though, so I’m breaking down the ones that give you the most payoff for the least hassle.
Flush-Set Single Row Brick Border
Why this layout is such an easy win
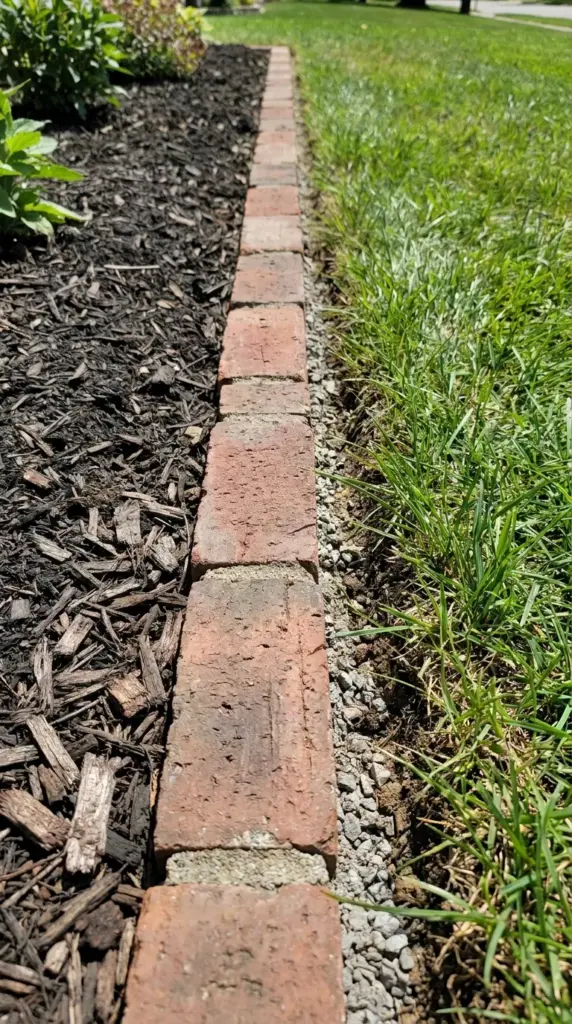
A flush-set single row sits level with the soil or just barely above it. That means mower wheels can roll right over the edge, which cuts down on string trimming around beds.
I recommend this one to beginners all the time because it gives a clean lawn-to-bed transition without feeling fussy. It’s simple, neat, and honestly hard to mess up if your base is solid.
How I install it so it actually stays put
I dig a shallow trench, usually deep enough for a compacted base plus the brick thickness. Then I add stone dust or paver base, tamp it down well, and set each brick tightly so there’s less room for grass to creep through.
The big thing here is tight joints. When I rushed this once and left tiny gaps, grass found those openings like it had a personal mission.
Where it works best
This layout is perfect for straight flower beds, front foundation beds, and paths that already have a crisp shape. It also looks great in smaller city or suburban yards where you want structure without bulk.
The main mistake is setting the bricks too high. If they stick up too much, the mower catches them and suddenly your “easy” edge becomes an annoying one.
If you want a border that gives you even more mowing space, hit the next button below, because the wider version is where things get really good.


GIPHY App Key not set. Please check settings