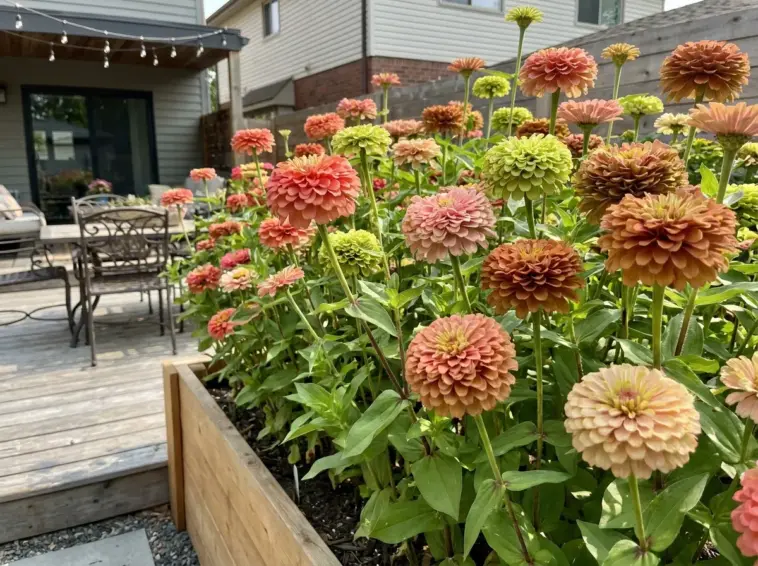
Oh, I’ve been down this road so many times it’s not even funny. You see those gorgeous, overflowing cottage gardens on social media and think, yes, please, I want that exact explosion of color in my yard.
So, you go out and buy a bunch of beautiful zinnia seeds, and you plant them practically on top of each other. I used to do the exact same thing until my entire patch turned into a sad, gray, moldy mess by July.
It turns out that a shocking 80% of annual fungal issues—like the dreaded powdery mildew—come straight down to awful air circulation. If your plants can’t breathe, they simply won’t thrive, and it honestly breaks my heart to see.
But here is the good news: you can absolutely get that jaw-dropping, hyper-dense look without actually suffocating your flowers. It is all about a few clever tricks of spatial geometry, strategic pruning, and a bit of soil science to create the perfect illusion of density.
Today, I’m breaking down my absolute favorite secrets to keep your zinnia bed looking packed to the brim while keeping every single root and stem blissfully happy. Trust me, your summer garden is about to look completely unreal this year.
1. Implement the Hexagonal Stagger Layout
Ditch the Straight Lines
I used to be absolutely obsessed with planting my seeds in perfectly straight, ruler-measured rows like some kind of military parade. It felt super organized at the time, but honestly, it was a massive mistake.
The problem with standard grid planting is that it leaves these huge, glaring pathways of bare dirt between your flowers. Weeds completely took over those empty alleys, and my flower bed design looked painfully sparse until late August.
That is when I finally learned to stop fighting nature and start using geometry to my advantage. Staggering your plants is the absolute best secret to achieving that lush, overflowing cottage garden vibe without suffocating the roots.
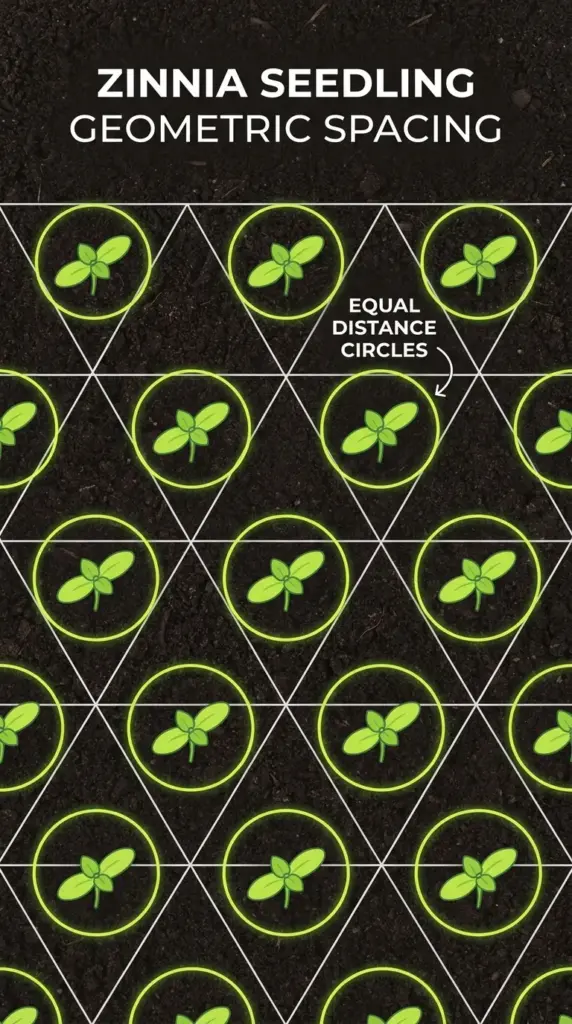
The Honeycomb Effect
Instead of a square grid, you want to plant your zinnia seeds in an interlocking triangular pattern. Think of it exactly like a honeycomb.
Plant your first row normally, but for the second row, offset the seeds so they sit directly in the gaps of the first row. This hexagonal stagger layout actually lets you fit about 15% more plants into the exact same square footage.
The magic here is that every single plant still gets its full, perfect circle of personal space to spread out its leaves. You get that wild, dense canopy up top, but the roots aren’t choking each other out underground.
But knowing the shape of your layout is only half the battle, because getting the actual distance between each plant wrong will ruin the whole setup, so hit that next button below so I can show you exactly why the seed packet lies about spacing.


GIPHY App Key not set. Please check settings