5. Mapping the Visual Layout and Spacing
I once crammed about twelve premium rosettes into a tiny, shallow dish because I wanted that instantly full, “perfect for Pinterest” look. It looked absolutely stunning for exactly three weeks until the plants started choking each other out and dropping leaves like crazy from zero airflow.
That design fail taught me that proper garden design requires a bit of structural patience.
The Art of Scale and Focal Points
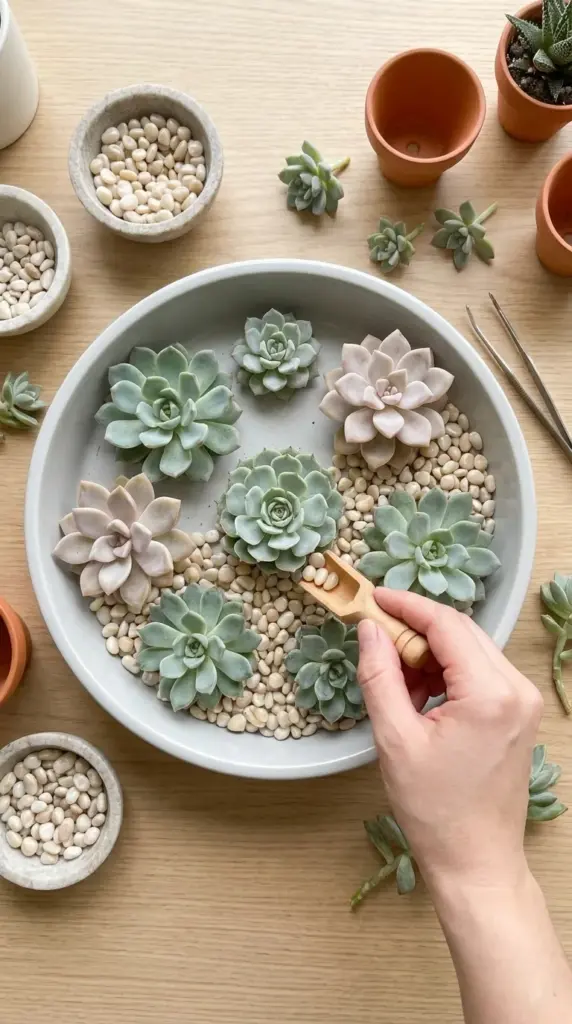
When designing your succulent arrangement, always place your largest “thriller” plant slightly off-center rather than dead in the middle to create a natural visual flow.
Surround it with your smaller “filler” plants, making sure to contrast their shapes—like pairing a stiff, spiky Agave right next to a soft, plump Echeveria.
This heavy contrast in visual texture is what makes the entire composition look like a high-end designer styled it for home decor.
Calculating Growth Room and Top Dressings
It is incredibly tempting to pack them bone-to-bone, but you must leave at least a half-inch to an inch of structural spacing between each plant.
This crucial gap gives the rosettes room to expand outward and ensures excellent air circulation around the base to prevent mold.
Once your layout is set, spread a thin layer of top dressing like small river pebbles or akadama over the exposed soil.
This gives the planter a gorgeous, clean finish and keeps the lowest leaves from resting directly on damp potting mix.
Getting your visual map down is super satisfying, but now comes the slightly nerve-wracking part of actually moving the plants into place, so hit that next button below because I’m showing you how to handle those incredibly fragile roots without causing total chaos.
GIPHY App Key not set. Please check settings