Garden Care Tips to Keep Your Raised Bed Thriving All Season
I have a confession to make.
For my first two seasons of raised bed gardening, I was a terrible plant parent once things were actually in the ground.
I’d get so excited about the planting phase — choosing seeds, building the bed, mixing the perfect soil — and then kind of… lose steam once everything was planted. I’d water inconsistently. Skip fertilizing entirely. Ignore early signs of pest damage until it was way too late.
My harvests were okay. But they could have been so much better.
The truth is, what you do after planting determines your harvest just as much as everything that comes before it. Consistent, attentive garden care is what separates a garden that produces adequately from one that absolutely explodes with food all season long.
Let me share what actually works.
Watering Best Practices — The Details Actually Matter
Watering sounds simple. You point water at plants and they grow. Right?
Not exactly.
How much water your raised bed needs depends on several factors — season, temperature, plant size, and soil composition. But as a general starting point, most raised beds need about 1 inch of water per week during moderate weather, and closer to 2 inches per week during hot summer months.
Here’s the thing about raised beds specifically: they dry out faster than in-ground gardens. The elevated soil has more surface area exposed to air and sun, and drainage is more efficient by design. In peak summer heat — think 90°F+ days in cities like Dallas or Atlanta — you may need to water every single day.
The easiest way to know if your bed needs water is the finger test. Stick your finger about 2 inches into the soil. If it feels dry at that depth, it’s time to water. If it still feels moist, wait another day. It takes about 30 seconds and it’s more reliable than any schedule.
When you water matters enormously. Early morning — between 6am and 10am — is the ideal window. Watering in the morning gives foliage time to dry before evening, which dramatically reduces the risk of fungal diseases like powdery mildew and blight that thrive in damp, cool overnight conditions.
Watering in the middle of the day isn’t ideal — water evaporates quickly in direct sun and your plants don’t absorb it efficiently. Evening watering is the worst option — wet foliage sitting overnight is basically an open invitation for fungal problems.
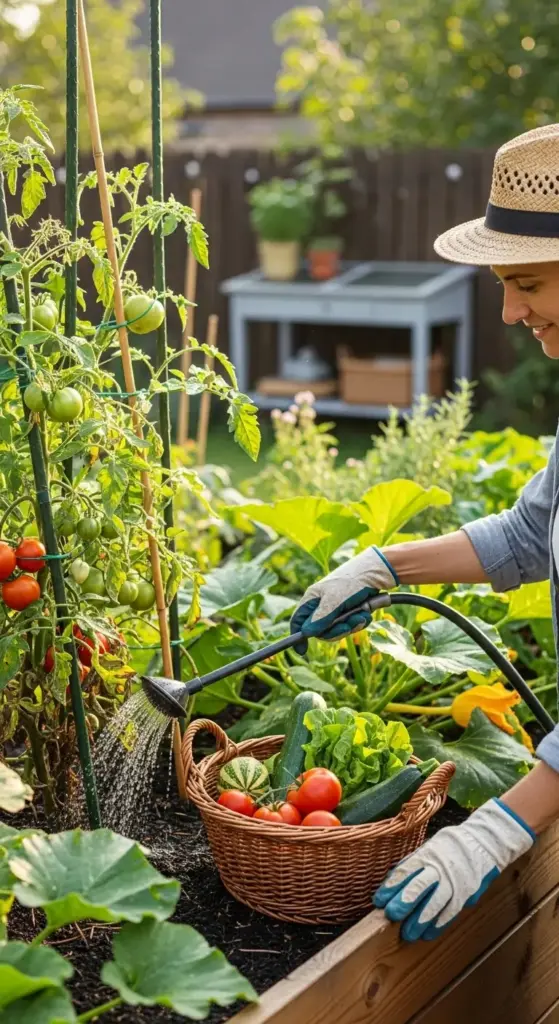
How you water matters too. Always water at the base of the plant, not overhead. Wet leaves are more susceptible to disease, and overhead watering wastes a significant amount of water to evaporation. A watering wand with a gentle flow setting makes it easy to direct water exactly where it needs to go.
For anyone with more than one or two beds, a drip irrigation system with a timer is genuinely transformative. Systems like the Rain Bird or Orbit B-hyve can be programmed to water at exactly the right time, for exactly the right duration, every single day — without you having to think about it. I set mine up three seasons ago and my plants have been consistently better watered than they ever were when I was doing it manually.
Fertilizing Schedule — Feed Your Plants and They’ll Feed You
Here’s something that surprises a lot of new gardeners: even the best soil mix starts losing nutrients as the season progresses.
Plants are constantly pulling nitrogen, phosphorus, potassium, and trace minerals out of the soil. Watering leaches nutrients downward over time. By midsummer, a bed that started the season with rich, fertile soil can be noticeably depleted — and your plants will show it.
A consistent fertilizing schedule is what keeps production strong from spring planting all the way through fall harvest.
Here’s the schedule I follow and recommend:
At planting time: Mix a slow-release granular organic fertilizer like Espoma Garden-Tone into the top few inches of soil according to package directions. This gives plants a steady nutrient base to draw from for the first 6 to 8 weeks of the season.
4 to 6 weeks after planting: Begin supplementing with a liquid fertilizer every 2 to 3 weeks. This is when plants are entering their most active growth phase and need consistent feeding. Fish emulsion diluted at 1 tablespoon per gallon of water is my go-to — it smells awful for about an hour after application but the results are undeniable. Liquid kelp is another excellent option that’s a little less pungent.
When plants start flowering and fruiting: Switch to a fertilizer with a higher phosphorus and potassium ratio — look for products labeled for tomatoes and vegetables at this stage. Phosphorus supports flower and fruit development. Too much nitrogen at this point actually encourages leafy growth at the expense of fruit production. I made this mistake for two full seasons before I figured out why my tomato plants were enormous and beautiful but not producing much fruit.
Mid to late summer: Ease back on fertilizing for cool-season crops that are winding down, but maintain feeding for heavy producers like tomatoes, peppers, and zucchini that will keep producing until frost.
One important note: always water your bed before applying liquid fertilizer. Applying fertilizer to dry soil can burn roots. A well-watered bed absorbs nutrients much more efficiently.
Pest and Disease Management — Organic Methods That Actually Work
Let me be upfront about something: every garden gets pests. Every single one.
The goal isn’t a pest-free garden — that’s not realistic. The goal is catching problems early and managing them in ways that are safe for your family, your soil biology, and the beneficial insects that are actually helping your garden.
The moment I stopped trying to eliminate every bug and started focusing on balance, my garden got significantly healthier.
Scouting is your most powerful pest management tool. Spend 5 minutes every few days just walking slowly through your garden and looking closely at your plants — undersides of leaves included. Most pest infestations start small and are easy to manage if you catch them early. The same infestation ignored for two weeks becomes a serious problem.
Here’s how to handle the most common raised bed pests organically:
Aphids are probably the most common pest you’ll encounter — tiny, soft-bodied insects that cluster on new growth and undersides of leaves. A strong blast of water from your hose knocks most of them off immediately. For persistent infestations, neem oil spray (2 tablespoons per gallon of water with a few drops of dish soap) applied in the early morning handles them effectively within a few days.
Tomato hornworms are large, green caterpillars that can defoliate a tomato plant shockingly fast. They’re hard to spot because they blend in perfectly with stems and foliage. Look for dark green droppings on leaves below — that’s your sign they’re present. Hand-pick and drop into soapy water. It’s unpleasant but it works.
Slugs and snails are especially problematic in wet climates like Seattle and the Pacific Northwest. Diatomaceous earth sprinkled around the base of plants creates a barrier they won’t cross. Copper tape around your raised bed frame is a longer-term deterrent — slugs get a mild electrical reaction from copper and avoid it. Beer traps — shallow containers filled with cheap beer sunk into the soil — are surprisingly effective at catching and drowning slugs overnight.
Squash vine borers are the nemesis of zucchini and squash growers. The adult moth lays eggs at the base of squash stems in early summer, and the larvae bore inside the stem and kill the plant from within. Row cover fabric over young squash plants until they start flowering prevents the moth from laying eggs in the first place. Once plants are flowering, remove the cover to allow pollination.


For fungal diseases like powdery mildew and early blight — both extremely common on tomatoes — a baking soda spray (1 tablespoon baking soda, 1 tablespoon vegetable oil, a few drops dish soap per gallon of water) applied at the first sign of infection can slow or stop progression. Neem oil also has antifungal properties and works well as a preventive spray applied every 10 to 14 days during humid weather.
Beneficial insects are your allies — protect them fiercely. Ladybugs, lacewings, parasitic wasps, and ground beetles all prey on garden pests. Avoid broad-spectrum pesticides even organic ones like pyrethrin unless absolutely necessary — they kill beneficial insects along with pests and can set your garden’s natural balance back significantly.
Mulching Strategies — The Simplest Thing You Can Do for Your Garden
If I had to pick one single garden care practice that gives the most return for the least effort, it would be mulching.
Hands down. Every time.
A 2 to 3 inch layer of mulch on top of your raised bed soil does several things simultaneously: it retains moisture (reducing watering frequency by up to 25%), suppresses weed germination, regulates soil temperature, and breaks down slowly over time to add organic matter back into your soil.
That’s four significant benefits from one simple action that takes about 10 minutes.
Straw is the classic raised bed mulch — it’s inexpensive (around $8 to $12 per bale), easy to apply, and breaks down beautifully into the soil by end of season. Make sure you’re buying straw, not hay — hay contains seeds that will germinate in your bed and create a weed problem.
Wood chip mulch is excellent for pathways between beds and around the base of perennial herbs. It lasts longer than straw and gives a very tidy, designed appearance. For vegetable beds specifically, keep wood chips away from direct contact with plant stems to avoid moisture-related rot issues.
Shredded leaves are a free mulch option that’s genuinely excellent — high in carbon, great for soil biology, and available in abundance every fall. Run them through a lawn mower to shred them before applying, which speeds up decomposition and prevents them from matting together.
Grass clippings work well as a thin mulch layer — no more than 1 inch deep — as long as your lawn hasn’t been treated with herbicides. Thick layers of grass clippings can mat together and create a barrier that actually repels water rather than retaining it.
Apply mulch after your soil has warmed up in spring — mulching too early in cold climates keeps soil cold and slows plant establishment. In hot climates like Dallas and Atlanta, mulch as early as possible to protect soil moisture during the brutal summer months.
End-of-Season Care — Setting Your Garden Up for Next Year
The work you do at the end of the season is an investment in next year’s harvest.
I used to just let my beds sit through winter and deal with them in spring. Once I started doing proper end-of-season care, my spring gardens started significantly stronger every single year.
Here’s the process I follow:
Clear out spent plants completely. Remove all plant material — stems, roots, and fallen leaves — from your bed at the end of the season. Leaving diseased plant material in the bed over winter allows pathogens and pest eggs to overwinter in your soil and create problems next spring. Compost healthy plant material but dispose of anything that showed signs of disease.
Do a soil assessment. After a full growing season, your soil level will have dropped — organic matter breaks down and compresses over time. This is normal. Top up your bed with 2 to 4 inches of fresh compost and work it gently into the top layer of existing soil. This replenishes nutrients and restores soil volume for next season.
Add a slow-release amendment for spring. Mix in granular organic fertilizer or rock dust minerals in fall so they have all winter to break down and integrate into the soil. By spring planting time, your bed will be primed and ready.
Plant a cover crop if you’re leaving beds empty through winter. Winter rye, crimson clover, or hairy vetch are all excellent cover crop options that protect soil from erosion, add organic matter when turned under in spring, and keep beneficial soil microorganisms active through cold months. Seed in late September or October for most U.S. climates.
Protect wooden beds from winter moisture. Apply a coat of food-safe linseed oil or tung oil to cedar or pine beds in fall to protect the wood from winter moisture and extend its lifespan. It takes about 20 minutes and adds years to your bed’s life.
Clean and store your tools properly. Wipe metal tool heads with an oily rag before storing to prevent rust. Hang tools vertically rather than leaving them on the ground. A little tool maintenance in fall means everything is ready to go when spring arrives — instead of discovering a rusty trowel in March when you’re eager to get planting.
Keeping Your Raised Bed Beautiful All Season Long
Here’s the thing about a raised bed in your yard — it’s visible all the time.
Not just when you’re actively gardening. Every time you look out your kitchen window, every time guests come over, every time you sit on your patio. Your raised bed is always part of your outdoor space’s visual story.
Keeping it looking intentional and beautiful doesn’t require a lot of extra work — just a few consistent habits.
Stay on top of dead-heading. Removing spent flowers from edible flowers and herbs like calendula, nasturtiums, and basil keeps plants producing longer and prevents that end-of-season scraggly look. It takes five minutes during your regular garden check and makes a visible difference.
Trim and shape herbs regularly. Herbs like basil, mint, and oregano get leggy and unkempt if left unpruned. Regular harvesting — cutting stems back by about one-third — keeps plants bushy, productive, and visually tidy. The more you harvest herbs, the better they look and the more they produce. It’s a genuinely satisfying feedback loop.
Keep pathways and borders tidy. The area around your raised bed matters as much as the bed itself. Keep gravel pathways raked, pull any weeds that appear along bed edges, and maintain any decorative borders or edging. A tidy surround makes even a slightly overgrown bed look more intentional.
Refresh mulch mid-season. Mulch breaks down and thins out as the season progresses. A quick top-up of 1 to 2 inches of fresh straw or wood chips in midsummer restores the tidy, finished look and gives you all the practical benefits of mulch for the second half of the season.
Add seasonal color with container plants nearby. Placing a few decorative pots with seasonal flowers near your raised bed creates a cohesive, designed vignette that elevates the whole space. Zinnias, marigolds, and dahlias in containers near your bed add color, attract pollinators, and make the whole garden area feel more intentional and curated.
A beautiful garden isn’t just about what’s growing — it’s about the whole picture.
Up Next: 3 DIY Raised Garden Bed Hacks Every Beginner Needs to Try
You’ve made it through the full raised bed journey — from building and filling to planting and caring for your garden all season long.
Now for the really fun part.
Tap Next below and I’ll share three genuinely clever DIY hacks that make raised bed gardening easier, more productive, and more affordable — including a self-watering trick that cuts your watering time almost in half. 🌱


GIPHY App Key not set. Please check settings