

 The Home Growns
The Step-by-Step Guide to Prickly Pear Cactus Propagation
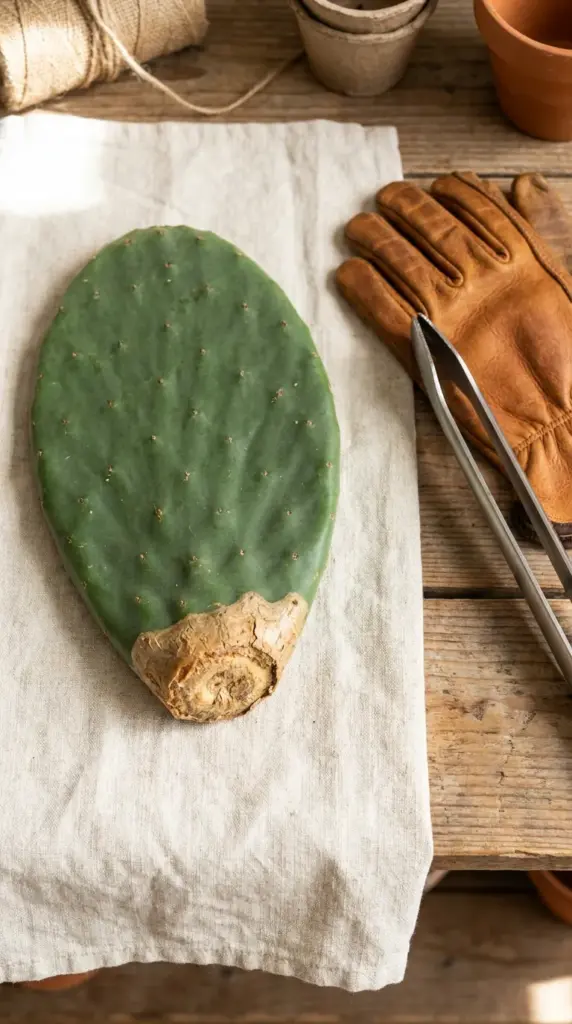
Oh man, let me tell you about my absolute worst afternoon as a plant parent. I thought I was a total badass and grabbed a gorgeous prickly pear pad with bare hands, thinking I could easily avoid the big spines.
Big mistake. I ended up with hundreds of glochids—those microscopic, fuzzy-looking invisible cactus splinters—embedded in my palms for days, and I literally had to use duct tape to pull them out.
Taming the Glochids and Taking the Cut
When you are learning how to propagate cactus pads, safety isn’t just a suggestion; it’s a survival skill. Always use thick leather work gloves, or even better, wrap the pad securely in a few layers of crumpled newspaper and hold it with heavy-duty kitchen tongs.
To take your cactus cuttings, look for a mature, healthy pad and gently twist it at the joint, or use a sterilized knife to make a clean slice. Try to do this during the warm spring months when the plant is naturally surging with energy, giving your new green baby the absolute best head start.
The Callous Phase and Rooting Success
Here is the absolute golden rule of pad propagation: do not stick that fresh, wet cut straight into the dirt! If you skip the callus cactus cutting phase, nasty bacteria will flood that open wound, and your hard work will turn into a soggy, rotting nightmare.
Lay the pad flat on a dry paper towel in a shady spot for a full week until the sliced end feels completely dry, hard, and corky. Once it has calloused over perfectly, stand it upright in a pot of your dry sandy mix.
You can completely skip the chemical rooting hormone since Opuntia roots easily on its own. Just don’t water it at all for the first few weeks until you feel a bit of resistance when you give the pad a very gentle upward tug.
That tiny bit of resistance means your new root system is officially anchoring, which is honestly the most satisfying feeling in the world. Now that your baby is securely rooted, you’re going to want those legendary, massive show-stopping flowers, so hit that next button below because I’m sharing the secret winter trick that forces them to pop!


GIPHY App Key not set. Please check settings