3. DIY Crisp Edge Mulch Beds and Focal Points
I used to think buying expensive plastic landscape borders was the only way to keep my garden neat. One summer, I spent fifty bucks on cheap plastic edging that warped in the sun and popped right out of the dirt like an ugly, crooked roller coaster.
It was completely embarrassing, and it made my entire yard look totally trashed. That’s when an old master gardener showed me a zero-dollar trick that changed everything.
The Free Magic of English Trench Edging
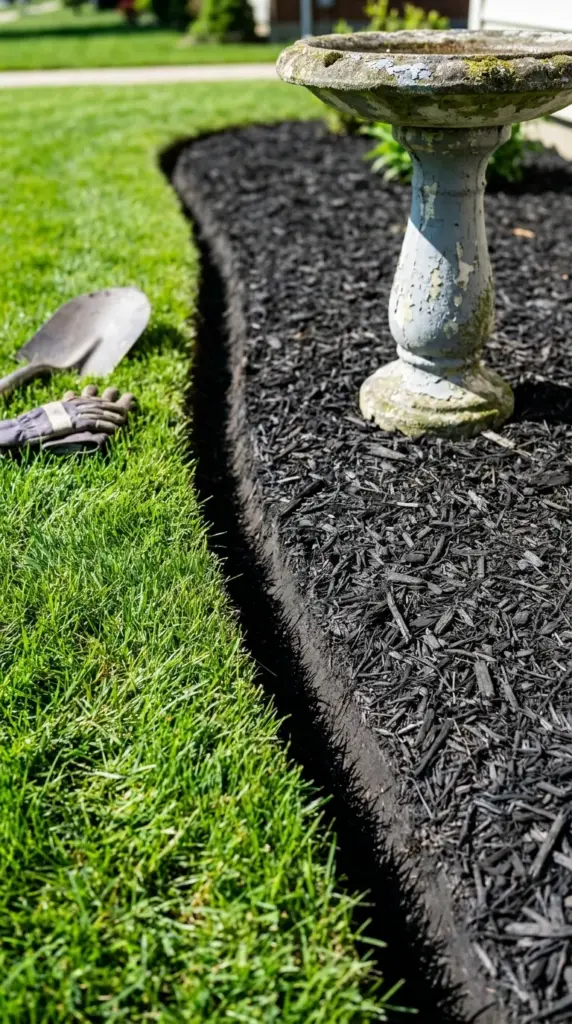
Instead of spending money on plastic or metal strips, you can get a crisp border using just a sharp spade shovel. You simply drive the shovel straight into the grass at a ninety-degree angle to cut a deep, clean V-shaped trench along your mulch beds.
This simple form of garden edging creates a literal physical barrier that stops grass roots from invading your flower beds. Plus, that deep shadow line makes your DIY landscaping look like it was done by a high-end crew.
Choosing the Right Contrast and Focal Focus
Once your edges are dug, skip the cheap red mulch that bleeds in the rain and looks totally artificial. Go for a deep, rich dark brown or black shredded hardwood mulch to make your green plants pop beautifully.
To finish the look, establish one spectacular focal point in the center of the bed to draw the eye. You can use an upcycled vintage birdbath, a large weathered boulder, or a solitary specimen plant to anchor the space.
Once those beds look unbelievably sharp, you are going to want a gorgeous path leading right through them, so click that next button below because we are breaking down how to build stunning walkways using cheap, scavenged stones.
GIPHY App Key not set. Please check settings