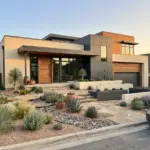
I still remember the day I stared at my front yard, practically crying over a $5,000 professional landscaping quote that basically promised to turn my lawn into a flat, depressing gravel parking lot.
The contractor insisted that a proper, high-end xeriscape front yard required heavy machinery and premium imported stones that cost a literal fortune.
Talk about a total buzzkill. I politely showed him the door, grabbed my favorite gardening gloves, and decided to prove that a low maintenance front yard didn’t have to break the bank.
Many people think drought tolerant landscaping means clearing out every ounce of character and leaving a barren wasteland of hot rocks.
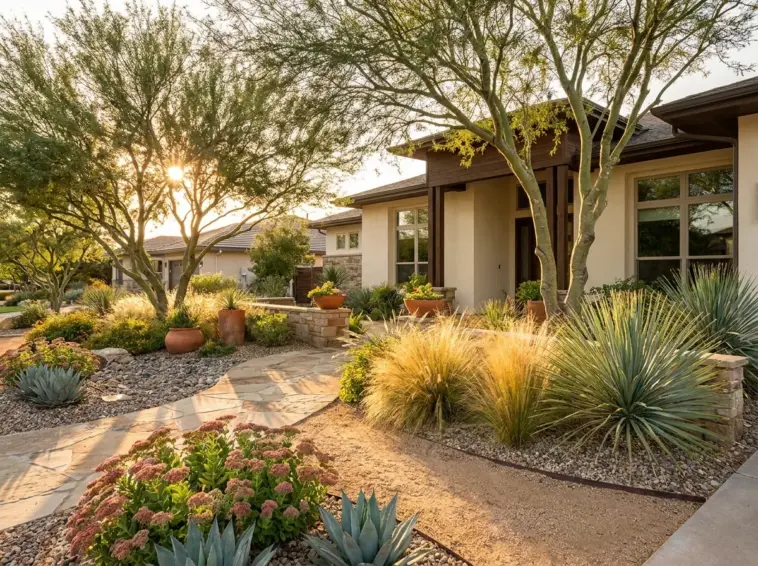
But the secret isn’t spending thousands on a crew; it’s all about creating visual layering using clever, budget-friendly textures that anyone can install over a single weekend.
I managed to transform my bare patches into a textured, eco-friendly masterpiece for under $500, solving the exact design problems that the expensive pro completely ignored.
In this guide, I’m breaking down the exact steps to rescue your yard from the boring gravel trap while boosting your curb appeal on a budget.
1. Framing the Lawn with Free Local Found Stone Borders
When I first tried gathering stones for my yard, I actually overloaded my old station wagon so badly that the rear bumper was practically scraping the asphalt all the way home. My family thought I had completely lost my mind, but those free rocks saved me hundreds of dollars and instantly gave structure to my messy xeriscape front yard.
Professionals will tell you that you need to buy perfectly uniform stone blocks from a luxury supplier, but that’s a total myth. Using mismatched, rugged stones creates a beautiful, organic frame that makes a drought-tolerant yard look completely intentional rather than just neglected.
Hunting Down Your Free Landscape Rocks
You do not need to drop a single dime at a commercial nursery for cheap landscaping rocks if you know where to look. I always check the “free” section on local classifieds and neighborhood social media groups on weekend mornings, especially when people are doing spring cleanups.
Homeowners who are digging up their own yards for new patios or pools are usually desperate for someone to just come and haul away their extra rock material. Just make sure to ask permission before grabbing stones near construction zones or private property, because safety and courtesy come first, always!
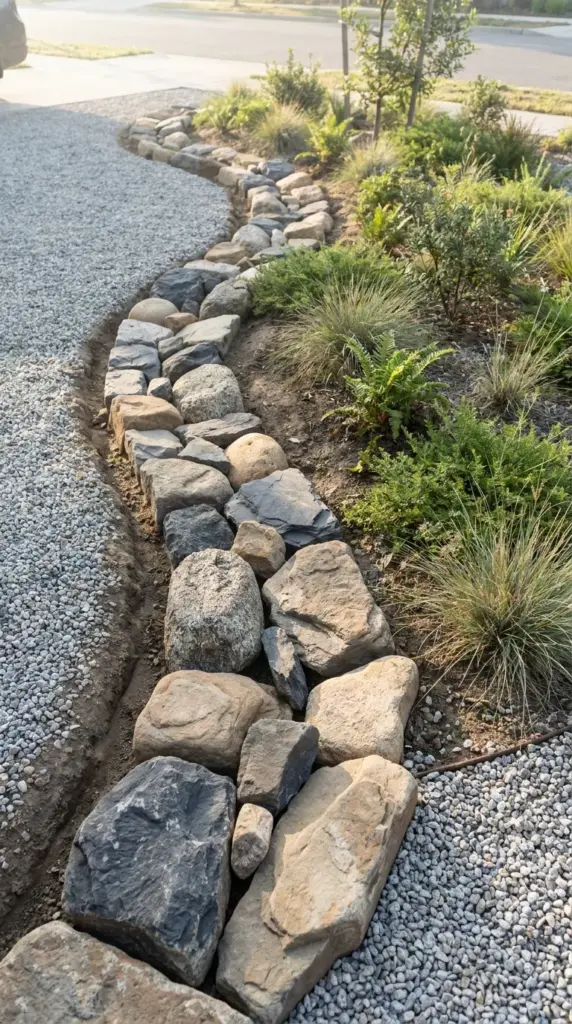
Creating the Winding Stone Border
To make your DIY border look like a million bucks, never lay your stones in a rigid, perfectly straight line. Instead, use an old garden hose to map out soft, sweeping curves that wind beautifully across your front lawn space to boost your curb appeal on a budget.
Dig a shallow trench—about two to three inches deep—where your stones will sit so they look nestled into the earth rather than just tossed on top of the dirt. This simple step locks them into place, prevents shifting, and stops shifting soil from creeping past your new, gorgeous stone garden borders.
It feels amazing to get that high-end structural look without spending a penny, but we also need a crisp way to keep different types of gravel and mulch completely separated. Hit that next button below because I’m showing you exactly how a cheap plastic strip completely tricks the eye into seeing an expensive designer layout.

GIPHY App Key not set. Please check settings