Installation Secrets: What I Learned the Hard Way

Let me tell you about my first attempt at installing a self-watering system – it was a complete disaster! After three flooded beds and one very frustrated spouse, I finally figured out the secrets to proper installation. Trust me, these tips will save you from the headaches I experienced.
Ground Preparation: The Foundation of Success
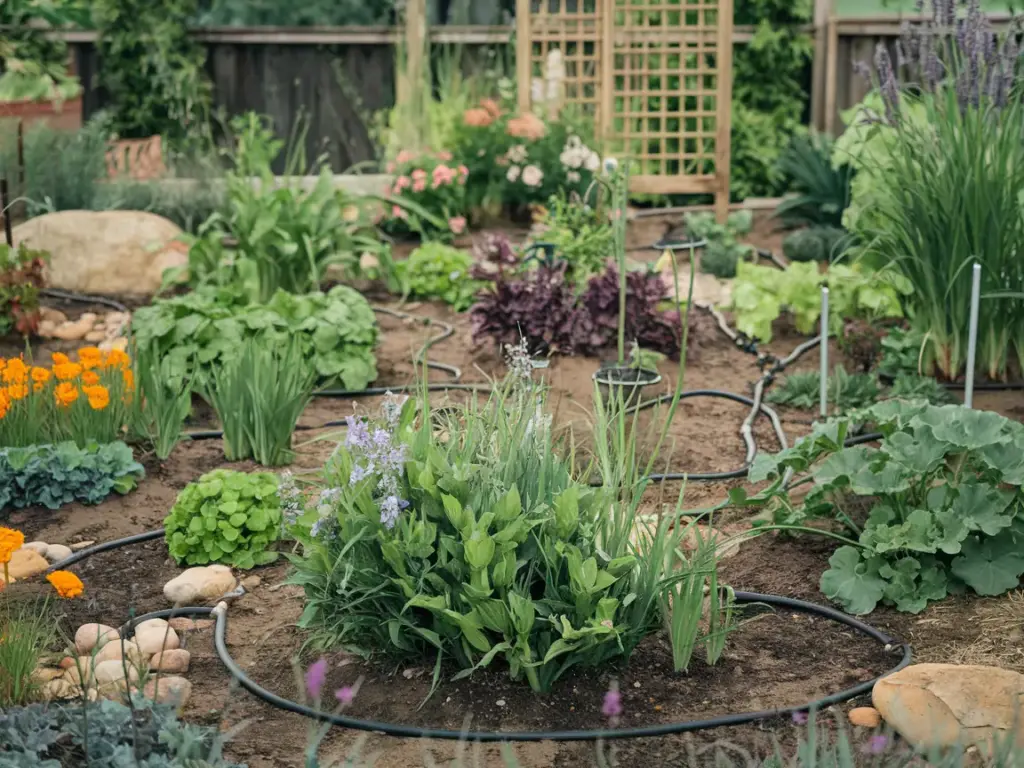
The biggest mistake I see folks make? Rushing through ground preparation. Your irrigation system is only as good as the ground it’s built on. Start by removing all rocks and debris from your garden bed – and I mean ALL of them. I learned this lesson when a sharp stone punctured my water line last summer.
For optimal results, you’ll want to level your soil while maintaining a slight grade of about 2-3%. This might sound technical, but here’s my simple trick: for every 10 feet of garden length, the end should be about 3 inches lower than the start. I use a long level and some string to make sure I get this right.
Connection Methods That Won’t Fail You
After dealing with countless leaky connections (and some creative language that made my neighbors blush), I’ve discovered the foolproof way to connect irrigation components. Always use food-grade PVC cement for permanent connections, and double-check that your threaded fittings are wrapped with plumber’s tape.
Here’s a pro tip that changed my game: pre-assemble your connections in sections before final installation. This gives the cement proper time to cure and makes the whole process much more manageable.
The Art of Slope Calculations
Listen up, because this is where most DIY systems go wrong! Proper water distribution depends entirely on getting your slopes right. For main lines, aim for a 1-2% slope to prevent water from pooling. I use this simple formula:
Rise ÷ Run × 100 = Slope Percentage
For example, if your garden drops 2 inches over 8 feet: 2 inches ÷ 96 inches × 100 = 2.08% slope
Weather-Proofing Your System
Living through four seasons has taught me some valuable lessons about weatherproofing. Your system needs to handle everything from scorching summer days to freezing winters. I always install UV-resistant covers over exposed pipes and use flexible connectors at key points to account for thermal expansion.
One trick I discovered: bury your main lines at least 6 inches deep. This provides natural insulation and protection from temperature fluctuations.
Safety First: Protecting Your Garden and Yourself
Before you start digging, call your local utility company to mark underground lines. I skipped this step once and… well, let’s just say my internet provider wasn’t too happy with me! Also, install backflow preventers to protect your household water supply. This isn’t just good practice – it’s often required by local codes.
Always use food-safe materials when building your system. Remember, these components will be in direct contact with the water that feeds your vegetables.
Ready to learn about maintaining your newly installed system? Click the next button below to discover my time-tested maintenance secrets, including how I reduced my system checks to just 5 minutes a week! I’ll show you exactly how to keep your irrigation running smoothly all season long.


GIPHY App Key not set. Please check settings