Want to know what garden experts don’t tell you? A well-designed raised bed can yield up to 4x more vegetables than traditional row gardening! I’ve spent 15 years perfecting these layouts, and today, I’m pulling back the curtain on the industry’s best-kept secrets.
These aren’t your typical garden layouts – they’re game-changing designs that professional market gardeners use to maximize their harvests. Ready to transform your garden into a vegetable-producing powerhouse? Let’s dive into these expert-level layouts!
#1 The Square Foot Grid Master Plan: A Game-Changing Layout

Let me tell you about the day I discovered square foot gardening – it completely revolutionized my raised bed game! After years of chaotic plantings and disappointing harvests, this method has become my go-to strategy for organizing vegetable gardens.
Understanding the Square Foot Grid Basics
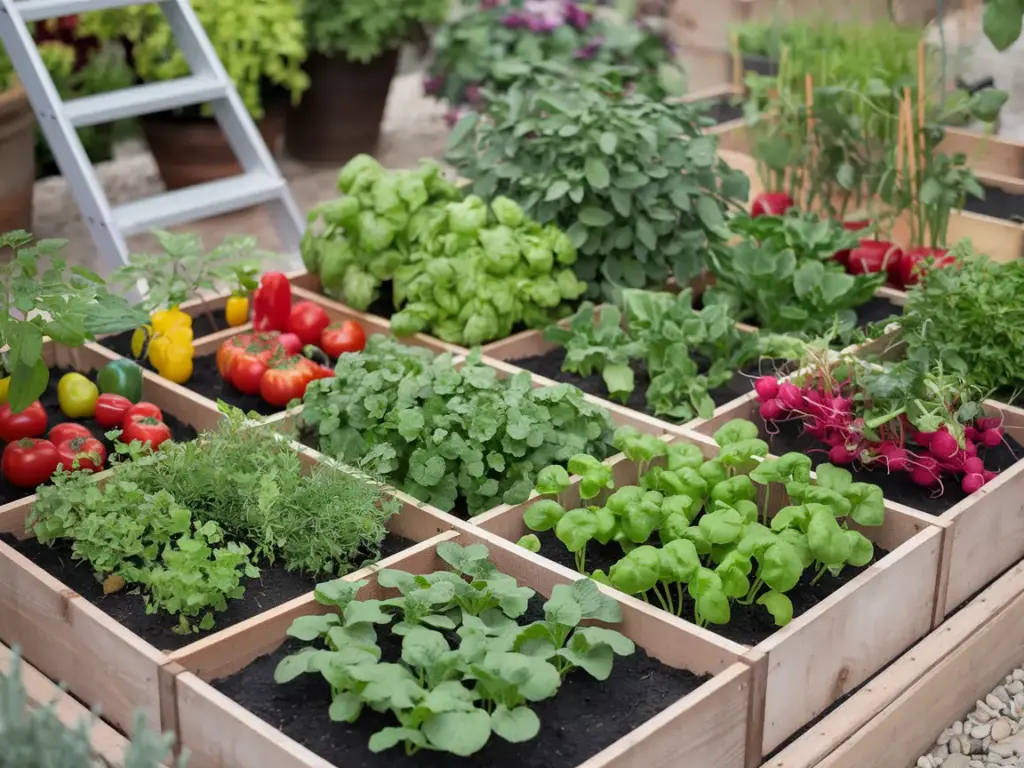
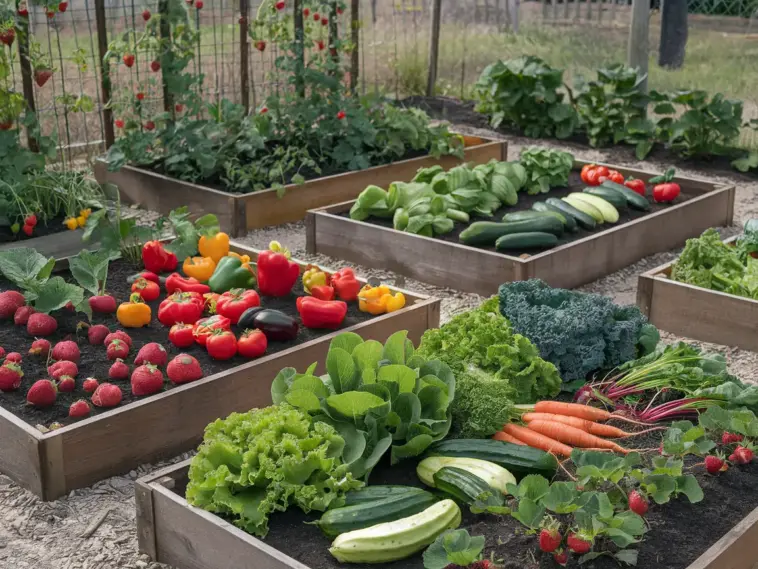
The concept is beautifully simple: divide your raised bed into 1-foot squares using a grid system. I learned this the hard way after my first disaster trying to eyeball the spacing! Now I use thin wooden strips to create a permanent grid on my 4×8 raised beds, giving me 32 perfect squares to work with.
Each square becomes its own mini garden, and here’s the genius part – you can plant different quantities based on the vegetable size:
- Large plants (tomatoes, peppers): 1 per square
- Medium plants (bush beans, herbs): 4 per square
- Small plants (carrots, radishes): 16 per square
Setting Up Your First Grid
The setup process is surprisingly straightforward, though I definitely made some rookie mistakes at first. Here’s what I’ve learned works best:
- Start with a raised bed that’s no wider than 4 feet (trust me, you want to reach the middle easily)
- Use weather-resistant materials for your grid (I learned the hard way that string doesn’t last)
- Create a planting map before you start (I use a simple notebook for this)
The Secret to Succession Planting
This is where the grid system really shines! I keep a garden journal with a grid drawn for each bed, and I use different colors to track what’s planted where. When I harvest a square of radishes, I know exactly how many lettuce seedlings can go in next.
Professional Tips I Wish I’d Known Earlier
After teaching dozens of gardening workshops, I’ve refined my approach. Here are some game-changers:
- Use vertical supports on the north side of your bed to avoid shading
- Install a drip irrigation system along the grid lines
- Keep a photographic record of each square’s progress
- Create laminated planting templates for common vegetables
The best part about this system is how it takes the guesswork out of spacing. No more overcrowded tomatoes or wasted space! My harvest yields have literally doubled since implementing this method.
Want to know something really cool? This system works perfectly with the Three Sisters companion planting method I’ll show you next. It’s an ancient Native American technique that fits beautifully into our modern square foot approach. Click the next button below to discover how I combine traditional wisdom with this grid system for even better results!


GIPHY App Key not set. Please check settings