6. Set Up a Humidity Tray

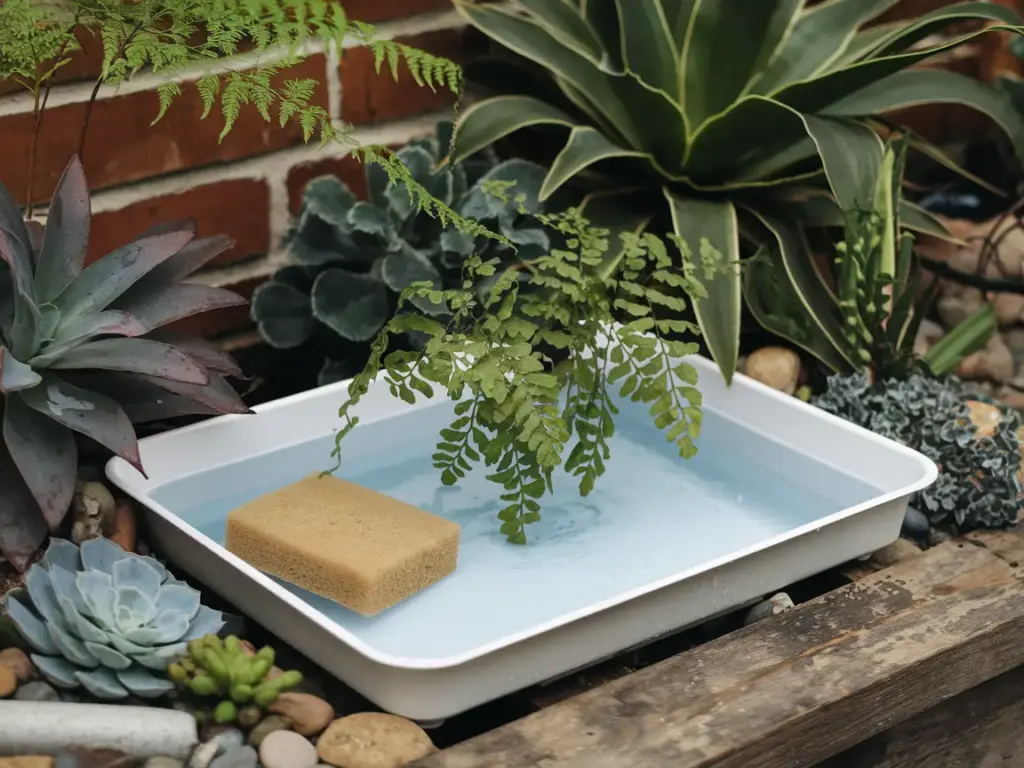
When I first started with humidity trays, I thought they were just pebble trays without the pebbles. Boy, was I wrong! After experimenting with different setups, I discovered that a proper humidity tray is actually a sophisticated microclimate creation system. Let me share what I’ve learned from countless trials (and a few water-damaged windowsills).
Humidity Trays vs. Pebble Trays
Here’s what makes humidity trays unique:
- Larger water surface area for better evaporation
- No pebbles to harbor bacteria or algae
- More efficient humidity distribution
- Easier to clean and maintain
- Better temperature regulation
Sizing Your Humidity Tray
I’ve found these dimensions work best:
- Small setup (1-3 plants): 12×18 inches
- Medium setup (4-6 plants): 18×24 inches
- Large setup (7+ plants): 24×36 inches
Pro tip: Always go one size larger than you think you need!
Best Materials for Durability
After trying various materials, here’s my ranking:
- Food-grade plastic (most reliable)
- Anodized aluminum (expensive but worth it)
- Heavy-duty acrylic (looks great)
- Galvanized steel (avoid for acid-loving plants)
- Glass (beautiful but requires careful handling)
Water Management Guide
Here’s my tried-and-true maintenance schedule:
- Daily: Check water levels
- Weekly: Top off evaporated water
- Monthly: Complete water change
- Quarterly: Deep clean with vinegar solution
Preventing Furniture Damage
Learn from my mistakes! Here’s how to protect your surfaces:
- Use waterproof mats under trays
- Install rubber feet for elevation
- Create airflow gaps underneath
- Apply waterproof sealant to wooden surfaces
- Monitor for any water spillage
Temperature Considerations
The water temperature matters more than you’d think:
- Keep water at room temperature
- Avoid cold drafts near trays
- Monitor for condensation
- Adjust depth based on room temperature
- Maintain consistent ambient conditions
Placement Strategy
Strategic positioning is crucial:
- Place in areas with good air circulation
- Keep away from direct sunlight
- Position at least 6 inches from walls
- Ensure stable, level surfaces
- Group plants with similar humidity needs
Common Issues and Solutions
Problems I’ve encountered and fixed:
- Mineral buildup: Use distilled water
- Algae growth: Add hydrogen peroxide
- Water marks: Install moisture barrier
- Mold development: Increase air flow
- Uneven evaporation: Rotate tray position
Ready to add some serious style to your humidity game? Click next to learn about incorporating a small indoor fountain into your plant space! I’ll show you how I turned a simple water feature into a humidity powerhouse that not only keeps my plants happy but also creates the most amazing tropical ambiance. Plus, discover my secret tip for using fountain water that actually benefits your plants!


GIPHY App Key not set. Please check settings