


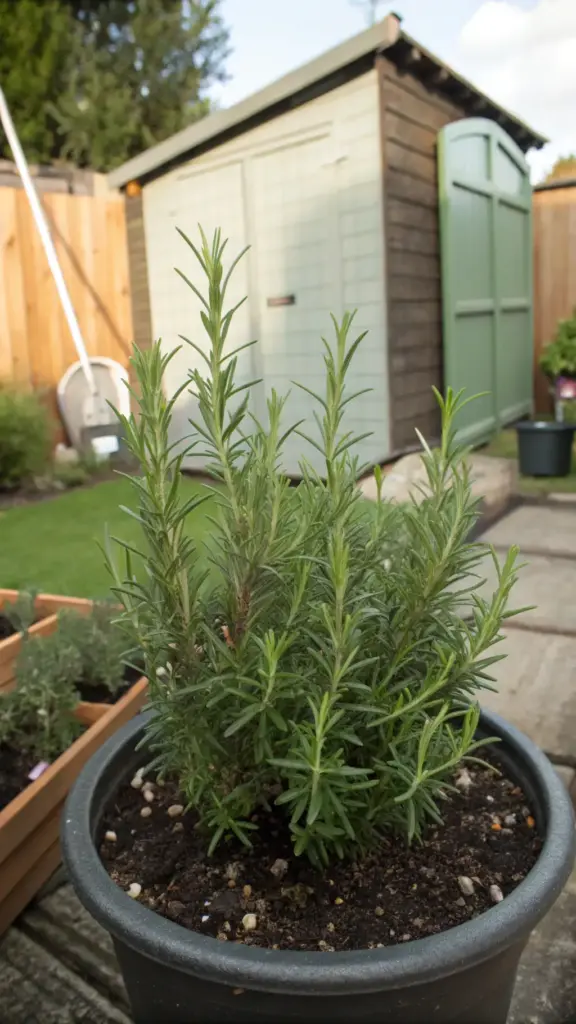
6. Feed Your Rosemary Like a Pro
I used to think that more fertilizer meant bigger, better herbs. So I’d feed my rosemary every two weeks with whatever plant food I had lying around.
My plants grew like crazy – tall, green, and lush. But here’s the kicker: they barely smelled like rosemary at all! The leaves were huge but had almost no aromatic oils.
Why Less Really Is More With Container Herbs
Here’s what blew my mind when I finally figured it out: stressed rosemary produces more essential oils than pampered rosemary. It’s like the plant concentrates its energy into survival mode.
Over-fertilized herbs grow fast and look impressive, but they’re basically flavorless. I learned this after tasting my neighbor’s “neglected” rosemary that had way more punch than my carefully fed plants.
Mediterranean herbs evolved in poor, rocky soils with minimal nutrients. When you give them rich, fertile conditions, they focus on leaf production instead of oil production.
Now I fertilize my container rosemary maybe 3-4 times during the entire growing season. That’s it. The difference in flavor and aroma is incredible.
Organic Fertilizers That Actually Work
Fish emulsion has become my go-to fertilizer for container herbs. I dilute it to half strength and use it once a month during active growing season.
The smell is pretty awful for about a day, but rosemary loves the gentle, slow-release nutrients. Plus, it won’t burn the roots like synthetic fertilizers can.
Compost tea is another winner. I steep a handful of finished compost in a bucket of water for 24 hours, then strain and use the liquid.
Worm castings mixed into the soil at planting time provide gentle, long-term nutrition. I add about 2 tablespoons per 6-inch pot when repotting.
I’ve had great results with kelp meal too. It’s packed with trace minerals that herbs need but don’t always get in container growing.
Feeding Schedules That Boost Flavor
Spring feeding is when I give my rosemary its biggest meal of the year. One application of diluted fish emulsion when new growth starts appearing.
During summer, I might feed once more in mid-July if the plants look pale or growth slows down. But honestly, most years I skip summer feeding entirely.
I never fertilize in fall or winter. Container herbs need to slow down and prepare for dormancy, and feeding them keeps them actively growing when they should be resting.
Young plants get slightly more frequent feeding – maybe every 6 weeks for the first year. Once they’re established, I back off to minimal feeding.


DIY Amendments You Can Make at Home
Banana peel tea sounds weird, but it works great for potassium-hungry herbs. I soak chopped banana peels in water for a week, then use the strained liquid.
Coffee grounds mixed into compost add nitrogen and improve soil structure. But never use fresh coffee grounds directly – they’re too acidic and can burn roots.
Crushed eggshells provide slow-release calcium. I dry them in the oven, crush them up, and mix a tablespoon into each pot’s soil.
Epsom salt dissolved in water (1 teaspoon per gallon) makes a great magnesium supplement. I use this maybe twice a year when leaves start looking pale.
Recognizing and Fixing Over-Fertilization
Dark green, lush growth with weak stems is usually the first sign of too much nitrogen. The plants look healthy but flop over easily and have no aroma.
Excessive leaf growth with no flowering is another red flag. Rosemary should produce flowers regularly when it’s happy and healthy.
If you see brown leaf tips or salt buildup on the soil surface, you’re definitely overdoing it. Stop feeding immediately and flush the soil with plain water.
I’ve rescued over-fertilized plants by repotting in fresh, unfertilized soil mix. It’s drastic, but sometimes necessary to reset the plant’s nutrition.
Yellowing lower leaves can mean either too much or too little fertilizer. Check your feeding schedule and soil moisture before making changes.
The Natural Approach That Works Best
These days, I focus more on soil health than direct fertilization. Good compost mixed into the potting soil provides most of what rosemary needs.
Mycorrhizal fungi inoculant added at planting time helps roots absorb nutrients more efficiently. It’s like giving your plants a better digestive system.
I’ve found that consistent watering and proper drainage matter way more than fertilizer for healthy container herbs. Get those basics right and feeding becomes almost secondary.
The goal is slow, steady growth with maximum flavor concentration. Think Mediterranean hillside, not suburban lawn.
Ready to protect your thriving rosemary from the pests and diseases that can destroy months of careful growing? The next section reveals the natural pest control methods that keep your herbs healthy without toxic chemicals – plus the early warning signs that save plants before problems get serious!


GIPHY App Key not set. Please check settings