


Did you know that rosemary can live for over 30 years when grown properly? Yet most home gardeners struggle to keep this Mediterranean beauty alive for more than a few months! If you’re tired of watching your rosemary plants wither away in their tiny pots, you’re not alone.
As someone who’s transformed countless apartment balconies and kitchen windowsills into thriving herb gardens, I’ve discovered that growing lush rosemary in containers isn’t about having a green thumb – it’s about knowing the right tricks.
Whether you’re decorating your urban apartment with living greenery or planning to elevate your home cooking with fresh herbs, these seven professional secrets will transform your rosemary growing game.
From choosing the perfect pot size to mastering the watering technique that prevents root rot, you’ll learn everything you need to create a stunning, aromatic herb garden that fits perfectly in your small space!
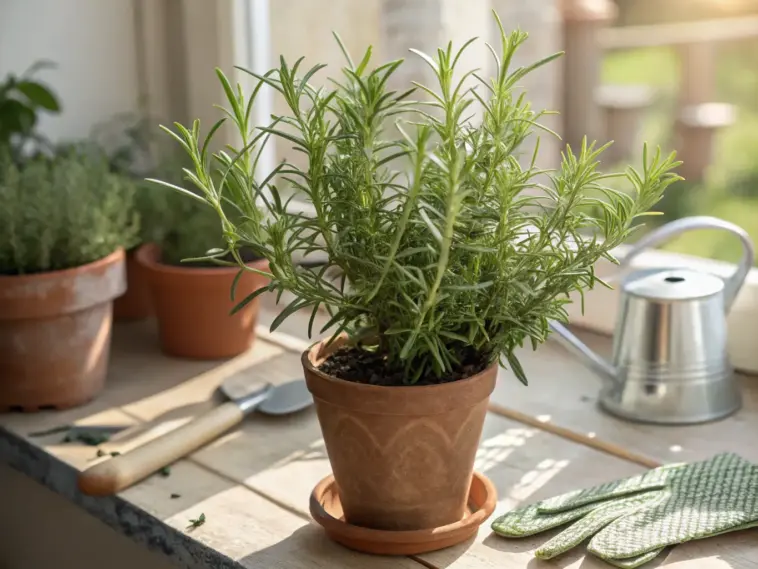
1. Choose the Right Container Size and Material
Let me tell you about the biggest mistake I made when I first started growing rosemary in containers. I grabbed this cute little 4-inch pot from the garden center because it looked perfect on my kitchen windowsill.
Three months later, my poor rosemary looked like it was gasping for air. The leaves were turning yellow, and I couldn’t figure out what was wrong.
Why Pot Size Actually Makes or Breaks Your Rosemary
Here’s what I learned the hard way: rosemary roots need way more space than you think. These Mediterranean beauties develop extensive root systems that can spread 12-18 inches wide when they’re happy.
Your rosemary’s root system is literally the foundation of its health. When roots get cramped, the whole plant suffers.
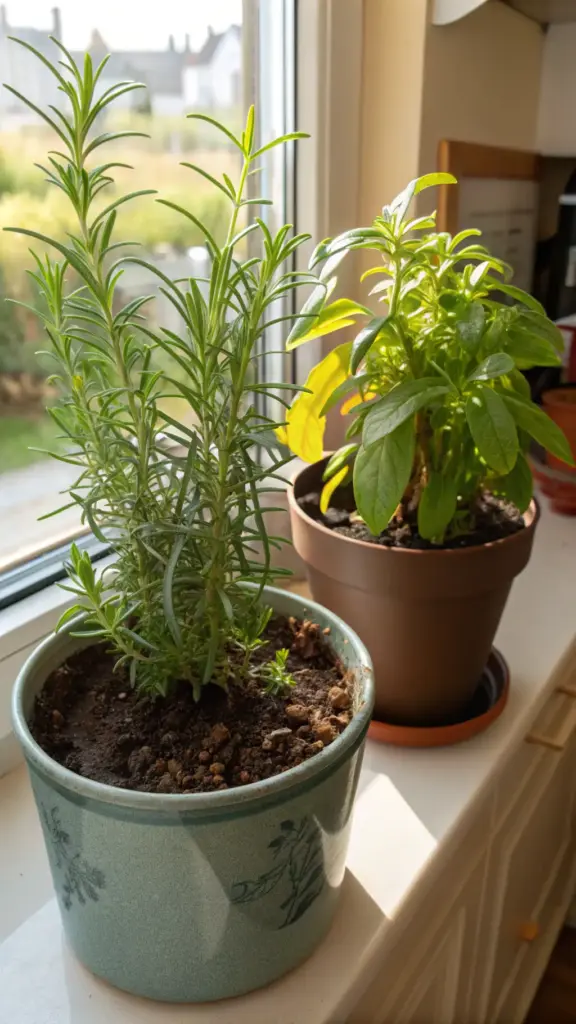
I’ve found that most rosemary varieties need at least a 12-inch diameter pot to really thrive. For dwarf varieties like ‘Blue Boy’ or ‘Spice Islands’, you can get away with 8-10 inches, but trust me – bigger is almost always better.
The depth matters too! Rosemary develops a taproot that wants to go down at least 8-10 inches deep.
The Container Materials That Actually Work
After killing three rosemary plants in plastic pots, I finally figured out the material game. Terra cotta and unglazed ceramic pots are absolute game-changers for container rosemary.
These porous materials let the soil breathe and prevent that dreaded root rot. Plus, they help regulate soil temperature naturally.
Clay pots dry out faster, which is exactly what rosemary wants. I know it sounds counterintuitive, but rosemary hates wet feet more than anything.


Plastic pots can work, but you’ve got to be super careful with watering. I only use them now for temporary plantings or when I’m propagating cuttings.
My Simple Formula for Perfect Pot Dimensions
Here’s the container sizing formula I use now: measure your rosemary’s current width and add 4-6 inches. So if your plant is 6 inches wide, go for a 10-12 inch pot.
For height, I always choose pots that are at least as deep as they are wide. A 12-inch wide pot should be 12 inches deep minimum.
This gives the roots room to spread both horizontally and vertically. Your rosemary will reward you with bushier growth and more aromatic leaves.
DIY Modifications That Save Your Plants
One trick I learned from my neighbor (who’s basically a rosemary whisperer) is drilling extra drainage holes. Most store-bought pots don’t have enough drainage for herbs.
I take a masonry bit and add 3-4 more holes around the sides, about an inch up from the bottom. This creates better airflow and prevents water from sitting in the soil.
Another game-changer: adding pot feet or placing containers on bricks. This elevates the pot and improves drainage even more.
Budget-Friendly Alternatives That Actually Work Better
Here’s where I got creative after spending way too much on fancy planters. Food-grade buckets from the hardware store work amazingly well for larger rosemary plants.
A 5-gallon bucket costs about $3 and gives your rosemary tons of root space. Just drill drainage holes and you’re set.
Old colanders make fantastic herb containers too. The built-in drainage is perfect, and they look pretty cute on a patio table.
I’ve also had great success with wooden wine crates lined with landscape fabric. They’re often free from liquor stores and have that rustic charm that makes your herb garden look intentional.
Ready to learn the secret soil mix that makes rosemary absolutely thrive in containers? Click the “next” button below to discover the Mediterranean soil formula that professional growers swear by – it’s probably not what you think!


GIPHY App Key not set. Please check settings