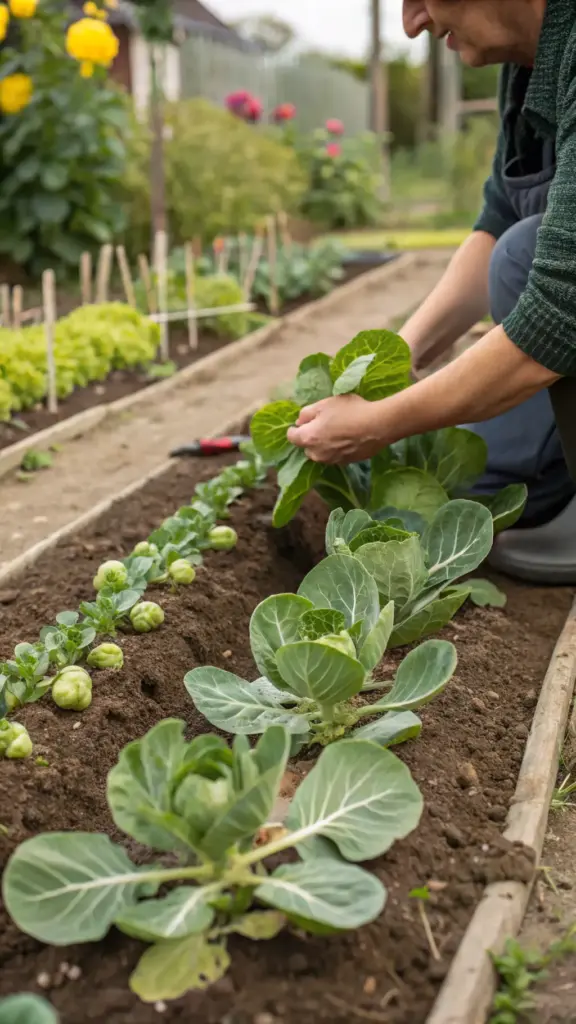
Planting Your Brussels Sprouts: From Seeds to Seedlings

You know what’s amazing? Watching those tiny seeds transform into robust plants! After years of trial and error, I’ve finally mastered the art of starting brussels sprouts, and I’m excited to share all my tips with you.
Starting Seeds: Indoor vs. Direct Sowing
I’m a huge fan of starting seeds indoors, and here’s why: it gives you complete control over those crucial early growing conditions. Here’s my foolproof method:
- Use seed starting trays with good drainage
- Fill with high-quality seed starting mix
- Plant seeds ¼ inch deep
- Maintain soil temperature around 65-75°F
- Provide 14-16 hours of grow light daily
Direct sowing can work too, especially in regions with longer growing seasons. But honestly, I’ve had much better success with indoor starts.
Perfect Planting Depth and Spacing
Getting this right is crucial! Here’s what works best:
- Seeds: Plant ¼-½ inch deep
- Seedling spacing: 18-24 inches apart
- Row spacing: 30-36 inches
- Plant slightly deeper than they were in containers
Pro tip: I use a ruler to measure spacing – eyeballing it never works out as well as you’d think!
Companion Planting Magic
This is where gardening gets fun! My brussels sprouts absolutely thrive when planted near these companions:
- Aromatic herbs: sage, dill, mint
- Beneficial flowers: marigolds, nasturtiums
- Other vegetables: beets, celery
- Avoid planting near strawberries or pole beans
Transplanting Like a Pro
Here’s my gentle transplanting technique that ensures almost 100% survival rate:
- Harden off seedlings for 7-10 days
- Transplant on a cloudy day or evening
- Water thoroughly before and after
- Add organic mulch around plants
- Provide temporary shade for 2-3 days
The key is to be super gentle with those roots – they’re more delicate than they look!
Ready to become a brussels sprouts care expert? Click “next” to discover my secret maintenance routine that keeps these plants healthy and productive! I’ll share my organic pest control solutions and a special fertilizing schedule that transformed my harvests from mediocre to magnificent. Plus, you won’t believe the simple trick I discovered for preventing those annoying yellow leaves! 🌱💚


GIPHY App Key not set. Please check settings