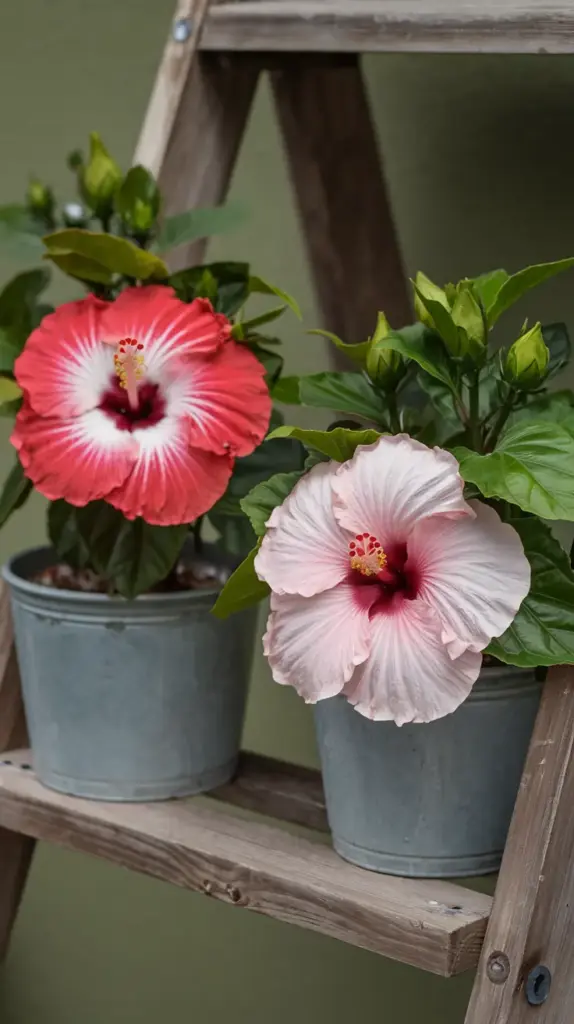
Step 2: Soil and Planting Requirements for Potted Hibiscus

Let me tell you about my biggest gardening fail that turned into a valuable lesson! When I first started growing hibiscus in containers, I thought regular potting soil would do the trick. Boy, was I wrong! After watching my first hibiscus struggle with poor drainage and eventually develop root rot, I learned that these tropical beauties need special attention when it comes to their growing medium.
Creating the Perfect Soil Mix
The secret to healthy potted hibiscus lies in the soil mix. Through years of experimentation, I’ve found that the perfect ratio is 40% high-quality potting soil, 30% perlite, and 30% coconut coir. This combination has been a game-changer for my plants! The perlite ensures excellent drainage, while the coconut coir helps retain just enough moisture without becoming waterlogged.
Here’s a pro tip that saved my plants: before mixing your soil components, pre-moisten the coconut coir. It can be surprisingly hydrophobic when dry, and I learned this the hard way when I first used it straight from the bag!
Essential Drainage Setup
When it comes to drainage, I’m kind of obsessed – and for good reason! Start with a layer of chunky perlite or small gravel at the bottom of your pot (about 2 inches deep). I actually use broken pieces of terracotta pots sometimes – they work wonderfully! Make sure your pot has at least 3-4 drainage holes. Trust me on this one – I’ve lost too many plants to poor drainage to take shortcuts anymore.
Getting the pH Just Right
Here’s something that took me ages to figure out: hibiscus are pretty picky about their soil pH. They thrive in slightly acidic soil with a pH between 5.5 and 6.5. I keep a soil pH meter handy (after killing several plants before I understood the importance of pH). If your soil is too alkaline, you can add some organic sulfur or pine needle mulch to gradually lower the pH.
Planting Process Step-by-Step
- Start with a clean pot that’s at least 12 inches deep
- Add your drainage layer
- Mix your soil components thoroughly
- Fill the pot about 1/3 full with your soil mix
- Remove your hibiscus from its nursery pot (be gentle with those roots!)
- Position the plant so the root crown sits 1 inch below the pot’s rim
- Fill in around the roots, gently tamping down to remove air pockets
- Water thoroughly until it drains from the bottom
Root Spacing and Growth
One mistake I see folks make all the time (and I was guilty of this too!) is cramming too large a plant into too small a pot. Your hibiscus needs room to grow! Leave about 3-4 inches of space between the root ball and the pot’s sides. This gives those feeder roots plenty of room to spread out and develop a strong system.
Ready to learn about keeping your newly planted hibiscus properly watered? Click the next button below to discover my tried-and-true watering techniques that’ll keep your hibiscus thriving through every season. I’ll share some surprising tips about water temperature and timing that completely changed my success rate with these gorgeous plants! 🌺


GIPHY App Key not set. Please check settings