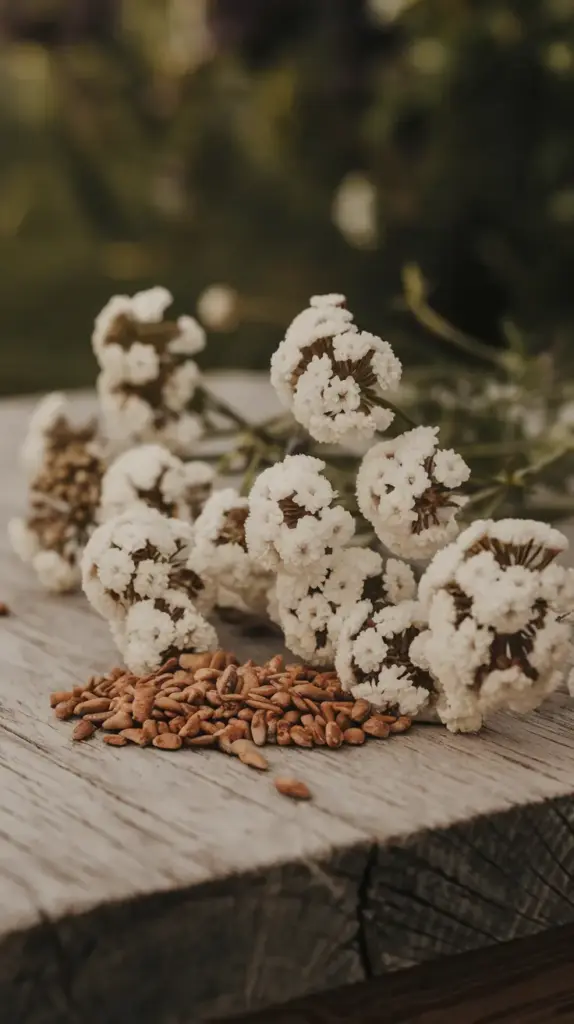
4. Step-by-Step Planting Guide

After countless seed-starting adventures (and yes, some memorable failures!), I’ve developed a foolproof method for planting alyssum. The key is in the details, and I’m excited to share every little trick I’ve learned along the way!
Soil Preparation: The Foundation of Success
Here’s my time-tested soil preparation method:
- Start with fresh potting mix (never reuse old soil!)
- Add 20% perlite for better drainage
- Pre-moisten the soil until it feels like a wrung-out sponge
- Let it warm to room temperature
Pro tip: I always sterilize my containers with a 10% bleach solution before planting. Trust me, this extra step prevents so many problems!
Perfect Seed Spacing Technique
Alyssum seeds are tiny, but spacing matters! Here’s my fool-proof approach:
- Surface sowing is key – don’t bury the seeds!
- Space seeds about 1/4 inch apart
- Mix seeds with fine sand for easier spreading
- Gently press seeds into soil using a ruler
For containers, I use this formula: “Think pinches, not piles” – about 3-4 seeds per square inch.
Watering Like a Pro
This is where most beginners struggle, but I’ve got you covered! My watering routine:
- Use a fine-mist spray bottle for initial watering
- Bottom water once seedlings emerge
- Maintain consistent moisture (check daily!)
- Never let soil dry completely
The secret sauce? I use warm water for seedlings – they absolutely love it!
Common Mistakes to Avoid
Learn from my blunders! Here are the biggest pitfalls I’ve encountered:
- Overwatering (The #1 seedling killer!)
- Planting too deep
- Forgetting to label varieties
- Using cold water on seedlings
- Poor air circulation
The First Two Weeks
This is the crucial period! Here’s my daily routine:
- Check moisture every morning
- Maintain temperatures between 65-70°F
- Look for germination around day 4-7
- Remove humidity dome gradually once sprouted
- Monitor for damping off
My special trick? I use a chopstick to test soil moisture – when it comes out clean, it’s time to water!
Ready to take your alyssum garden to the next level? Click that “next” button below to discover my urban garden care secrets! I’ll show you exactly how to maintain your blooming beauties, including my special pruning technique that keeps them flowering for months. Plus, I’ll share my organic pest control solutions that actually work in city environments!


GIPHY App Key not set. Please check settings