Days 2-4: Daily Care Routine
Alright, this is where the real sprouting magic happens! After years of trial and error, I’ve developed a foolproof routine that keeps my sprouts thriving. Let me share my exact schedule that turns those tiny seeds into a jar full of crispy, nutritious goodness.
The Perfect Rinsing Schedule
Consistency is key when it comes to rinsing your sprouts! I do this twice daily – once in the morning before work (around 7 AM) and once before dinner (around 6 PM). Fill your jar with cool water, swirl gently for about 30 seconds, and drain completely. Never skip a rinse – I learned this lesson the hard way when my sprouts developed a funky smell!
Mastering the Drain Dance
The draining technique is crucial for healthy sprouts. After each rinse:
- Invert the jar at a 45-degree angle
- Give it a gentle shake to spread the sprouts
- Make sure no water pools at the bottom
- Keep the jar in this position until the next rinse
Temperature and Environment Secrets
Your sprouts will thrive in room temperature between 68-75°F. I keep mine away from my kitchen window until day 3 – that’s when they’re ready for some indirect sunlight to develop those beautiful green leaves. Too much heat can lead to bacterial growth, while too much cold will slow down sprouting.


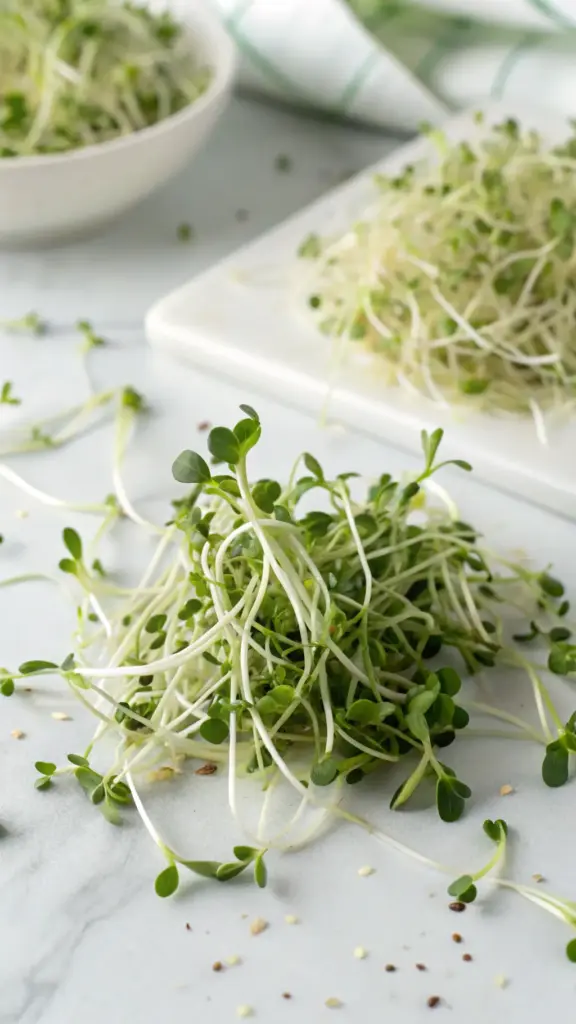
Monitoring Growth Progress
By day 2, you should see tiny white tails emerging. Here’s what to look for each day:
- Day 2: Small white sprout tails (about 1/4 inch)
- Day 3: Longer sprouts with tiny root hairs
- Day 4: The sprouts should fill most of the jar and may show slight greening
Troubleshooting Like a Pro
Sometimes things don’t go as planned, and that’s okay! Here are solutions to common issues:
- Funky smell: Rinse more frequently and ensure better drainage
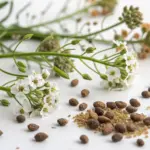
- Brown seeds: They might be old; always use fresh seeds
- Slow growth: Check your temperature and water quality
- Mold concerns: Don’t panic if you see white fuzz – it’s usually just root hairs!
Ready to harvest these beautiful sprouts? Click the “next” button below to learn my secret technique for getting the crispiest, freshest sprouts possible. Plus, I’ll share my favorite storage hack that keeps them fresh for up to a week!


GIPHY App Key not set. Please check settings