Day 1: Starting Your Sprout Journey
Let me tell you about my first day trying to grow sprouts – what a learning experience that was! After countless batches (and a few memorable failures), I’ve got this process down to a science. Let me walk you through everything you need to know to nail your first sprouting day.
Measuring Your Seeds Like a Pro
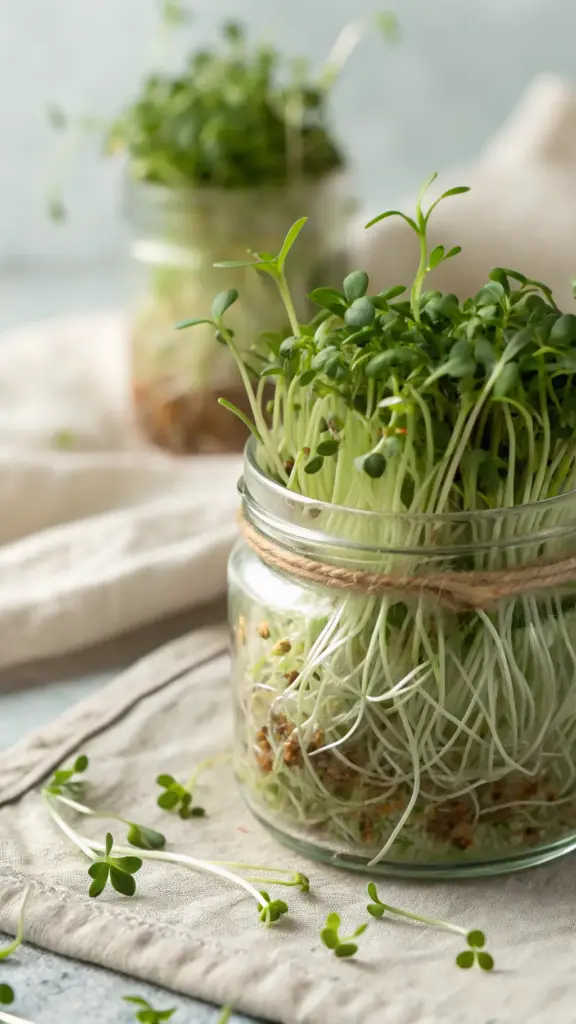
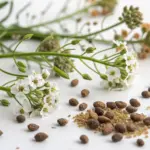
The secret to perfect sprouts starts with the right seed-to-jar ratio. For a quart-sized mason jar, you’ll want exactly 2 tablespoons of alfalfa seeds. I learned this the hard way – my first batch was way too crowded because I eyeballed it! Here’s a pro tip: spread the seeds in a single layer across the bottom of your jar. If they’re stacked on top of each other, you’ve used too many.
The Perfect Soak: Timing is Everything
Remember when I mentioned filtered water earlier? Here’s where it really matters. Fill your jar with room temperature water until it’s about three-quarters full. Your seeds need plenty of space to dance around and absorb water! The magic number for soaking is 8-12 hours – I usually start mine right before bed and they’re ready when I wake up.
Setting Up Your Sprouting Station
Location, location, location! Your sprouts need a cozy spot that’s:


- Away from direct sunlight (trust me, they’ll get plenty of light later)
- At room temperature (around 70°F is perfect)
- Easy to access for rinsing
- Well-ventilated
Avoiding First-Timer Mistakes
Oh boy, do I have some stories about rookie mistakes! Here are the biggies to avoid:
- Using hot water (it can cook your seeds!)
- Forgetting to rinse seeds before soaking
- Keeping the jar upright during drainage (always keep it at an angle)
- Using an airtight lid instead of a breathable cover
Creating the Perfect Drainage Setup
This is where the magic happens! Position your jar at a 45-degree angle in your dish rack or bowl. This allows excess water to drain while maintaining proper air circulation. I actually use a small wooden block under one side of my bowl to achieve the perfect angle – total game-changer!
Ready to see what happens next? Click that “next” button below to discover the daily care routine that’ll transform these tiny seeds into crispy, nutritious sprouts. I’ll share my special morning and evening rinse technique that keeps mold at bay and ensures perfect germination every single time!


GIPHY App Key not set. Please check settings