
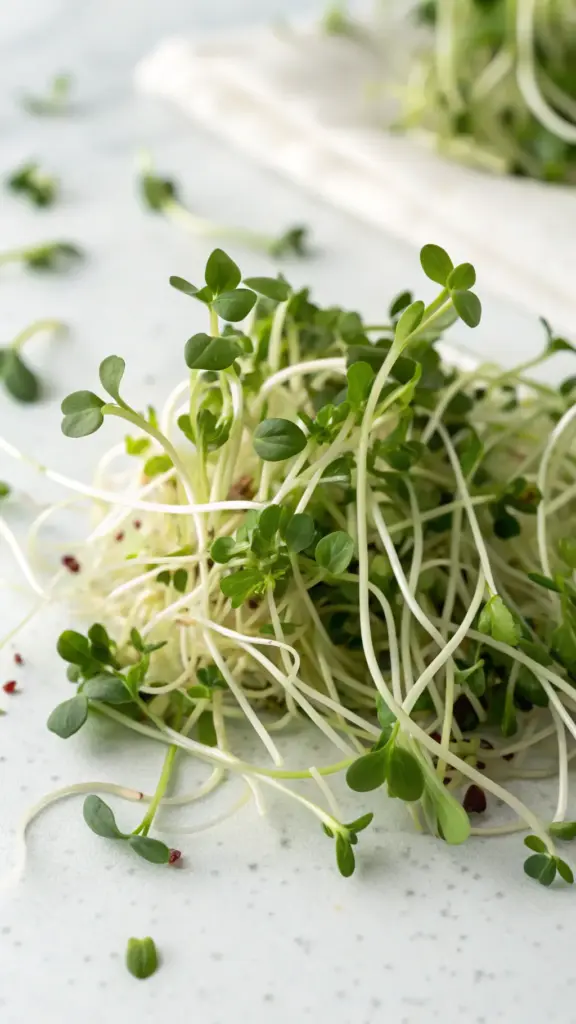
Did you know that a tiny jar on your windowsill can produce more nutrients than a full garden bed? Welcome to the magical world of alfalfa sprouting! 🌱
As a city dweller who transformed my cramped NYC apartment into a mini sprouting paradise, I’m excited to share how you can grow these nutrient-packed powerhouses in even the tiniest kitchen space. The best part? You’ll go from seed to harvest in just 5 days! Perfect for busy professionals and health-conscious foodies who want to add a touch of homegrown goodness to their meals.
Essential Supplies for Your Sprouting Adventure
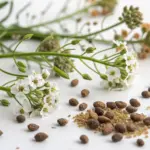
Let me tell you something – when I first started growing sprouts, I made the rookie mistake of using random seeds from my local store. Big oops! Now I always get my organic alfalfa seeds from SeedsNow.com, hands down the best online seed shop I’ve found. Their seeds have consistently given me the most vibrant and healthy sprouts I’ve ever grown!
The Perfect Sprouting Container
You know what’s funny? I used to think any old jar would do. But trust me, using the right container makes all the difference in the world! You’ll need a wide-mouth mason jar – I prefer the quart size because it gives your sprouts plenty of room to grow. The most game-changing addition to your setup will be a proper sprouting lid. If you’re in a pinch, cheesecloth secured with a rubber band works too, but I’ve found dedicated sprouting lids make the process so much easier.
Quality Seeds and Water Matter
Here’s something crucial I learned the hard way: seed quality is non-negotiable. Two tablespoons of seeds is the sweet spot for a quart jar – any more and you’ll end up with overcrowded sprouts (been there, done that!). As for water, always use filtered or spring water if possible. Tap water can contain chlorine that might affect germination rates.


Setting Up Your Sprouting Station
Finding the perfect spot for your sprouting operation is key! You’ll need a small dish rack or bowl for drainage – I actually repurposed an old dish drying rack, and it works perfectly. Your windowsill spot doesn’t need direct sunlight initially, but good indirect light helps develop those beautiful green leaves later in the process.
Optional But Fun Additions
Want to make your sprouting setup Instagram-worthy? Get creative with some cute jar labels! I love using chalkboard labels because they’re reusable and look amazing in photos. Plus, they help keep track of when you started each batch.
Ready to start your sprouting journey? Click the “next” button below to discover the step-by-step process of your first sprouting day. I’ll share my foolproof soaking technique that took me years to perfect – trust me, you won’t want to miss this game-changing tip that makes all the difference between mediocre and amazing sprouts!


GIPHY App Key not set. Please check settings