Mastering Soil Amendments

Let me tell you about my journey with soil amendments – it’s been quite the learning experience! When I first started gardening, I thought I could just toss any old compost into my vegetable beds and call it a day. Boy, was I wrong. After watching my tomatoes struggle that first season, I realized I needed to get serious about understanding organic amendments and how to use them properly.
Types of Organic Amendments That Actually Work
The game-changer for me came when I discovered the “big three” of organic amendments. Your soil needs three main types of organic matter to truly thrive. First up is compost, which I religiously add every season now. But here’s the thing – not all compost is created equal! I learned to look for dark, crumbly compost that smells like fresh earth. My vegetables absolutely love it when I add about 2-3 inches of good quality compost.
Then there’s well-rotted manure. Just don’t make the mistake I did and use fresh manure – what a disaster that was! My poor lettuce got burned, and the smell… let’s not even go there. Now I only use manure that’s been aged for at least 6 months. The difference in plant growth is incredible.
Lastly, there’s leaf mold, which has become my secret weapon. I collect leaves in fall, let them break down for a year, and end up with this amazing soil amendment that holds water like a sponge.
Getting the Ratios Right (Finally!)
After years of experimenting, I’ve nailed down some foolproof ratios for my vegetable garden. The magic ratio I’ve found is 60% native soil, 30% compost, and 10% other amendments. This combination has given me the best results across all my vegetable beds.
For clay soil, I add a bit more organic matter – usually around 40% of the total volume. Sandy soil needs similar treatment, but I throw in some extra coconut coir to help with water retention. It’s amazing how much difference getting these ratios right can make!
Timing Your Applications Like a Pro
Timing really is everything when it comes to soil amendments. I learned this lesson the hard way after adding amendments right before a heavy rain and watching half of them wash away! Now I always add my main amendments about 2-3 weeks before planting time. This gives everything a chance to integrate nicely with the existing soil.
For my slow-release organic fertilizers, I’ve developed a simple schedule: a big application in early spring, followed by lighter doses every 6-8 weeks during the growing season. This keeps my vegetables fed without overwhelming them.
My Tried-and-True Mixing Method
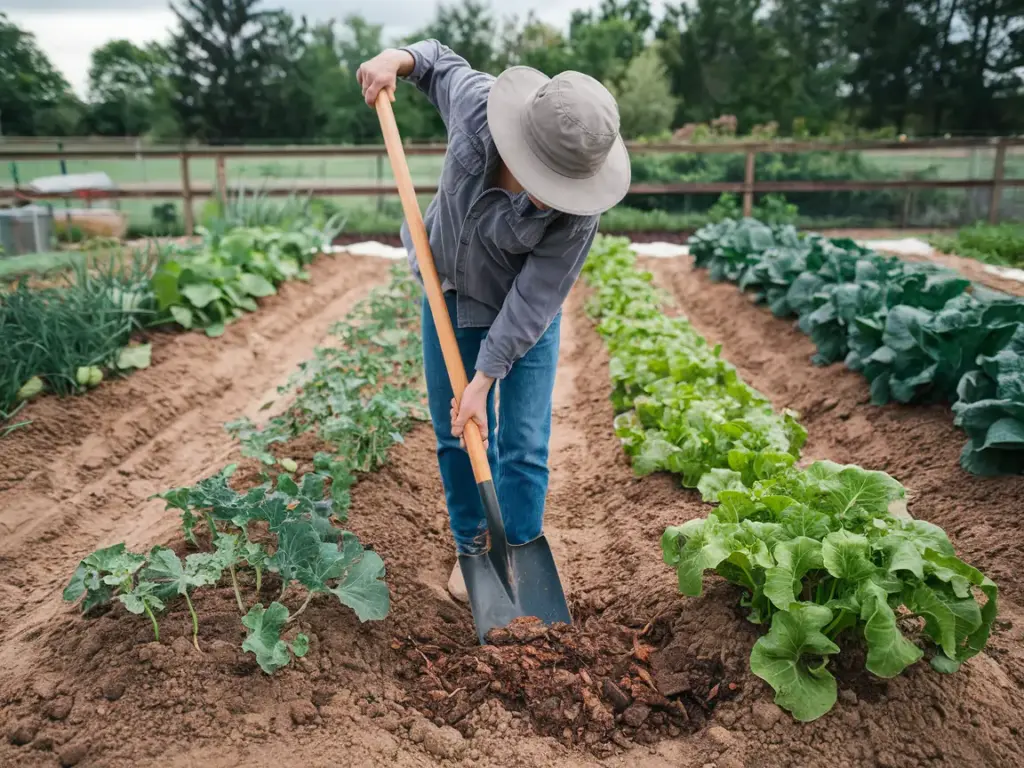
Here’s a pro tip that took me way too long to figure out: always mix your amendments in layers, just like making a lasagna. I start with a layer of native soil, add my amendments on top, and then use my garden fork to blend everything together gradually. This prevents the amendments from clumping and ensures even distribution.
For really tough soil, I use what I call the “double-dig and mix” method. It’s more work, but the results are worth every bead of sweat!
Want to know what happens after you’ve got your soil amendments sorted? The next section on “Drainage and Moisture Management” will show you exactly how to ensure your newly amended soil maintains the perfect moisture balance. Click the next button below to discover my biggest breakthrough in dealing with waterlogged gardens – trust me, this one’s a game-changer!
Remember: great soil is the foundation of a successful vegetable garden, and getting your amendments right is the key to creating that foundation.


GIPHY App Key not set. Please check settings