Foundation Work: Clearing and Planning

Let me tell you about the time I learned the hard way about proper garden preparation. I had just moved into my first house with an actual backyard, and in my excitement, I started planting vegetables right away without proper site preparation. Big mistake!
Starting With a Clean Slate
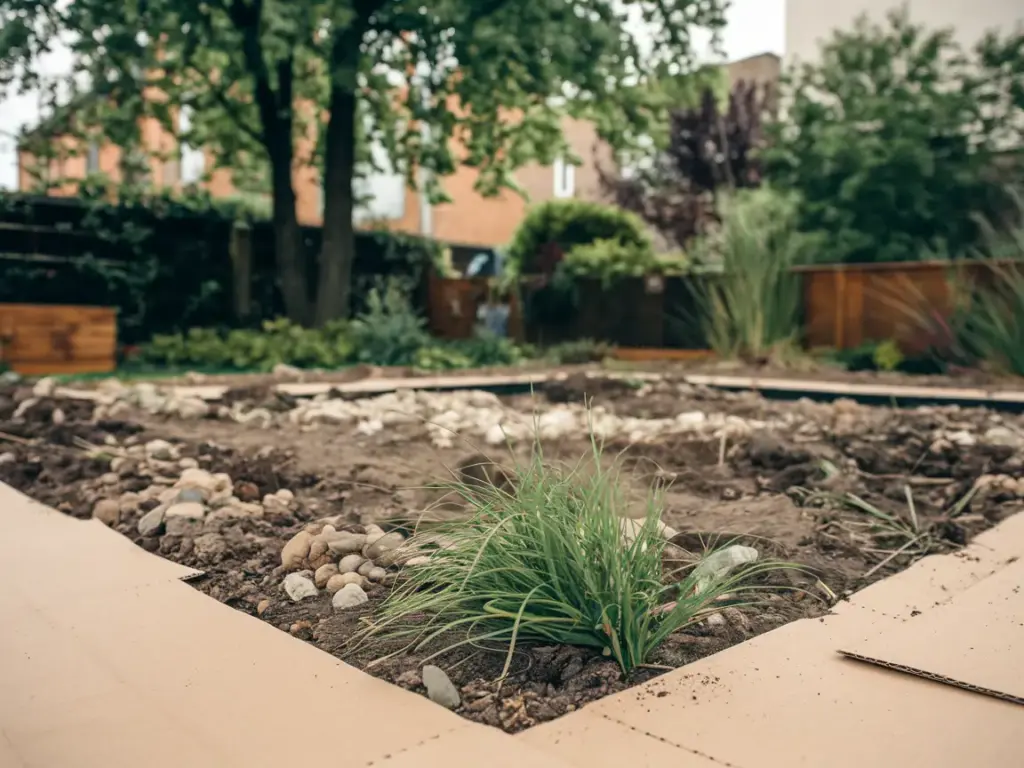
The first rule of successful garden soil preparation is starting with a completely clean space. I spent an entire weekend clearing my future vegetable patch of rocks, weeds, and old plant debris. The cleaner your starting point, the fewer problems you’ll face down the road.
Those sneaky perennial weeds taught me a valuable lesson. You’ve got to remove them completely, roots and all. I now use a technique called “lasagna gardening” where I lay down cardboard to smother existing vegetation. It works like a charm and adds organic matter to the soil as it decomposes!
Planning Your Layout
Once you’ve got a clean canvas, it’s time for some serious planning. Garden layout isn’t just about aesthetics – it’s about maximizing your growing space and making maintenance easier. A well-planned garden can literally save you hours of work each week.
I learned to consider these key factors:
- Sun exposure throughout the day
- Water source accessibility
- Natural drainage patterns
- Walking paths between beds
- Future expansion possibilities
Understanding Soil Depth
Here’s something that totally surprised me when I started: different vegetables need different soil depths. My first attempt at growing carrots in 6 inches of soil was… well, let’s just say they looked more like orange golf tees than carrots!
For reference, here’s what I’ve found works best:
- Shallow rooted crops (lettuce, herbs): 4-6 inches
- Medium rooted crops (beans, cucumbers): 8-12 inches
- Deep rooted crops (tomatoes, carrots): 12-24 inches
Creating Your Timeline
Timing is everything in gardening, and I learned this through plenty of trial and error. The key is working backward from your ideal planting date. For my zone 6 garden, I start my soil preparation about 8 weeks before the last frost date.
My current timeline looks something like this:
- Early spring (8 weeks before planting): Initial clearing and soil testing
- 6 weeks before: Add amendments and organic matter
- 4 weeks before: Final tilling or bed preparation
- 2 weeks before: Let soil settle and retest if needed
- Planting week: Final rake and plant!
I’ve found that soil preparation isn’t a race – it’s more like preparing for a marathon. Taking your time with each step pays off big time when harvest season rolls around.
Ready to take your garden soil to the next level? Click the “next” button below to discover the secrets of building better soil structure. I’ll show you exactly how I transformed my rock-hard clay into rich, crumbly soil that vegetables absolutely love growing in. Trust me, you won’t want to miss these game-changing techniques for improving your soil structure!


GIPHY App Key not set. Please check settings