Incredible but true: a mere 1% increase in organic matter can help soil hold 20,000 more gallons of water per acre! I discovered this game-changing fact when transforming my own vegetable patch from stubborn clay to a fertile paradise. According to the Soil Science Society of America, proper soil preparation is the single most important factor in vegetable gardening success.
Whether you’re struggling with clay, sand, or something in between, I’ll show you exactly how to create the perfect growing environment for your vegetables. Ready to dig in? Let’s unlock the secrets of superior soil preparation!
Getting Started: Soil Assessment Basics

Let me tell you about my first attempt at vegetable gardening – what a humbling experience that was! I thought I could just dig up some dirt, throw in some seeds, and watch my garden grow. Boy, was I wrong. After a season of sad-looking tomatoes and lettuce that never quite made it, I learned the hard way that soil testing is absolutely essential.
The Simple Soil Squeeze Test
Here’s a super easy DIY test I learned from my master gardener friend Pat. Grab a handful of slightly moist soil and give it a good squeeze. If it holds its shape but crumbles easily when you poke it, you’ve got yourself some perfect loamy soil. My soil? It stayed in a tight ball that could’ve been used as a paperweight – classic clay soil!
Your soil texture tells you so much about your garden’s future. Sandy soil feels gritty and won’t hold shape at all. Clay soil gets sticky when wet and rock-hard when dry. And that perfect loamy soil we’re all after? It feels like chocolate cake crumbs. Understanding your soil texture is your first step toward garden success.
Testing pH: Your Soil’s Personality Test
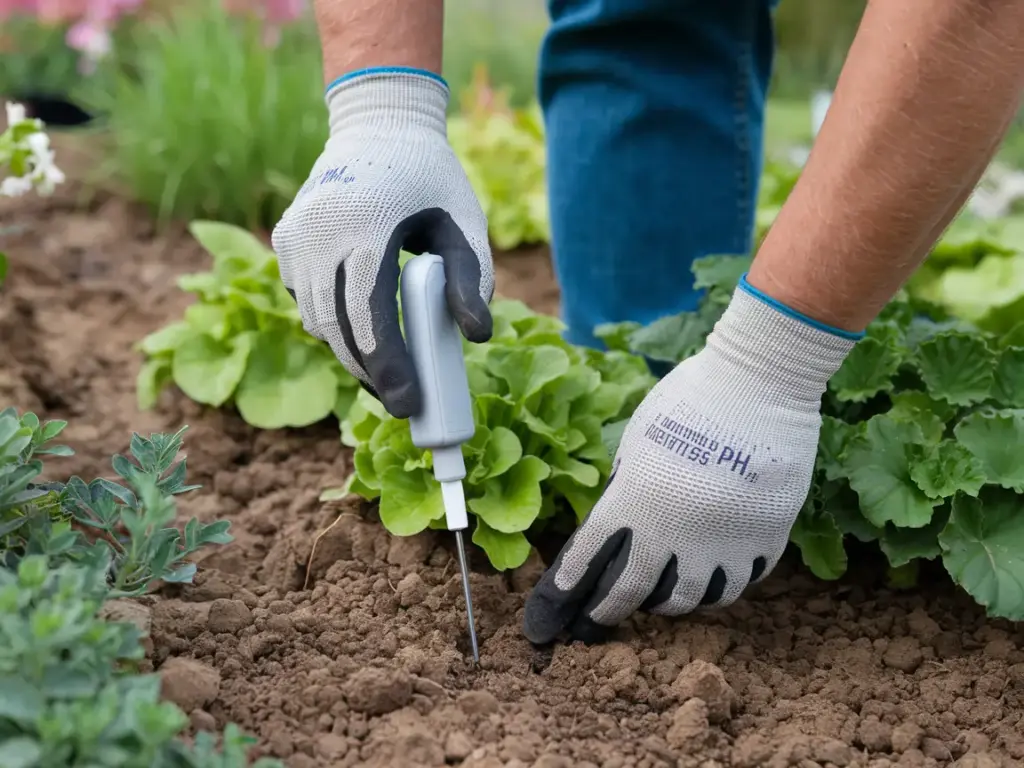
After failing to grow carrots three years in a row, I finally bought a simple pH testing kit. Turns out my soil was way too acidic! Most vegetables prefer a pH between 6.0 and 7.0, but mine was sitting at 5.2. No wonder those carrots were giving me the cold shoulder.
You can get a basic pH meter for about $15 at any garden center. It’s seriously the best garden investment I’ve ever made. Just stick it in different spots around your garden – I test at least 5 different areas because soil can vary more than you’d think.
Essential Nutrients: The Big Three Plus Friends
Remember learning about NPK in science class? Well, I’ve got a real-world refresher for you. Your soil needs these three amigos:
- Nitrogen (N): Think lush, green growth
- Phosphorus (P): Root development and flowering
- Potassium (K): Overall plant health and disease resistance
But here’s what I didn’t know starting out: you also need to test for micronutrients like calcium and magnesium. These little guys make a huge difference in vegetable quality. My tomatoes were splitting until I realized I had a calcium deficiency!
When’s the Best Time to Test?
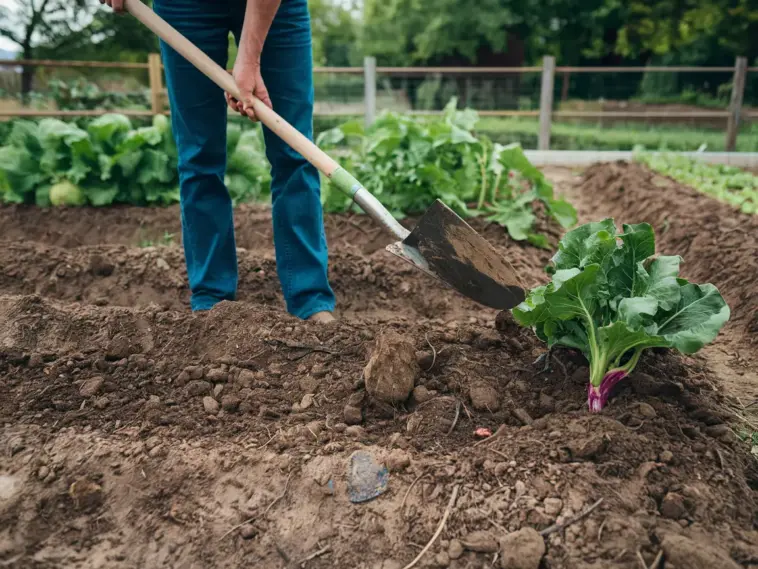
The biggest mistake I see new gardeners make? Testing their soil right after adding fertilizer or during extreme weather. You want to test when your soil is just living its normal life. I do my main testing in early spring, about two weeks before I plan to start preparing my beds. The soil should be workable but not waterlogged.
Pro tip: Keep a garden journal with your soil test results. I started doing this three years ago, and it’s amazing to see how my soil has improved over time. Plus, it helps me track what amendments actually made a difference.
Want to know what to do once you’ve got all this soil information? Click that next button below! I’ll show you exactly what tools you need to start transforming your soil into a vegetable-growing paradise. Trust me, having the right equipment makes all the difference between struggling with stubborn soil and creating a garden that practically grows itself!


GIPHY App Key not set. Please check settings