Did you know that 68% of houseplant enthusiasts struggle with peperomia care, yet these stunning plants can thrive for decades with the right secrets? I’ve been there too – watching my beautiful peperomia collection struggle despite following all the “basic” care guides online.
That’s when I reached out to professional plant growers and discovered these game-changing tricks that aren’t shared in typical houseplant articles!
These insider secrets have transformed my peperomia collection from barely surviving to absolutely thriving.
Whether you’re decorating your Chicago apartment or creating an Instagram-worthy plant corner in your LA home, these professional techniques will elevate your plant parent game and give you the lush, healthy peperomias you’ve always dreamed of.
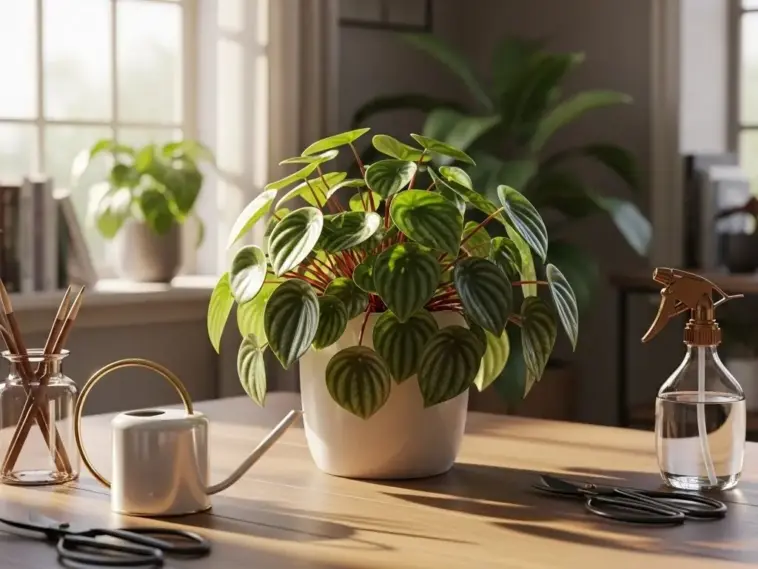
1. The “Humidity Pocket” Method for Perfect Moisture Control
Okay, let me tell you about the game-changer that literally saved my peperomia collection. I used to think those basic pebble trays were enough – boy, was I wrong!
My poor peperomias were basically gasping for moisture in my dry apartment. The leaves started getting crispy edges, and I was losing plants left and right.
Creating Micro-Climates That Actually Work
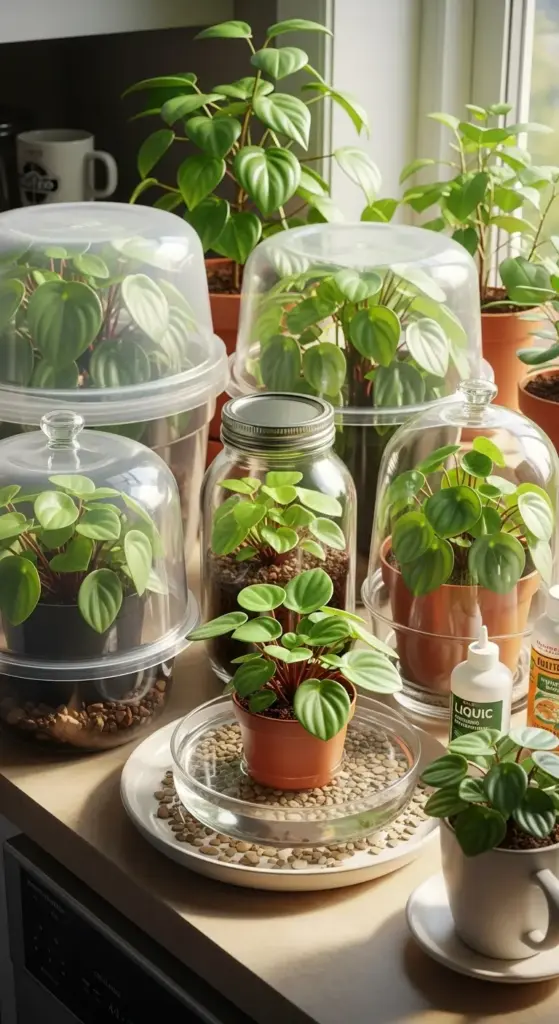
Here’s what changed everything for me. I started using clear plastic storage containers as humidity domes around my struggling plants.
Just grab a large tupperware container and flip it upside down over your peperomia. Leave about an inch gap at the bottom for air circulation – trust me on this one.
The results were incredible within just two weeks. New growth started appearing, and those sad, droopy leaves perked right up.
You can also use glass cloches or even large mason jars for smaller plants. The key is creating that micro-climate where moisture gets trapped but air still flows.
DIY Humidity Trays That Don’t Suck
Forget those basic pebble trays – they’re basically useless for peperomia humidity needs. I learned this the hard way after months of disappointment.
Here’s my foolproof method: Use a shallow ceramic dish filled with aquarium gravel and water. The gravel should be about half-submerged.
Place your peperomia pot on top of the gravel, making sure the bottom doesn’t touch the water. This creates consistent moisture without root rot risks.
I add a few drops of liquid fertilizer to the water every month. The evaporation carries nutrients up to the leaves – it’s like a spa treatment for your plants!
Strategic Plant Grouping for Maximum Moisture
This trick blew my mind when I first discovered it. Grouping peperomias together creates a natural humidity bubble around all of them.
I cluster my peperomias in groups of 3-5 plants on my kitchen counter. They literally help each other stay moist through transpiration.
The magic happens when you mix different leaf textures. Broad-leafed varieties like Peperomia obtusifolia work great with smaller-leafed types like Peperomia prostrata.
Keep them about 6-8 inches apart – close enough to share moisture but far enough to prevent fungal issues from poor air circulation.
Reading Your Peperomia’s Humidity Signals
Your plants are constantly telling you what they need. You just gotta learn their language!
Perfect humidity signs: Leaves feel slightly plump and have a subtle shine. New growth appears regularly, and leaf edges stay smooth and green.
When humidity is too low, you’ll see brown, crispy leaf edges first. The leaves might also feel papery or start curling inward.
Too much humidity shows up as soft, mushy stems or black spots on leaves. If you see this, increase air circulation immediately.
I check my peperomias every morning during my coffee routine. It becomes second nature after a while.
Deadly Humidity Mistakes I Made
Oh man, I made every mistake in the book when I started. The worst one? Misting my peperomias directly.
Never, ever mist peperomia leaves. The water sits in those little crevices and causes bacterial rot faster than you can say “plant parent fail.”
I also used to place humidity trays too close to heating vents. The constant air movement just dried everything out instantly.
Another killer mistake: using tap water in humidity trays. The mineral buildup was insane, and it actually reduced evaporation over time.
Switch to distilled water or let tap water sit out for 24 hours before using it. Your plants will thank you.
Ready to discover the watering secret that completely transformed my peperomia care routine? Click the “next” button below to learn about the professional watering schedule that changes everything – including the finger test myth that’s been killing plants for years!

GIPHY App Key not set. Please check settings