2. Soil Propagation Technique
After mastering water propagation, I discovered soil propagation is actually my go-to method now. It’s faster, requires less babysitting, and honestly feels more natural.
I switched to this technique after getting tired of constantly changing water and worrying about root rot. Game changer, seriously.
Choosing the Perfect Potting Mix
Here’s the thing about ZZ plant soil – regular potting mix is way too heavy and holds too much moisture. I learned this lesson when I lost three cuttings to soggy soil in my early days.
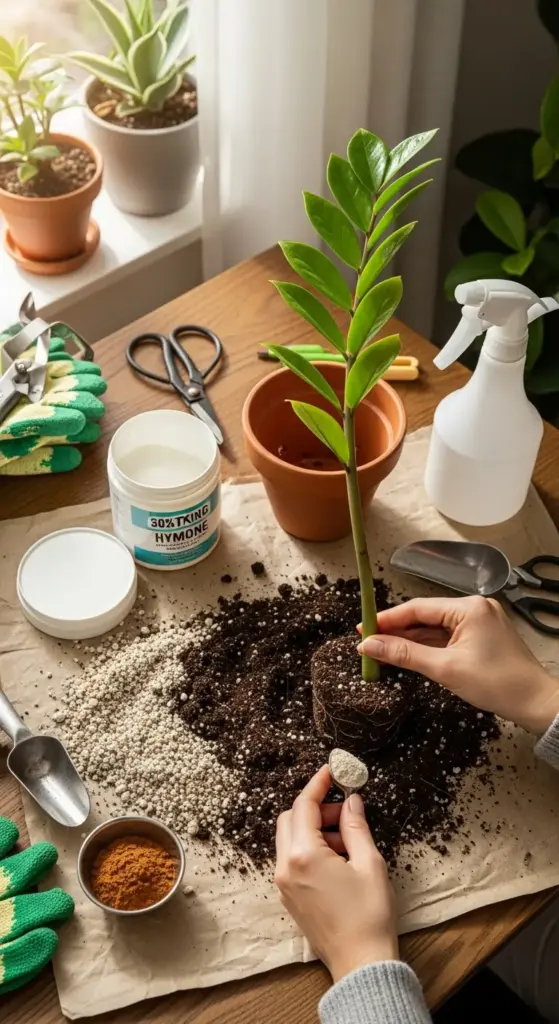
My current winning formula: 50% quality potting soil, 30% perlite, and 20% coarse sand. This mix drains like a dream while still holding just enough moisture.
You can also buy a succulent potting mix and add extra perlite. The key is creating a mix that feels almost gritty between your fingers.
Some people swear by adding orchid bark, but I’ve found it’s not necessary for ZZ propagation.
Prepping Your Cuttings Like a Pro
Start with a healthy ZZ cutting that’s 4-6 inches long, just like with water propagation. But here’s where things get different.
Let your cutting sit out for 24-48 hours to callus over. This creates a protective barrier that prevents rot – something I wish I’d known sooner!
Rooting hormone isn’t absolutely necessary, but it speeds things up by about 2-3 weeks. I dip the cut end in powder rooting hormone, tap off the excess, and plant immediately.
Pro tip: If you don’t have rooting hormone, cinnamon powder works as a natural antifungal. Not kidding – I’ve used it successfully multiple times.
Container Selection and Drainage Secrets
This is where I made my costliest mistake. I used a decorative pot without drainage holes because it looked cute on my shelf.
Bad idea. Lost four cuttings to root rot before I figured out what was happening.


Always use containers with drainage holes. Terra cotta pots are perfect because they’re porous and help excess moisture evaporate.
Size matters too – use a 4-inch pot for single cuttings. Too big and the soil stays wet too long; too small and roots get cramped.
Watering Schedule That Actually Works
Here’s the tricky part about soil propagation watering – you need to keep soil slightly moist but never soggy. I check by sticking my finger about an inch deep into the soil.
Week 1-2: Water lightly every 7-10 days Week 3-6: Reduce to every 10-14 days as roots establish After 6 weeks: Treat like a regular ZZ plant (water when top 2 inches are dry)
I use a spray bottle for the first few waterings to avoid overwatering. Regular watering can create puddles that lead to rot.
Spotting Success (And Avoiding Disasters)
New growth is your first sign of successful rooting, usually appearing after 6-8 weeks. Look for tiny green shoots emerging from the soil.
You can also gently tug the cutting after 4 weeks – if there’s resistance, roots are forming. Don’t pull hard though – I’ve accidentally yanked out developing roots doing this.
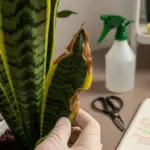
Yellow or mushy stems mean trouble. Remove affected cuttings immediately to prevent spread to healthy ones.
The cutting should feel firm and the soil should smell earthy, not sour or funky.
Want to try something even more fascinating? The leaf propagation method I’m covering next will blow your mind – you can literally grow entire plants from single leaves! Click below to learn this almost magical technique that takes patience but delivers incredible results.


GIPHY App Key not set. Please check settings