Secret #3 – The Root Division Technique That Doubles Growth Speed
I’ll never forget the day I murdered my first spider plant trying to divide it. What a disaster. I thought I was being so smart, carefully separating what looked like two distinct plants, only to watch both halves slowly die over the next month.
Turns out, timing is absolutely everything when it comes to root division. And I was doing it completely wrong.
The Shocking Truth About Division Timing
Here’s the thing that nobody tells you – don’t divide your spider plant when it looks like it needs more space. That’s actually the worst time to do it.
The best time is when your plant looks absolutely perfect and healthy, usually in early spring right before the growing season kicks into high gear. I know, it feels wrong to mess with a thriving plant!
But here’s why it works: healthy root systems can handle the shock and bounce back quickly. Stressed or struggling plants? They’ll just give up entirely.
My Professional Method (After Many Epic Fails)
I learned this technique from a master gardener at my local nursery after confessing my plant-killing shame. It’s all about the preparation.
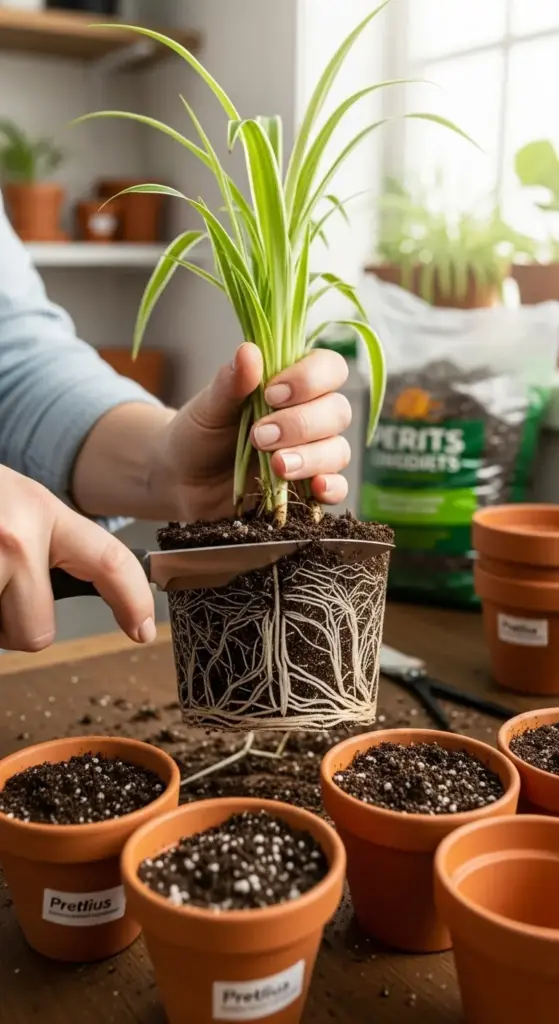
First, water your spider plant thoroughly 24 hours before division. Not right before – the root ball needs to be moist but not soggy.
Gently remove the entire plant from its pot. I use a butter knife to loosen the edges if it’s really stuck.
The Root Separation Secret
Here’s where I used to go wrong – I’d try to pull the roots apart with my hands like some kind of plant barbarian. Don’t do this!
Instead, use a clean, sharp knife to cut straight down through the root system. Make decisive cuts, don’t saw back and forth. Each division needs at least 3-4 healthy roots and some green growth on top.
I usually aim for 2-3 divisions max from one plant. Going smaller just stresses everyone out unnecessarily.
Pot Preparation That Actually Matters
This part is crucial and where most people (including past me) get lazy. Each new pot needs to be only slightly larger than the root ball – maybe 1-2 inches wider.
I use a mix that’s 50% regular potting soil and 50% perlite for extra drainage. Spider plants hate wet feet, especially when they’re recovering from division shock.


Pre-moisten the soil mix before planting. Bone dry soil will wick moisture away from those traumatized roots.
The Post-Division Care Protocol
Here’s my game-changing aftercare routine that took me years to perfect. Place your newly divided plants in bright indirect light – not your sunniest spot!
Water very lightly for the first two weeks. I’m talking just enough to keep the soil barely moist. Overwatering at this stage is plant murder.
Don’t fertilize for at least 6 weeks. Those roots need to focus on healing, not growing.
Signs Your Division Was Successful
Within about 3-4 weeks, you should see new growth emerging from the center. That’s when you know you nailed it!
The leaves might look a bit droopy for the first week or two – that’s totally normal. But if they start turning yellow or mushy, you’ve got problems.
I also watch for new root development by gently lifting the plant after a month. You should see white root tips poking through the drainage holes.
My Biggest Division Disaster
I once got impatient and tried to divide a spider plant that was already stressed from overwatering. All three divisions died within two weeks. It was like a plant massacre in my living room.
The lesson? Only divide plants that are absolutely thriving. If your spider plant has any yellow leaves, brown tips, or looks even slightly unhappy, wait until it’s completely healthy again.
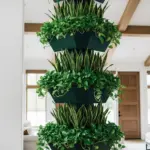
Ready for the Humidity Hack?
Now that you’ve successfully multiplied your spider plant collection, you’re probably wondering how to keep all these babies happy in your home environment. The humidity secret I’m about to share uses stuff you already have lying around and creates the perfect microclimate for explosive growth.
Trust me, this next trick will have your newly divided plants looking like they’ve been growing for years, not weeks!


GIPHY App Key not set. Please check settings