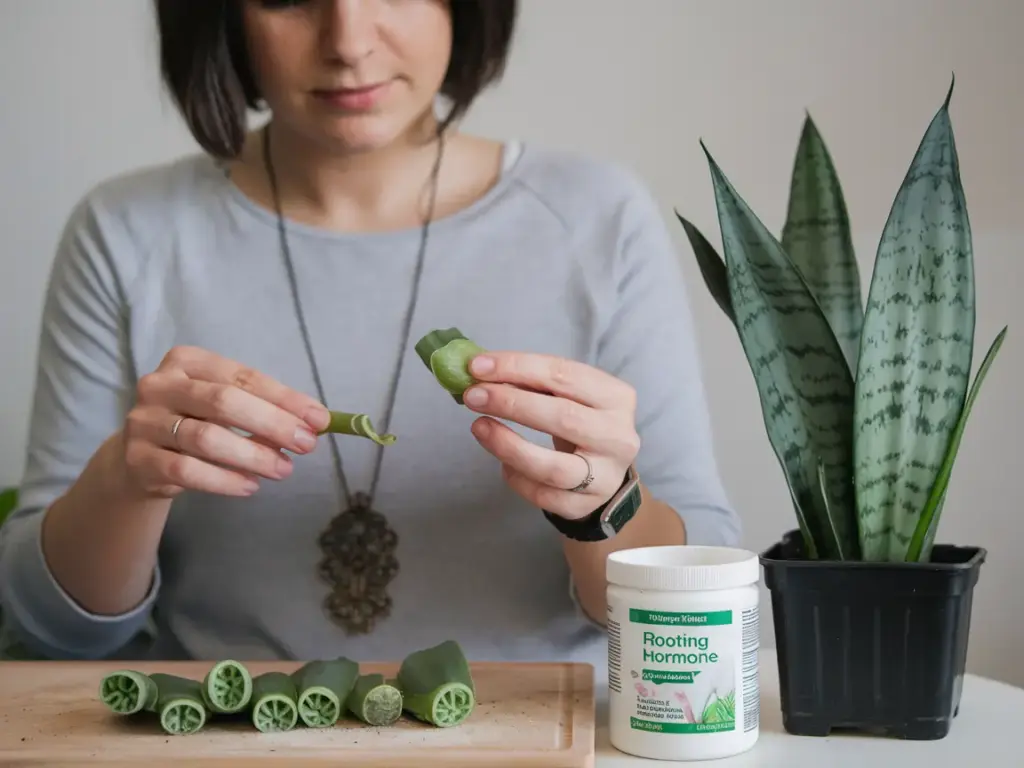
Preparing Snake Plant Cuttings for Propagation

After spending years propagating Sansevieria, I’ve learned that preparation is everything. Trust me, the number of cuttings I ruined by rushing this step… well, let’s just say it was a humbling experience! Today, I’m sharing my tried-and-true process for preparing snake plant cuttings that actually survive and thrive.
Selecting the Perfect Leaves
First up, you need to choose the right leaves to cut. Look for mature leaves that are at least 6 inches tall. The best candidates are those thick, sturdy leaves with deep green coloring and no signs of damage. I once tried propagating some younger leaves because I was impatient, and guess what? They just turned to mush in water. Lesson learned!
Making the Perfect Cut
Here’s where things get scientific (and kind of fun!). You’ll want to make your cuts at a 45-degree angle. Why? This increases the surface area for root development and reduces the chance of rotting. I use my sterilized pruning shears to make clean, angled cuts about 4-5 inches from the soil level.
Pro tip: Mark the bottom of each cutting with a small notch to remember which end goes in the soil. You wouldn’t believe how many times I’ve planted cuttings upside down when I first started!
Size Matters
When it comes to length, each cutting should be at least 3-4 inches long for optimal success. I’ve found that cutting the leaf into sections works great, but here’s the catch – always remember which end was closest to the soil. Those growth nodes are crucial for root development. I mark mine with a small dot using a permanent marker.
The Rooting Hormone Step
This is where the magic happens! After making your cuts, let them dry for about 30 minutes. Then, dip the bottom end in rooting hormone powder. Don’t skip this step – it’s increased my success rate dramatically! Just tap off the excess powder; you don’t need to dunk the whole cutting in it like I did my first time (what a mess that was!).
The Critical Curing Period
Here’s something I wish someone had told me when I started: you need to let those cuts heal before planting or water propagation. Place your cuttings in a dry, warm spot for 24-48 hours. This allows the cut ends to form a callus, which helps prevent rot. I set mine on a paper towel near a warm (not hot!) window.
Common Mistakes to Avoid
Oh boy, have I made some doozies! Here are my top “please don’t do what I did” tips:
- Don’t skip the curing process (I lost an entire batch this way)
- Never use dull scissors (clean cuts are essential for success)
- Don’t cut leaves that are too young or damaged
- Avoid taking cuttings that are too short (minimum 3 inches is key)
The preparation phase might seem fussy, but trust me, it makes all the difference between success and failure in snake plant propagation. I’ve propagated over 50 plants successfully using these exact steps!
Ready to learn what happens next? Click the “next” button below to discover the two main propagation methods: water and soil. I’ll share my personal favorite (spoiler: it’s water propagation) and show you exactly how to set up your cuttings for root development. Plus, I’ll reveal my secret technique for speeding up root growth that cut my waiting time in half!


GIPHY App Key not set. Please check settings