Method 3: The Sphagnum Moss Technique
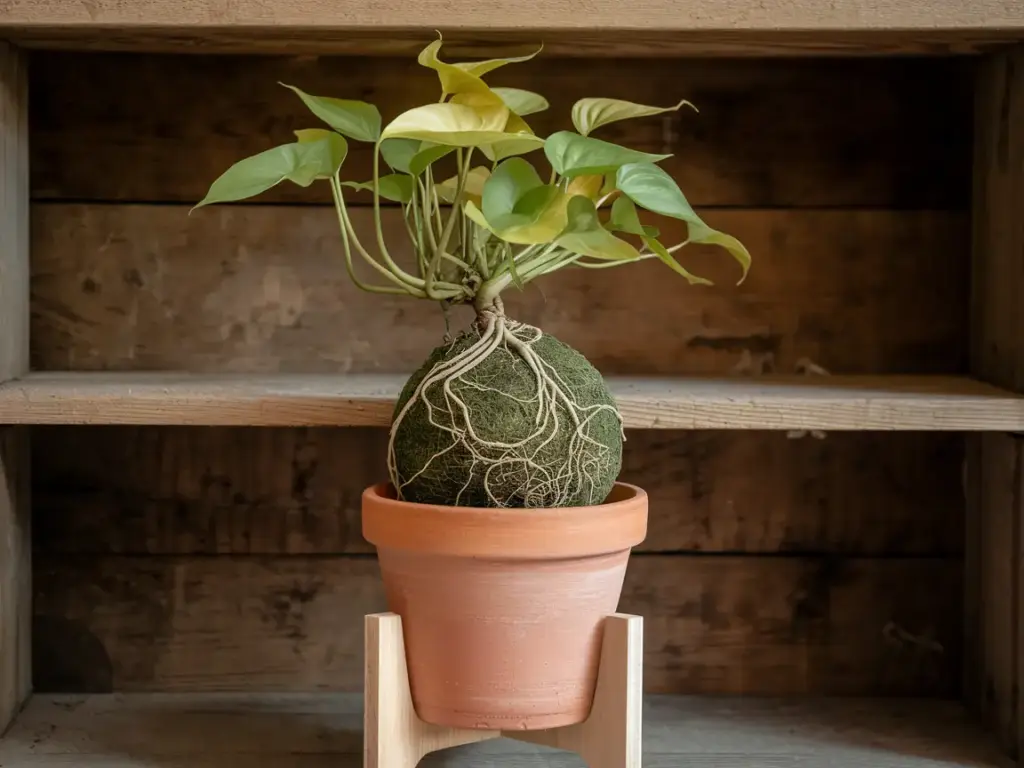
Alright, plant enthusiasts, buckle up because we’re about to dive into what I like to call the “spa treatment” for your Pothos cuttings. The sphagnum moss technique is like sending your plants to a luxury resort – they come back refreshed and ready to grow!
The Magic of Moss: Why Sphagnum is a Game-Changer
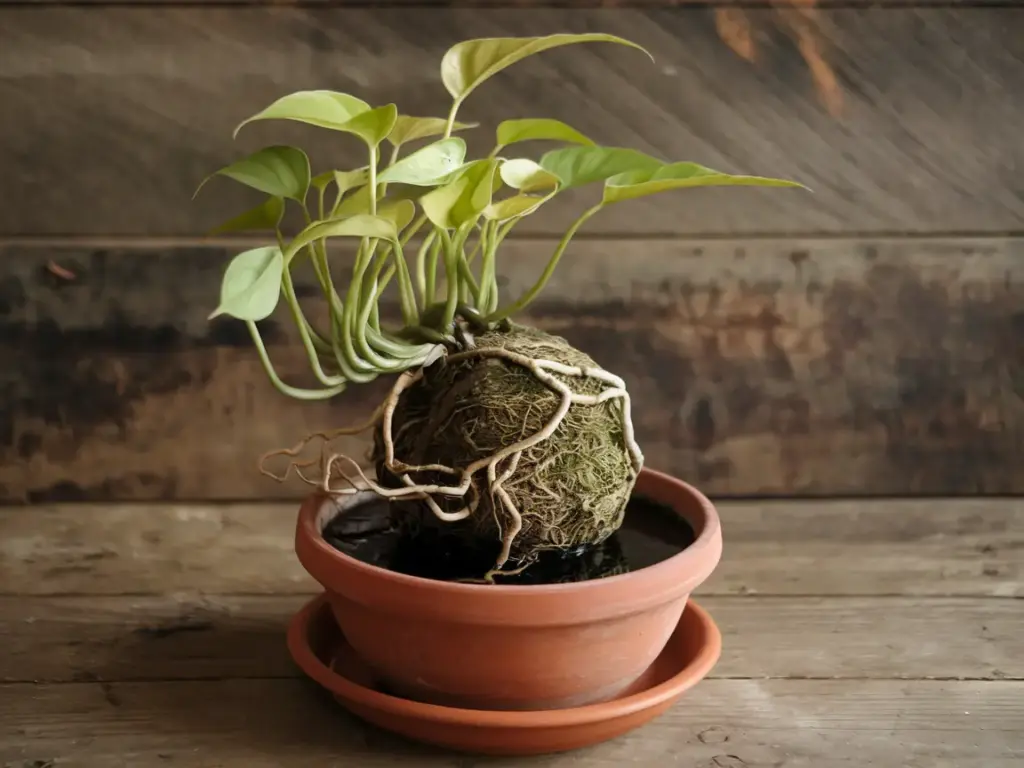
When I first heard about using sphagnum moss for propagation, I was skeptical. I mean, moss? Really? But let me tell you, this stuff is like the superhero of the plant world.
Benefits of sphagnum moss:
- Excellent water retention: It’s like a sponge for your cuttings
- Perfect aeration: Roots can breathe easy
- Naturally sterile: Keeps those pesky fungi at bay
I remember the first time I used sphagnum moss. My Pothos cutting sprouted roots so fast, I thought I was hallucinating. It was like watching a time-lapse video in real life!
Prepping Your Moss: The Soak and Squeeze
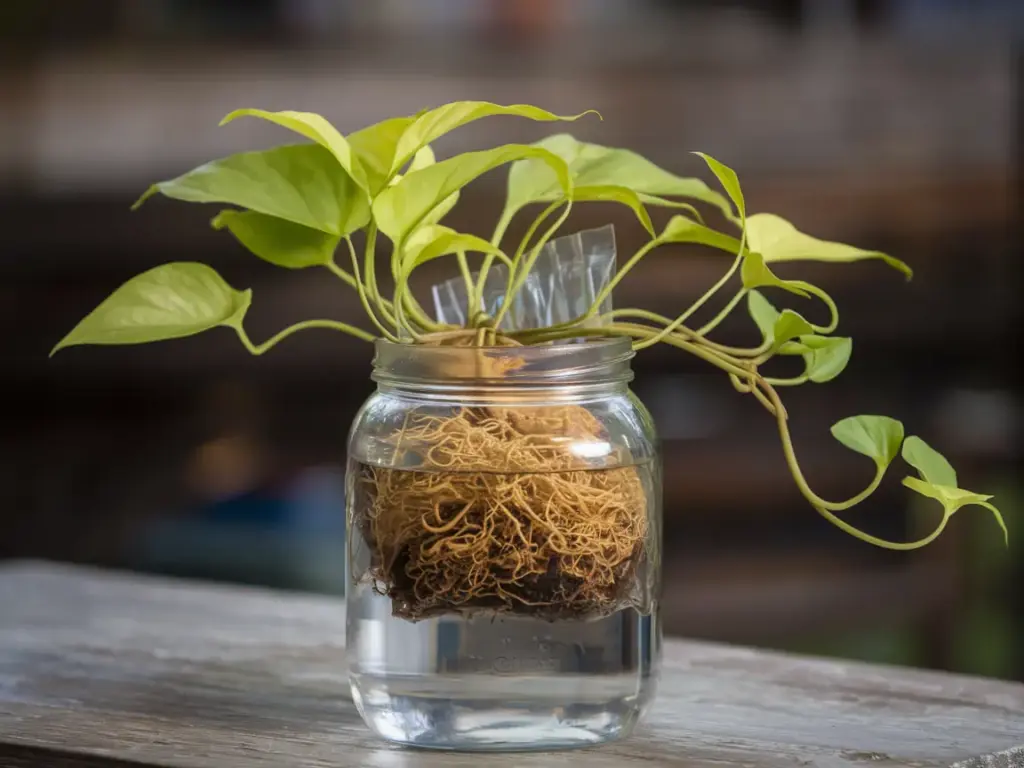
Okay, let’s get down to business. Preparing sphagnum moss is easy, but there’s a knack to it. Trust me, I learned the hard way after turning my kitchen into a swamp during my first attempt.
- Soak the moss in water for about 15-20 minutes. It’ll expand like one of those grow-in-water toys we had as kids.
- Now, here’s the crucial part: squeeze out the excess water. You want it damp, not dripping. Think of wringing out a sponge after doing dishes.
- Fluff it up a bit. We’re going for light and airy, not a moss brick.
Pro tip: Wear gloves if you have sensitive skin. I once spent an afternoon with itchy hands because I forgot this step. Not fun!
The Moss Sandwich: Wrapping Your Cuttings
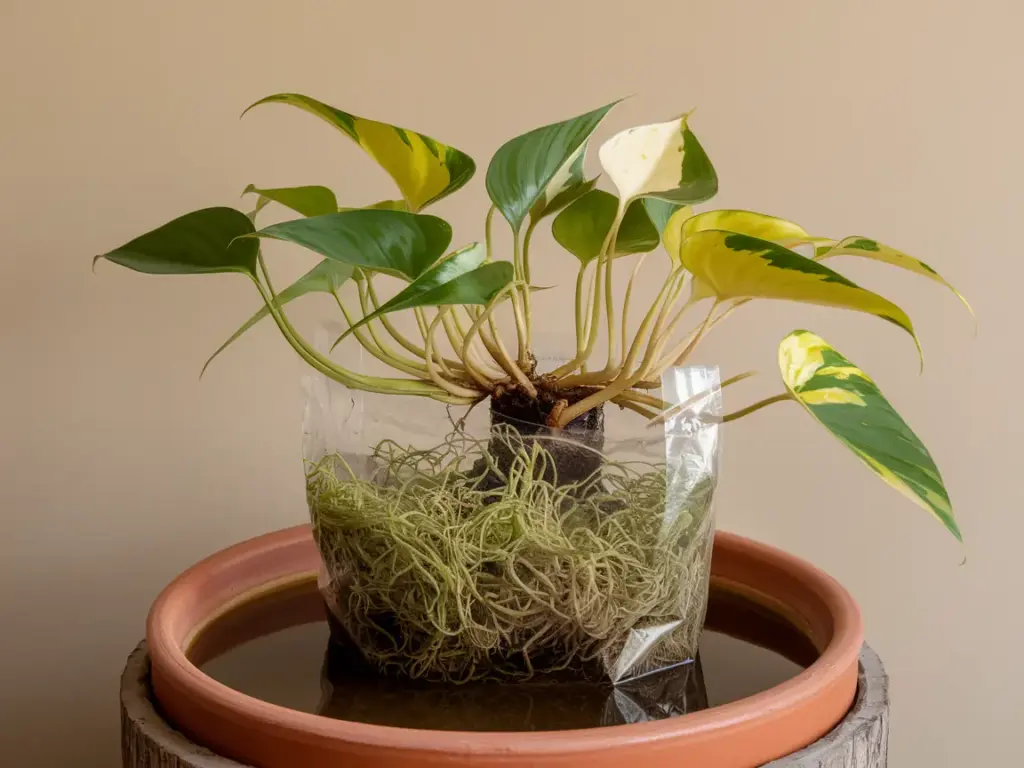
This is where the magic happens, folks. We’re going to create a cozy moss cocoon for your Pothos cuttings.
- Take your cutting (remember, snip below a node!) and remove the lower leaves.
- Lay out a strip of damp moss and place your cutting on top.
- Gently wrap the moss around the stem, covering the nodes. It’s like tucking your plant baby into a mossy burrito.
- Secure with some twine or a small rubber band. Not too tight – we want it snug, not strangled.
- Place your moss-wrapped cuttings in a clear plastic container or bag. This creates a mini greenhouse effect.
I once wrapped an entire Pothos vine this way. My living room looked like a science experiment gone wild, but the results were worth it!
Moss Maintenance: Keeping the Spa Vibes Going
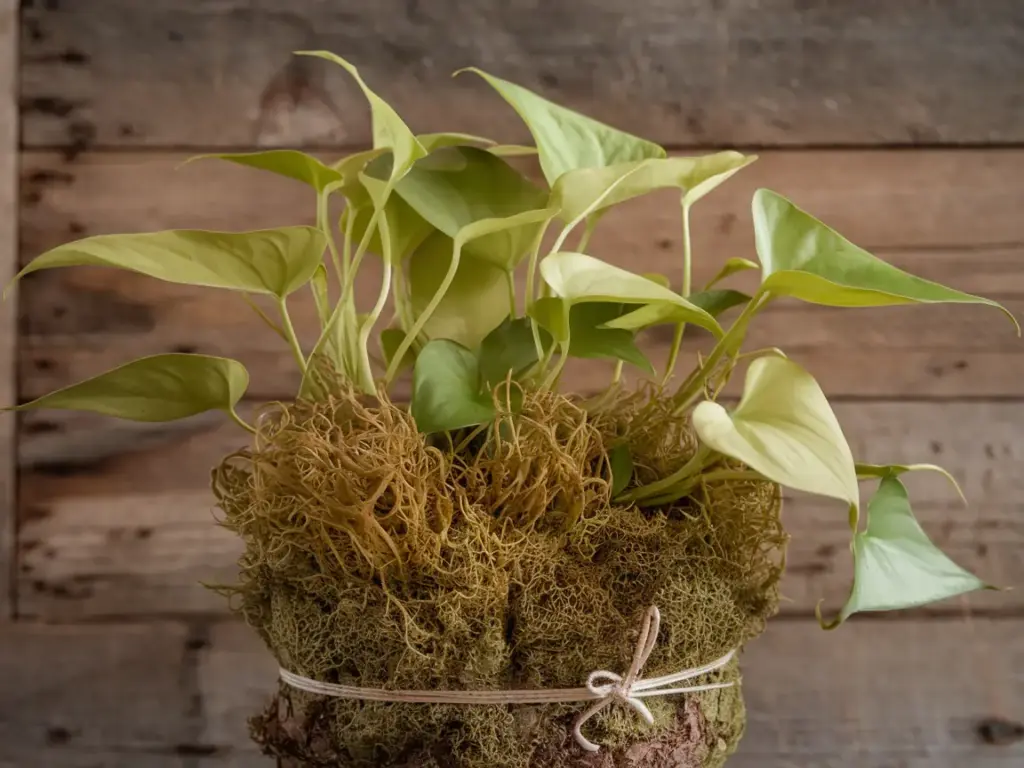
Now, don’t just set it and forget it. Your moss-wrapped cuttings need a little TLC.
- Keep them in bright, indirect light. I put mine on a north-facing windowsill.
- Check the moss every few days. If it feels dry, give it a light misting.
- After about 2-3 weeks, you should start seeing roots peeking through the moss. It’s like a little root rave in there!
The Big Move: From Moss to Soil
Once your cuttings have a good root system (about 1-2 inches long), it’s time for the grand transition to soil.
- Prepare a pot with well-draining potting mix.
- Gently unwrap your moss burrito. Those roots can be delicate!
- Plant your rooted cutting in the soil, moss and all. The moss will eventually break down and feed your plant. It’s the circle of life, plant edition!
- Water thoroughly and place in a spot with bright, indirect light.
I still get a little nervous during this transition phase. It’s like sending your kid off to college – you’ve done all you can, now it’s time for them to thrive on their own!
The Moss Method Mindset
Using sphagnum moss for propagation is like giving your Pothos cuttings a first-class ticket to root town. It might seem a bit extra, but trust me, the results are worth it.
I once propagated two cuttings side by side – one in water, one in moss. The moss cutting had roots in half the time! It was like watching a tortoise and hare race, but the hare actually won this time.
Ready to explore even more mind-blowing propagation techniques? Click that “next” button below to discover a method that’ll make you feel like you’re working in a high-tech plant lab. Spoiler alert: it involves some fancy growing mediums, and it might just be the coolest thing since sliced bread (or should I say, sliced stems?).



GIPHY App Key not set. Please check settings