Method 2: Soil Propagation for Rapid Results
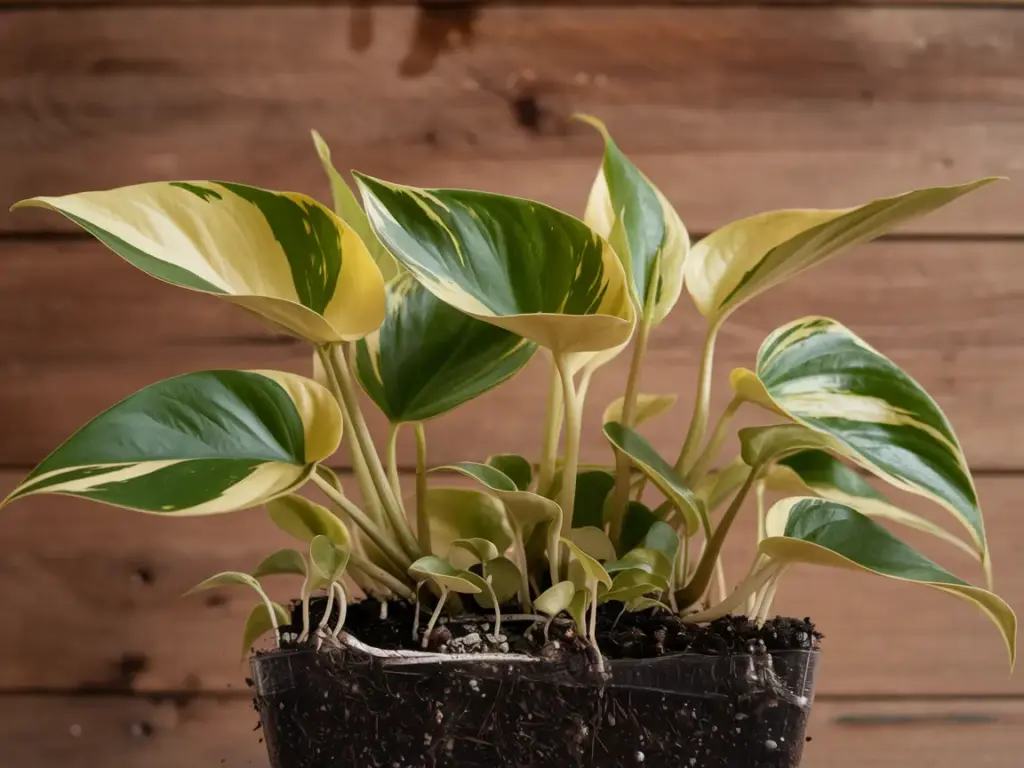
Alright, green thumbs, let’s get our hands dirty! While water propagation is my go-to, sometimes you just want to skip the middleman and go straight to soil. Trust me, I’ve been there. One time, I was so impatient to grow my Pothos army that I decided to try soil propagation, and boy, was I in for a treat!
Choosing the Perfect Soil Mix
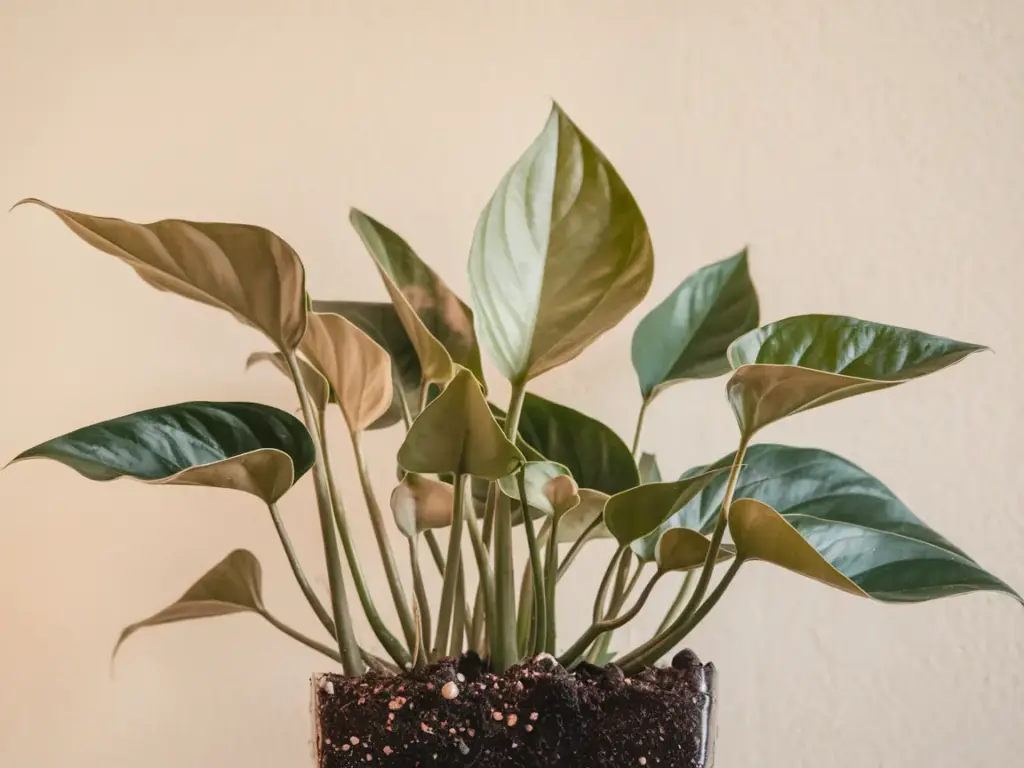
First things first, let’s talk dirt. And not just any dirt – we’re looking for the Goldilocks of soil mixes. Too dense, and your cuttings might suffocate. Too loose, and they’ll dry out faster than my attempt at a juice cleanse.
Here’s my secret recipe for rapid rooting soil mix:
- 2 parts regular potting soil
- 1 part perlite or vermiculite
- 1 part coconut coir
This mix gives you the perfect balance of moisture retention and drainage. I once used straight potting soil, and my poor cuttings looked at me like, “Dude, we can’t breathe in here!”
Planting Techniques for Speedy Establishment
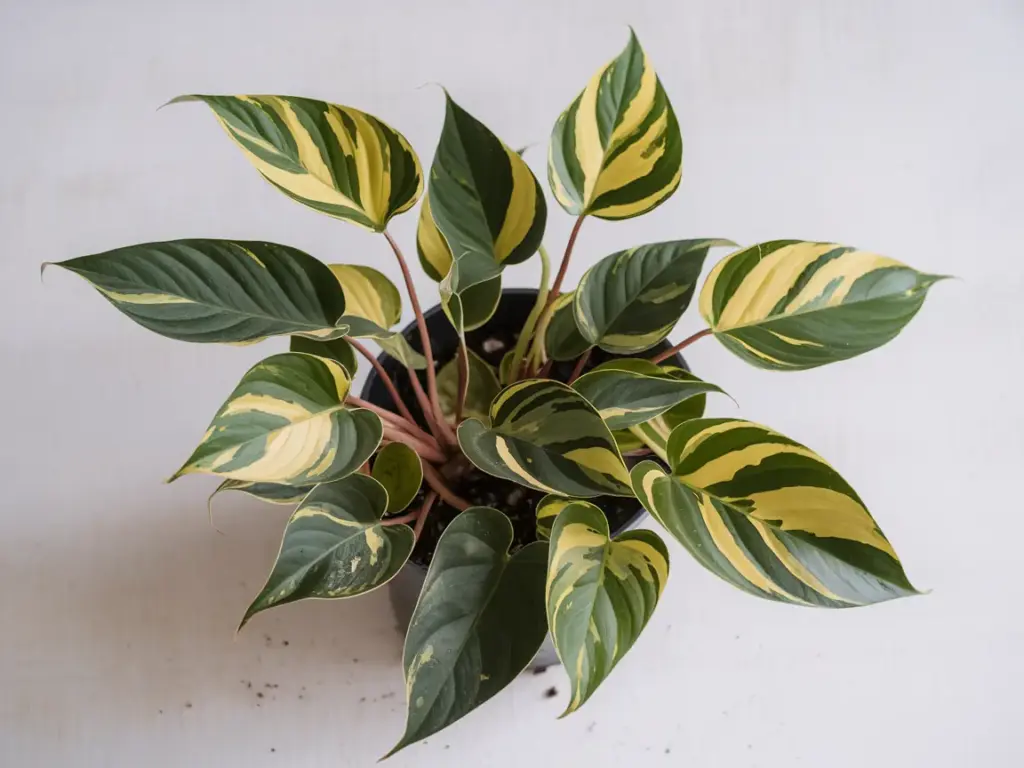
Alright, now that we’ve got our soil sorted, let’s get planting! Here’s where the magic happens, folks.
- Prepare your cuttings: Just like with water propagation, snip below a node and remove lower leaves.
- Dip in rooting hormone: This step is optional, but it’s like giving your cuttings a little pep talk. “You got this, buddy! Grow those roots!”
- Make a hole: Use a pencil or chopstick to make a hole in your soil mix. This prevents damage to the stem when you insert it.
- Plant that baby: Gently place your cutting in the hole, making sure at least one node is below the soil surface.
- Firm it up: Lightly press the soil around the stem. You want it snug, but not squished.
Pro tip: I like to plant multiple cuttings in one pot. It’s like a little Pothos party, and they seem to encourage each other to grow. Plus, it looks fuller faster!
The Art of Moisture Management
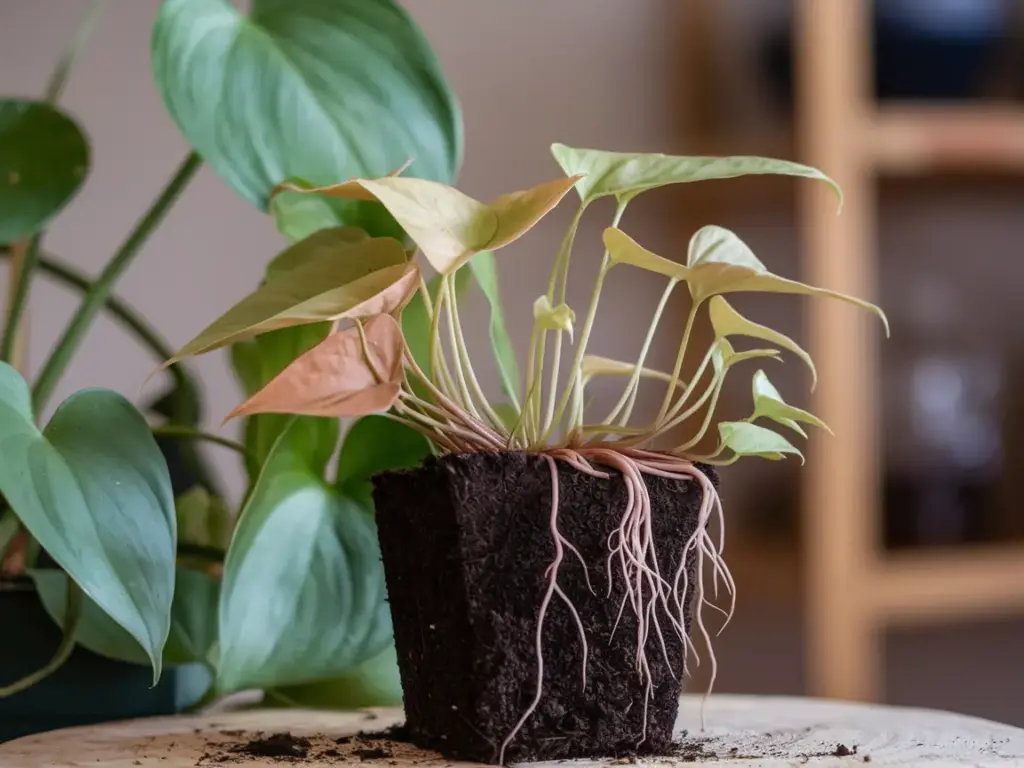
Now, here’s where I used to mess up big time. Keeping the soil moist but not waterlogged is key. It’s like walking a tightrope, but don’t worry, I’ve got some tricks up my sleeve.
- Water thoroughly after planting, until water drains from the bottom.
- Cover the pot with a clear plastic bag to create a mini greenhouse effect. I call this the “Pothos sauna” – they love it!
- Mist the soil surface every couple of days. I use a spray bottle I got from the dollar store. Fancy? No. Effective? You bet!
- After about two weeks, start gradually removing the plastic for longer periods each day. It’s like plant kindergarten – you’re preparing them for the real world!
Troubleshooting Tips
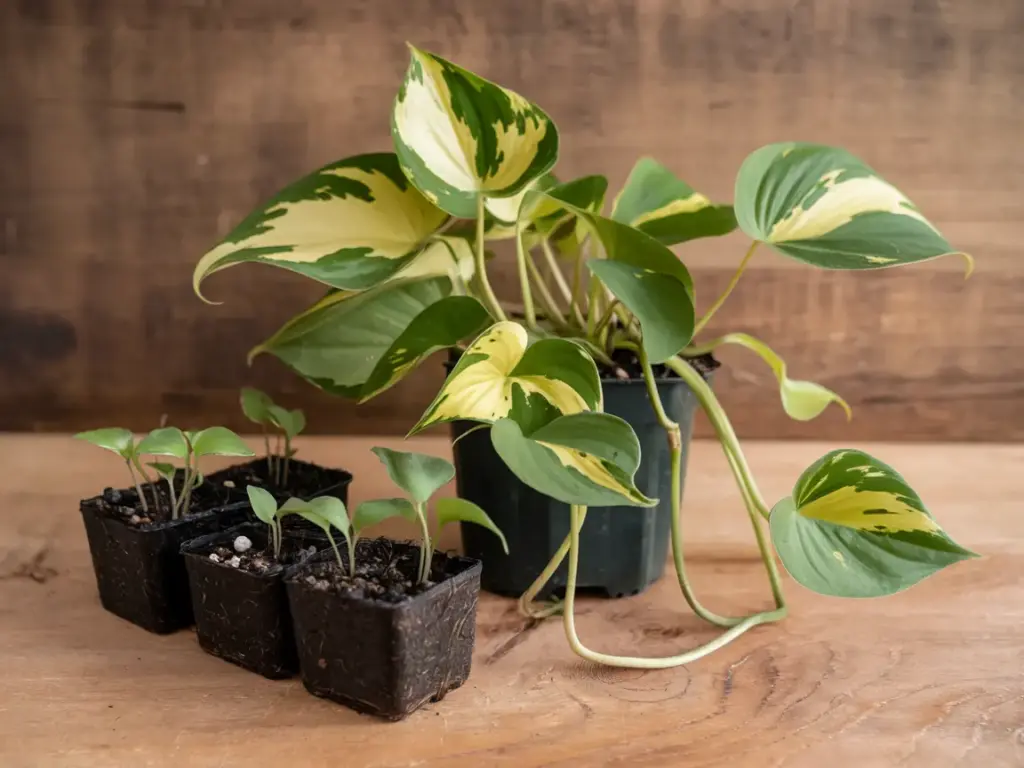
Let’s be real, sometimes things don’t go as planned. Here are some common issues I’ve faced:
- Yellowing leaves: Usually a sign of overwatering. Ease up on the H2O, chief!
- Wilting: Could be underwatering. Give ’em a drink, but don’t drown ’em.
- No growth: Patience, young Padawan. Sometimes it takes a few weeks to see progress.
I once had a cutting that showed no signs of life for a month. I was ready to toss it, but decided to give it one more week. Wouldn’t you know, it sprouted roots like crazy! The lesson? Never underestimate the power of plant persistence.
The Big Reveal
After about 4-6 weeks, gently tug on your cuttings. If you feel resistance, congratulations! You’ve got roots! It’s like Christmas morning for plant lovers.
I still remember the first time I successfully propagated Pothos in soil. I felt like a proud plant parent. I may or may not have thrown a tiny celebration complete with a “Congrats on the Roots” card. Judge me if you want, but until you’ve experienced the joy of soil propagation success, you just don’t know!
Ready to take your Pothos propagation game to the next level? Click that “next” button below to discover a mind-blowing technique that’ll make you feel like a true plant scientist. Spoiler alert: it involves moss, and it’s about to revolutionize your propagation game!



GIPHY App Key not set. Please check settings