Method 1: The Leaf Laying Technique

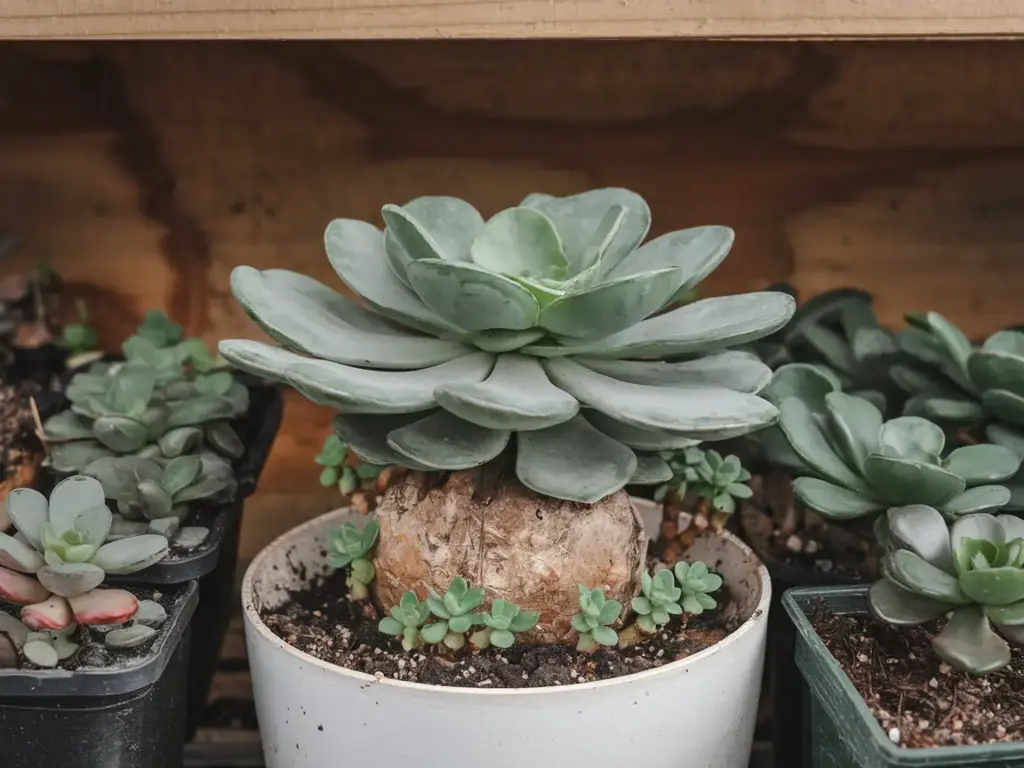
I still remember the first time I successfully propagated a jade plant from a single leaf. It felt like magic watching those tiny roots emerge! After propagating hundreds of jade leaves (and failing with quite a few), I’ve perfected this technique. Let me share what really works.
Selecting the Perfect Leaves
The secret to successful leaf propagation starts with choosing the right leaves. Here’s what I look for:
- Mature leaves that are firm and plump
- Leaves with a deep green color (no yellowing!)
- Leaves from the middle of the plant
- Completely unblemished specimens
Avoid any leaves that show signs of damage or disease. I once tried propagating some slightly yellow leaves thinking they’d be “good enough” – spoiler alert: they weren’t!
The Right Way to Remove Leaves
This part is crucial, folks. A clean break from the stem is absolutely essential for successful propagation. Here’s my tried-and-true method:
- Gently wiggle the leaf from side to side
- Make sure you get a clean break at the node
- The entire leaf base must come off intact – no torn edges!
If you see any part of the leaf left on the stem, or if the break isn’t clean, that leaf probably won’t propagate successfully. Trust me, I learned this through lots of trial and error!
The Crucial Drying Period
Here’s something I wish someone had told me when I started: callusing is non-negotiable! After removing your leaves:
- Let them dry in a warm, indirect light location
- Wait at least 2-3 days for the cut end to callus
- Look for a slightly corked appearance at the break point
Skipping the drying period is like inviting rot to your propagation party. Been there, done that, lost a whole batch of leaves!
Setting Up Your Propagation Station
This is where the magic happens! Here’s how I prepare my setup:
- Fill a shallow tray with my special propagation mix:
- 60% succulent soil
- 20% perlite
- 20% coarse sand
- Create small divots in the soil surface
- Place leaves so they barely touch the soil
- Position the tray in bright, indirect light
Pro tip: I use a clear plastic cover to maintain humidity, but I remove it for a few hours daily to prevent mold growth.
Signs Your Leaves Are Taking Root
Patience is key here! Here’s what to look for:
- Tiny pink roots emerging after 2-3 weeks
- Small leaves appearing at the base after 3-4 weeks
- The parent leaf staying firm and green
- New growth points forming at the leaf base
Success rates can vary, but I typically see about 80% of my leaves root successfully using this method.
Ready to level up your propagation game? Click “next” to discover my stem cutting technique – it’s a bit more advanced, but it can give you a full-sized jade plant in half the time! I’ll show you the exact spot to make your cuts for maximum success and share a cool trick I discovered for preventing stem rot.


GIPHY App Key not set. Please check settings