Step-by-Step Guide to Planting Your Snake Plant
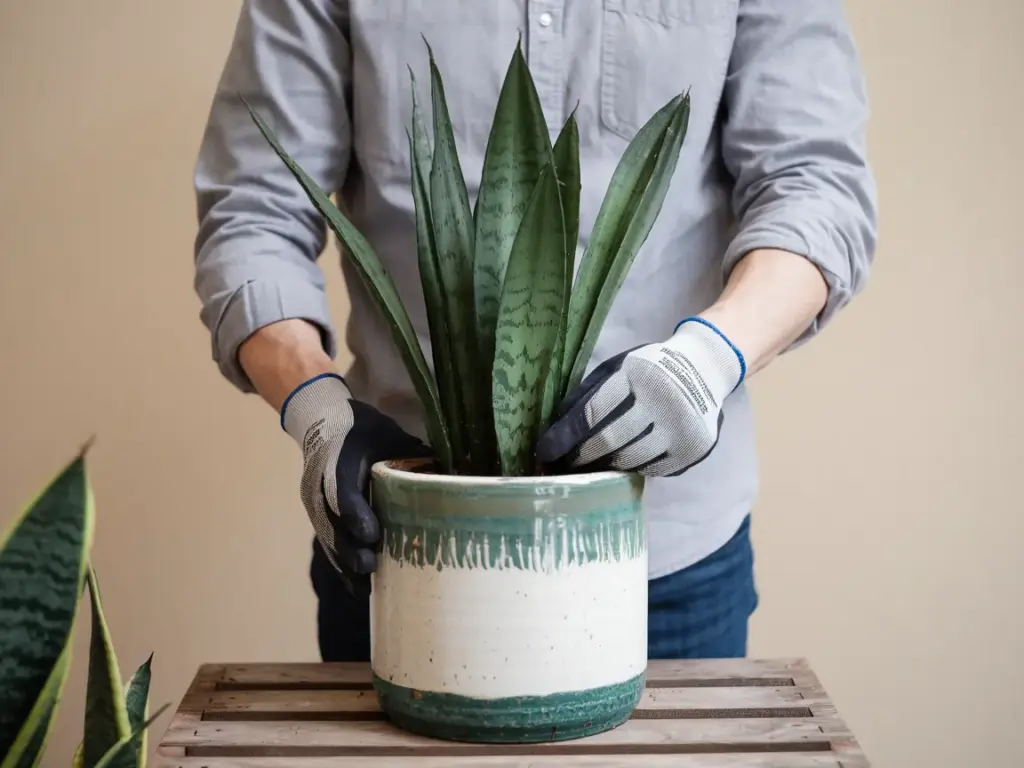
Alright, green thumbs, it’s showtime! We’ve got our pot, we’ve mixed our soil, and now it’s time to get that snake plant settled into its new digs. I’ve repotted more Sansevierias than I can count, and let me tell you, it’s always an adventure. So, roll up those sleeves, and let’s dive in!
Setting the Stage: Prepping Your Pot and Workspace
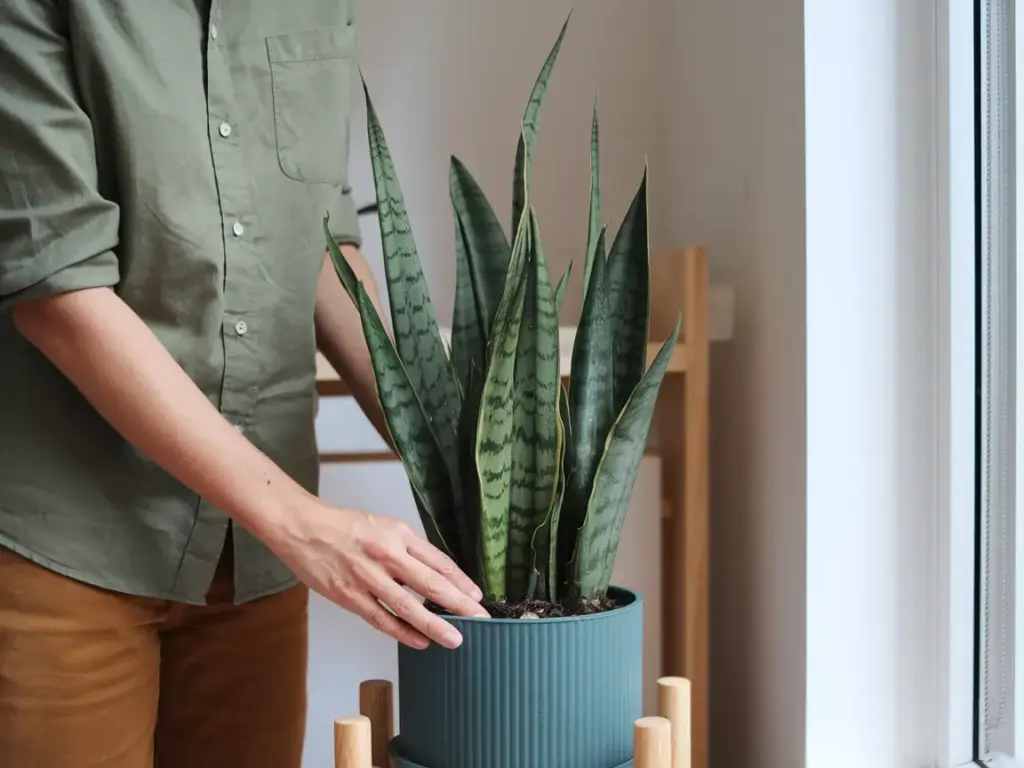
First things first, let’s get organized. I learned this the hard way after turning my living room into a jungle (and not in a good way) during my first repotting session.
- Lay out some newspapers or an old sheet. Trust me, your future self will thank you when it’s cleanup time.
- Gather all your supplies: pot, soil mix, gloves (if you’re fancy), and maybe some scissors or pruning shears.
- If your new pot has drainage holes (and it better!), cover them with a bit of mesh or a coffee filter. This keeps the soil in and lets the water out – it’s like a bouncer for your plant party.
The Great Escape: Removing Your Snake Plant from Its Nursery Pot
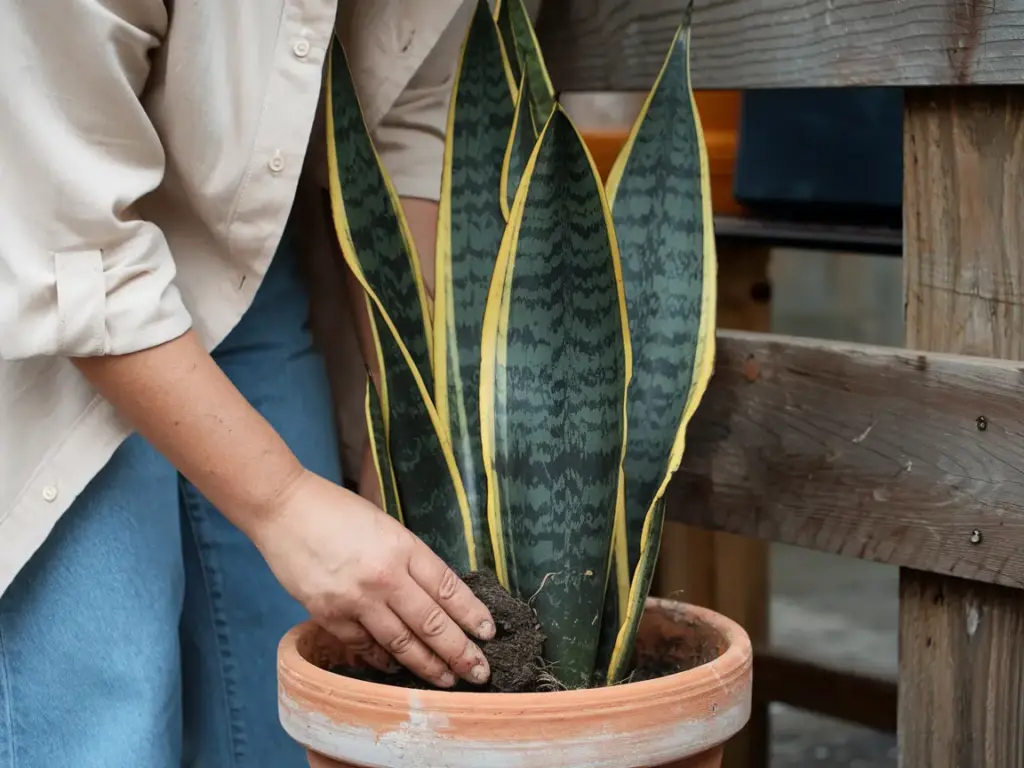
Okay, this is where things can get a bit tricky. Snake plants can be stubborn little suckers when it comes to leaving their old homes.
- Water your plant a day before repotting. This makes the soil easier to work with and reduces transplant shock.
- Gently squeeze the sides of the plastic pot to loosen the roots.
- Tip the pot on its side and ease the plant out. If it’s really stuck, you might need to cut the pot away. Don’t be shy – your plant’s wellbeing comes first!
Root Inspection: Time to Play Plant Doctor
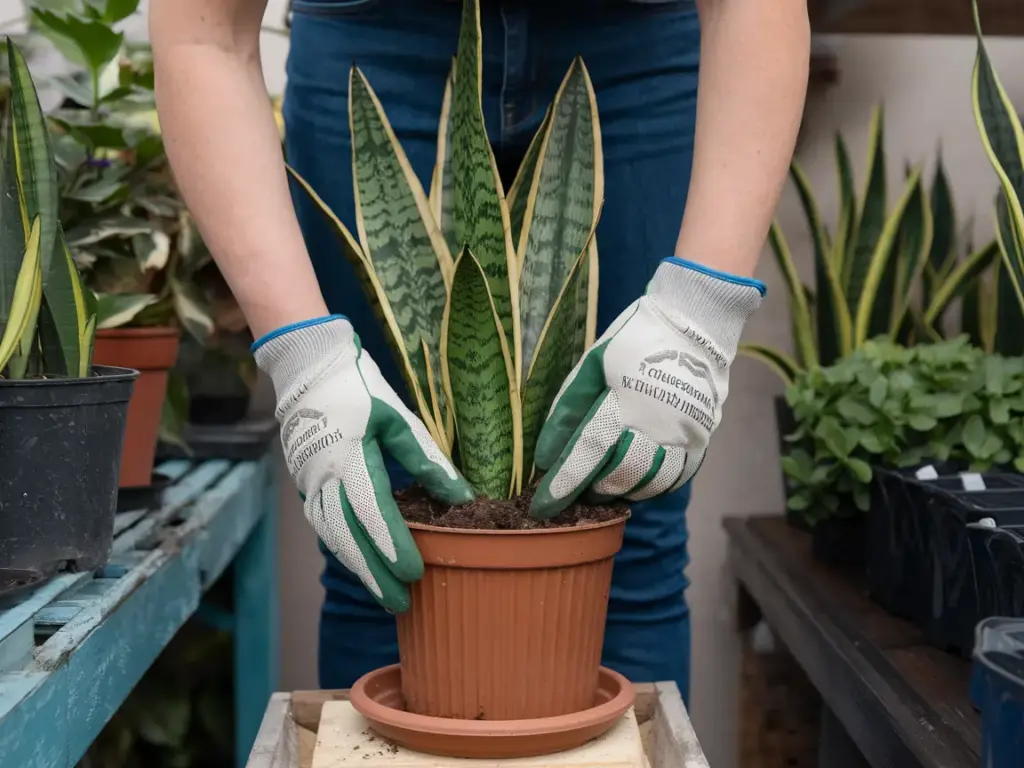
Now that your snake plant is free, it’s time for a little check-up. This is crucial, folks. I once skipped this step and ended up with a case of root rot that spread faster than gossip at a family reunion.
- Gently shake off excess soil and inspect the roots. Healthy roots should be firm and light-colored.
- If you see any dark, mushy, or smelly roots, it’s trimming time. Use clean scissors to cut away any suspicious-looking bits.
- For severely rootbound plants (you know, when the roots are doing their best impersonation of a pretzel), you might need to tease them apart a bit. Be gentle but firm.
Finding the Sweet Spot: Positioning Your Snake Plant
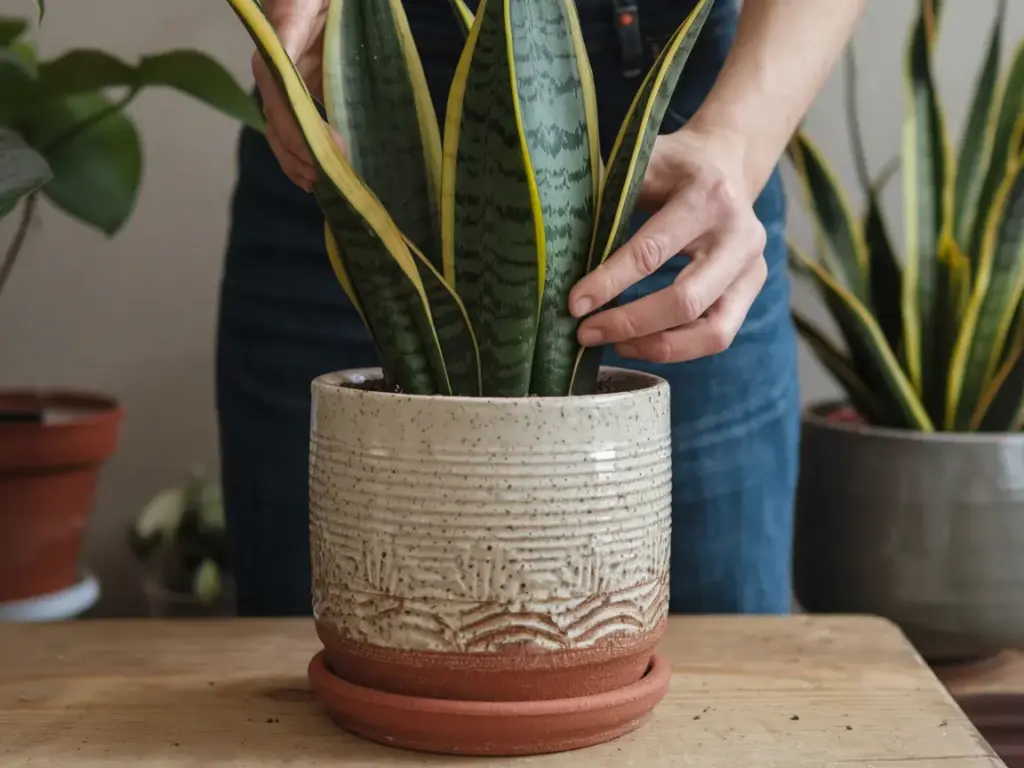
Alright, now we’re getting to the fun part! It’s time to introduce your snake plant to its new home.
- Add a layer of your prepared soil mix to the bottom of the pot. How much? Well, you want your plant to sit at about the same height it was in its old pot.
- Place your snake plant in the center of the pot. For those tall varieties like Sansevieria trifasciata ‘Laurentii’, make sure it’s standing nice and straight.
- Take a step back and look at it from all angles. Is it centered? Is it leaning? This is your chance to make adjustments before we lock it in.
The Final Touches: Adding Soil and Securing Your Plant
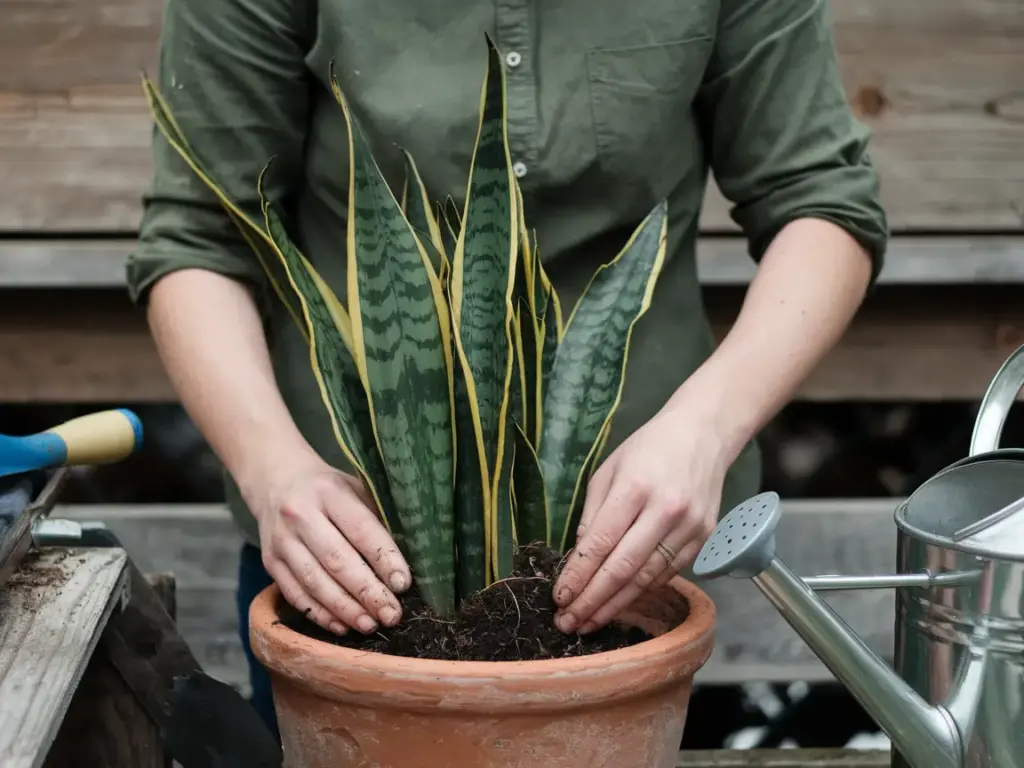
We’re in the home stretch now! Let’s get this plant settled in.
- Start adding your soil mix around the plant. Use your fingers to work it down around the roots, eliminating any air pockets.
- Keep adding soil until it’s about an inch below the rim of the pot. This gives you some room for watering.
- Give the pot a few gentle taps on your work surface to help the soil settle.
- If your snake plant is feeling a bit wobbly, you can use a couple of chopsticks or small stakes to prop it up until the roots establish.
And there you have it, folks! Your snake plant is all tucked into its new home. Pat yourself on the back – you’ve just completed a successful repotting operation!
But hold your horses, we’re not quite done yet. The next step is crucial, and it’s one that trips up even seasoned plant parents. We’re talking about the post-planting care, specifically watering. How much should you water? When should you water? Get it wrong, and all your hard work could go down the drain (literally). Stick around for the next section where we’ll dive into the dos and don’ts of watering your newly potted snake plant. Trust me, you won’t want to miss this – it could mean the difference between a thriving plant and a soggy mess!


GIPHY App Key not set. Please check settings