Selecting the Perfect Soil Mix
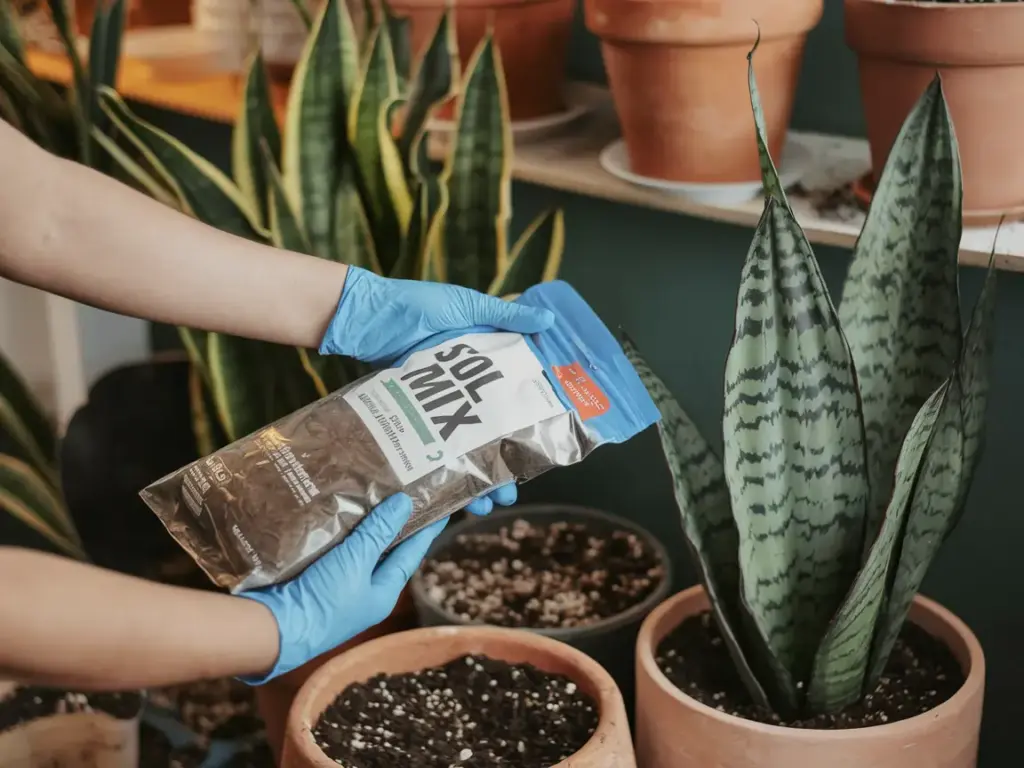
Alright, plant pals, let’s get our hands dirty! Choosing the right soil for your snake plant is like picking the perfect outfit – it’s gotta be just right. I’ve been through the wringer with this one, and boy, do I have some stories to share.
Why Your Average Potting Soil Just Won’t Do
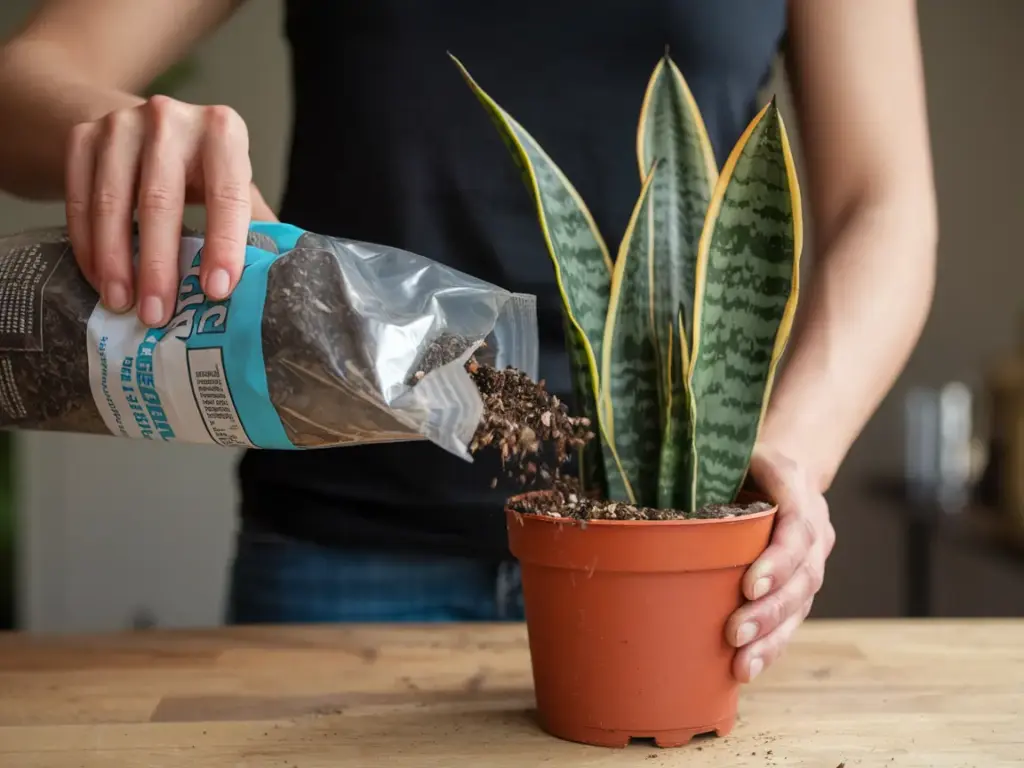
Listen, I get it. When I first started out, I thought all soil was created equal. Big mistake! I plopped my first snake plant into some regular potting soil I had lying around, and let me tell you, it was not happy.
Here’s the deal: snake plants, or Sansevieria if we’re being fancy, are succulents at heart. They’re used to living in dry, well-draining conditions. Regular potting soil holds onto water like it’s going out of style, and that’s a one-way ticket to root rot city. Trust me, I’ve been there, and it ain’t pretty.
Creating the Dream Mix: Well-Draining Soil for Snake Plants
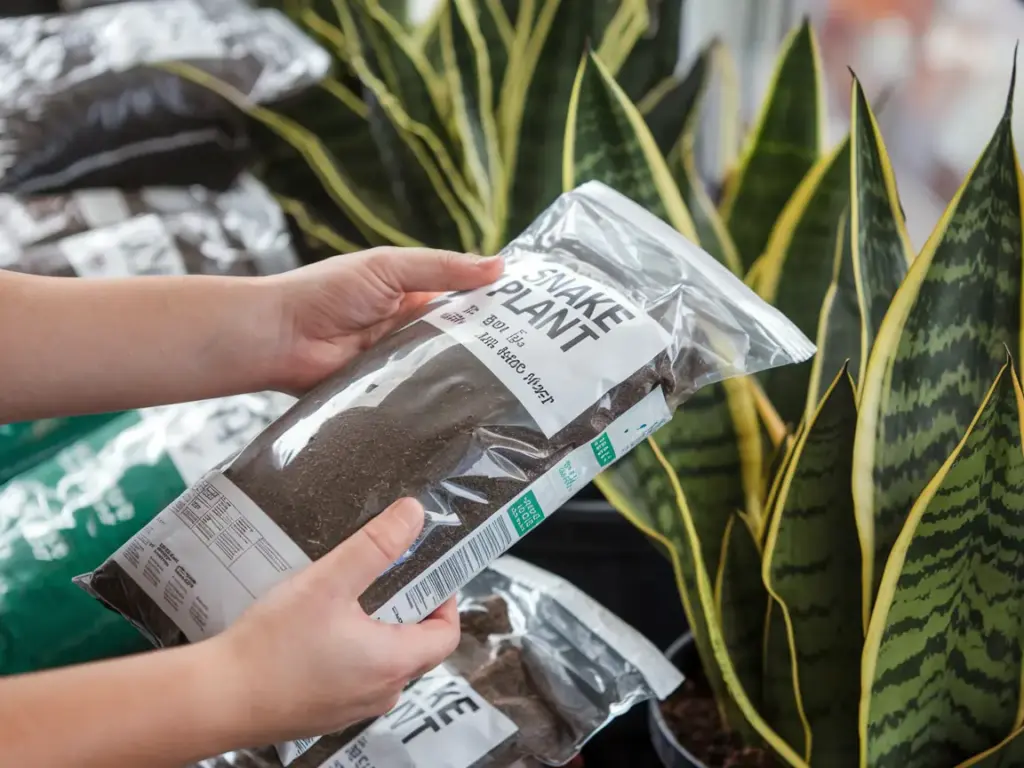
So, what’s a plant parent to do? We gotta create a mix that drains faster than my bank account on payday. The key is to combine materials that allow water to flow through easily while still providing some nutrients.
I like to think of it as creating a little desert oasis for my snake plant. You want a mix that’s light and airy, with plenty of space for air to circulate around the roots. This helps prevent those pesky fungal issues that can crop up when things get too damp.
Commercial Soil Options: The Easy Route
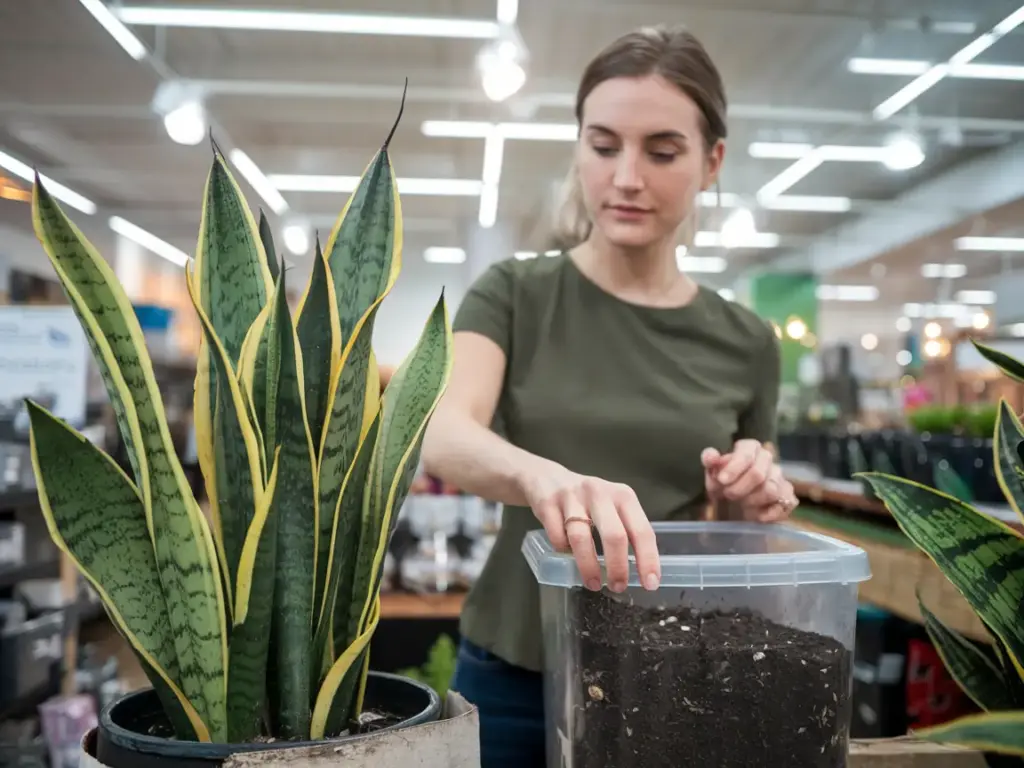
Now, if you’re not into playing soil scientist (and hey, no judgment here), there are some great commercial options out there. Look for mixes labeled for cacti and succulents. These usually have a good balance of ingredients that’ll keep your snake plant happy.
I’ve had good luck with brands like Black Gold and Miracle-Gro’s cactus mix. Just remember, even these might need a little tweaking. I usually throw in some extra perlite or pumice to improve drainage even more.
DIY Soil Mix: Channeling Your Inner Mad Scientist
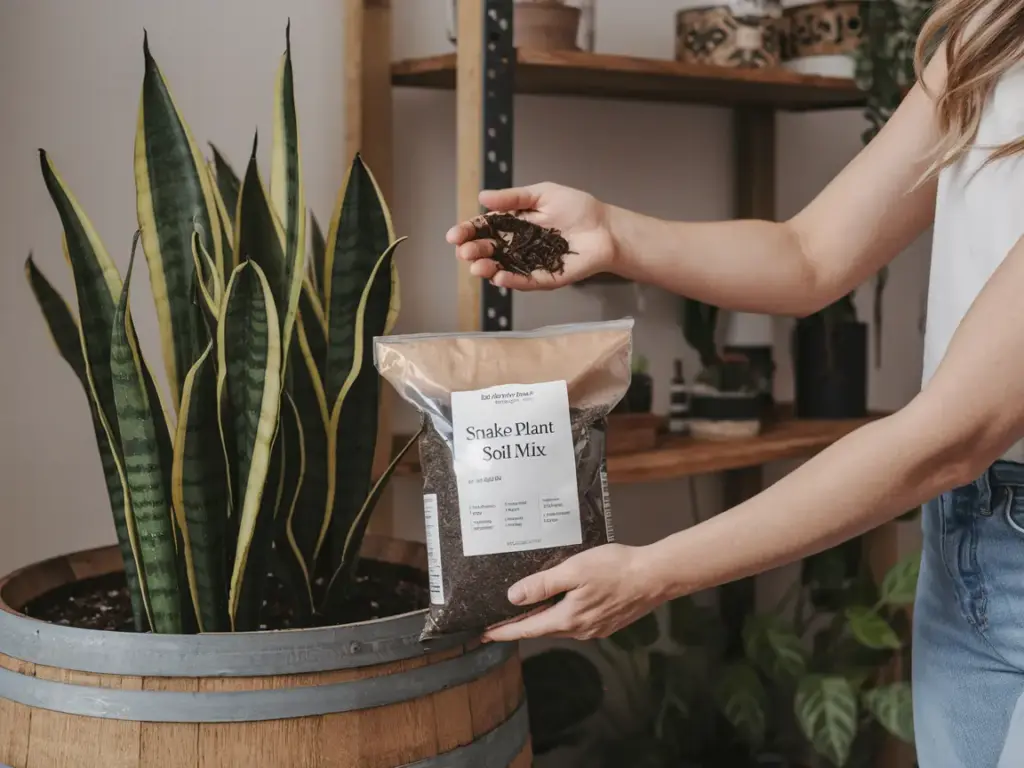
Okay, this is where it gets fun! Creating your own soil mix feels like you’re brewing a magic potion for your plants. Plus, it’s usually cheaper in the long run if you’ve got a lot of plants (not that I’m enabling your plant addiction or anything…).
Here’s my go-to recipe that’s kept my snake plants thriving:
- 2 parts regular potting soil (I know, I know, but we’re doctoring it up!)
- 1 part perlite or pumice
- 1 part coarse sand
Mix it all together, and voila! You’ve got yourself some prime snake plant real estate. The potting soil provides nutrients, the perlite or pumice improves drainage, and the sand helps prevent compaction.
Pro tip: If you’re feeling fancy, throw in a handful of orchid bark. It helps with aeration and mimics the chunky soil these plants might encounter in their natural habitat.
I remember the first time I mixed up a batch of this stuff. I felt like a mad scientist, and my kitchen looked like a sandbox exploded. But when I saw how my snake plants perked up after repotting, it was all worth it!
Now, don’t go thinking we’re done just because we’ve got our pots and soil sorted. Oh no, my friends, we’re just getting started! Up next, we’re diving into the nitty-gritty of actually getting your snake plant into its new home. Trust me, there’s an art to it, and I’ve got all the tips and tricks to make sure your plant settles in like it’s at a five-star resort. So stick around – things are about to get really exciting in the world of snake plant parenting!


GIPHY App Key not set. Please check settings