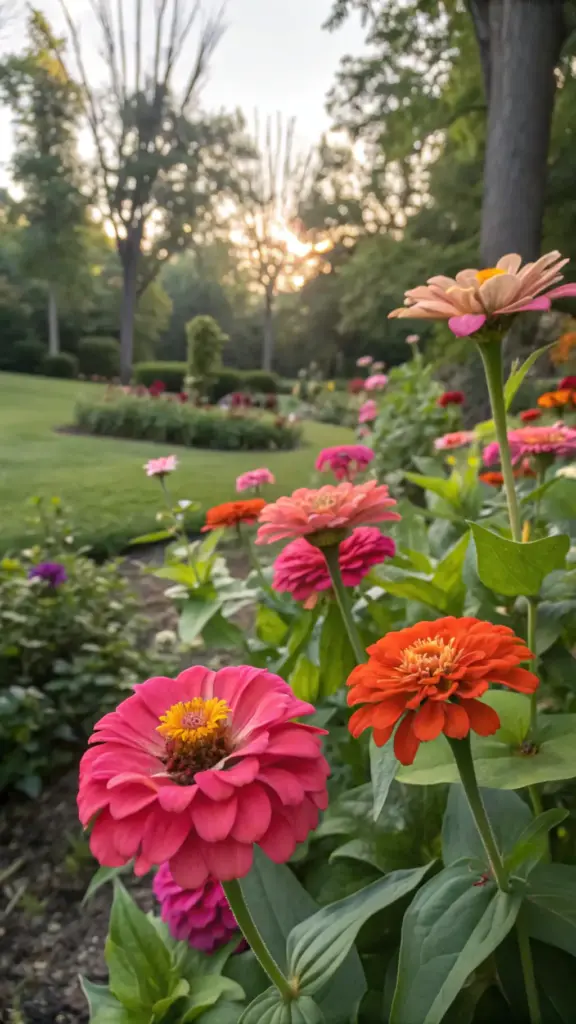
Step #8: Harvest and Enjoy Your Blooms

Let me tell you, there’s nothing quite like harvesting your first batch of zinnias! After months of nurturing these beauties, I’ve learned some game-changing techniques that’ll help you make the most of your blooms. Trust me, these tips will transform your cut flower game completely.
Perfect Cutting Techniques
The secret to long-lasting zinnia cuts starts with the perfect harvesting time. I always head out to my garden early in the morning, usually around 6 AM, when the dew has dried but before the heat kicks in. Clean, sharp scissors are absolutely essential – I learned this the hard way after crushing stems with dull tools!
Make your cuts at a 45-degree angle, and always snip above a leaf node. This encourages the plant to produce more blooms. I’ve found that stems with flowers that are about 75% open last the longest in arrangements. Any fuller, and they’ll drop petals too quickly.
Maximizing Vase Life
Here’s a pro tip that changed everything for me: condition your zinnias before arranging them. Remove all the leaves that would sit below the waterline – those submarine leaves are basically bacteria magnets!
I place my freshly cut stems in clean, deep water for about 4-6 hours in a cool spot before arranging them. This allows them to drink up plenty of water, which significantly extends their vase life. Don’t forget to use flower food – it really does make a difference!
Seed Saving Success
Want to save money on next year’s garden? Seed saving is your secret weapon! Let a few of your healthiest blooms stay on the plant until they’re completely dried out. The petals will look kind of crispy and brown – that’s exactly what you want!
I collect seeds on a dry, sunny day to prevent any moisture issues. Just grab those dried flower heads and gently break them apart over a paper plate. Those little arrow-shaped seeds are garden gold! Store them in a paper envelope (not plastic – learned that mistake the hard way) in a cool, dry place.
Creating Stunning Arrangements
After years of practice, I’ve discovered that odd numbers create the most natural-looking bouquets. Start with your tallest stems in the center, creating a spiral pattern as you add more flowers. I usually stick to 3-5 different colors max – any more can look a bit chaotic.
Remember to refresh the water every 2-3 days and make fresh cuts on the stems. My zinnias typically last about 7-10 days when properly cared for. Remove spent blooms promptly to keep your arrangement looking fresh.
One of my favorite tricks is to mix in some filler flowers or greenery from your garden. Things like cosmos or light, airy grasses can make your zinnia arrangements look absolutely professional. Just yesterday, I created a stunning centerpiece that had my dinner guests asking if I’d bought it from a florist!
Remember, arranging flowers is like any other skill – it takes practice to get really good at it. Don’t be discouraged if your first few arrangements aren’t perfect. Mine certainly weren’t! But with these techniques and a little patience, you’ll be creating gorgeous bouquets in no time.
Conclusion
You’re now equipped with everything you need to grow a stunning zinnia garden! Remember, every gardener started somewhere, and zinnias are incredibly forgiving plants. Start small, follow these steps, and before you know it, you’ll have a gorgeous display of colors right outside your door. Ready to get your hands dirty? Your zinnia adventure awaits!


GIPHY App Key not set. Please check settings